- Do you need to sterilize jars for jam and preserves?
- Preparatory stage
- What banks can be used?
- How to sterilize jars
- In the microwave
- In the oven
- In electrical
- In the oven of a gas stove
- Steam sterilization
- Using an air fryer
- Using a saucepan
- Above the kettle
- In a multicooker
- In a steamer
- In the dishwasher
- Sterilization of jars with blanks
- In a saucepan
- In the oven
- Lids used
- Thermal lids
- Vacuum
- Twist-off
- Tin
- Nylon
- Glass
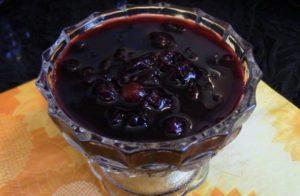
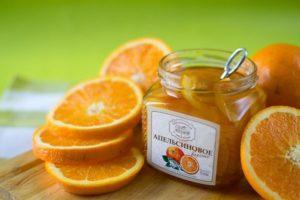
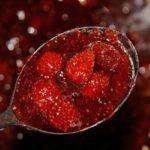
- How to pour jam into sterilized jars
- How to properly seal jars with iron lids for the winter
- Features of sealing jars with screw-on lids
- How to store jam without sealing the jars
Preparing jam for the winter takes a lot of time. So it's a shame when your efforts are wasted because the preserves spoil. You can prevent spoilage in your preserves if you know How to sterilize jam jars in the microwave or in other ways.
Do you need to sterilize jars for jam and preserves?
Containers for preserving vegetables and berries must be perfectly clean and sterile. Even the slightest dirt will become a breeding ground for pathogenic microorganisms. Jam should not be stored in unwashed containers: it will ferment, become moldy, and be unfit for consumption.
Even if you seal five-minute jam with iron lids, the dessert will spoil in dirty jars and will have to be thrown away.
Sweet preparations that contain enough sugar and are boiled for 15 to 30 minutes do not require special sterilization.
In this case, you can get by with rinsing the jars with soda.
Preparatory stage
Prepare the jam jars in advance. To do this:
- carefully inspect the container, rejecting containers with cracks or chips;
- rinse in a warm solution of baking soda several times;
- rinse under running water;
- wipe with a clean dry towel or napkin.
To wash containers, not only soda is used, but also dry mustard, citric acid, and laundry soap.
Lids are selected to match the jars. They should not be bent or rusty, and iron ones should not have rubber seals or deformed threads. Lids are washed or scalded with boiling water. Preparation is complete when containers of appropriate size have been collected and disinfected before boiling the berries and sugar.
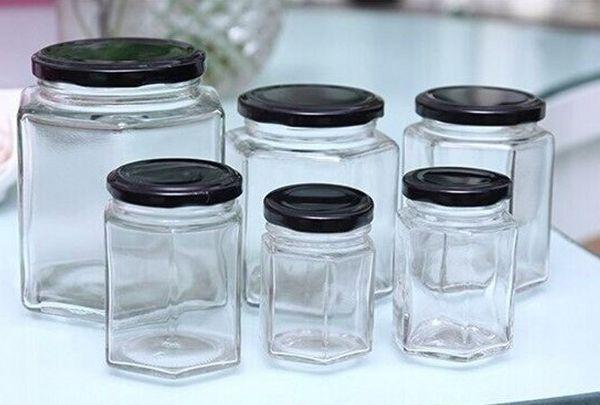
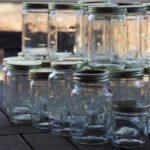
What banks can be used?
Store jam only in glass jars. It's best to choose small containers that are low in sugar and will be eaten quickly. This applies to jams and preserves.
For apple and raspberry jam, you can prepare liter and 700-gram containers.
The container size is determined by the number of family members. Favorite sweets are sealed in 2-liter jars.
The best option for storing jam is jars with screw-on lids. The hot berry mixture will seal the jars tightly.
It's best to avoid unvarnished tin lids that are sealed with a seaming machine. This can cause oxidation on the inside of the jam lids.
How to sterilize jars
Every housewife has her own secrets for preparing jars for canning. It's important to follow proper sterilization procedures.
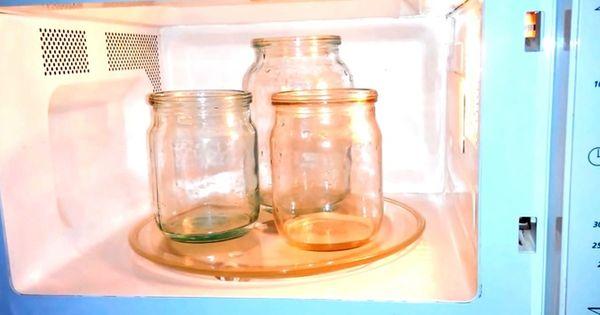
In the microwave
A household appliance is a convenient way to sterilize jam containers. Take washed 0.5-0.7 liter glass jars. Add a little water and microwave them. A microwave oven with a power level of 500-700 watts is recommended. When heated, the water boils, creating a blazing steam for 5-7 minutes. Do not microwave empty jars, as this will damage the appliance.
Take a look Also
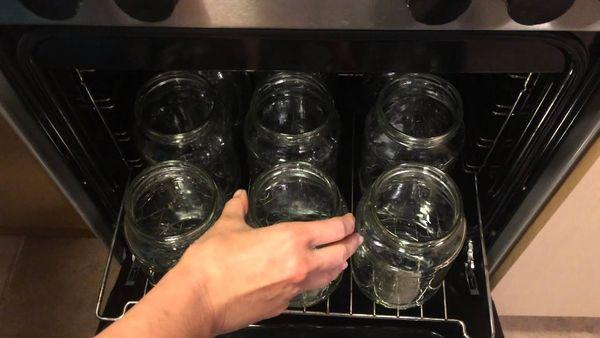
In the oven
Modern stovetops are equipped with ovens. They allow you to quickly and easily disinfect jars from pathogenic bacteria. However, this method is only suitable for shallow containers. The advantage is that you can also sterilize screw-on lids in the oven. Metal lids with rubber seals should not be placed in the oven—they will spoil.
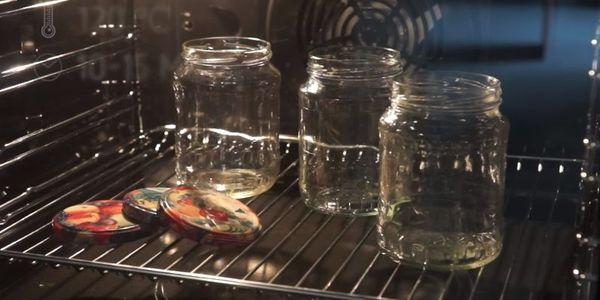
In electrical
Prepare clean baking sheets for the procedure, and place all the jars upside down on them. Place them so they don't touch each other. It's best to set the temperature to 150 degrees Celsius with both bottom and top airflow. Turn on the oven and bake the half-liter jars for 10 minutes, and the liter jars for 15 minutes.
If you're using hot jam, remove the jars immediately after turning off the appliance. For cold preserves, let the jars cool.
In the oven of a gas stove
Before the procedure, warm up the oven slightly. To do this, turn it on and set the temperature to 50 degrees Celsius. Then slide the rack with the jars inside. Set the thermostat to 180 degrees Celsius. The procedure time is the same as in an electric oven.
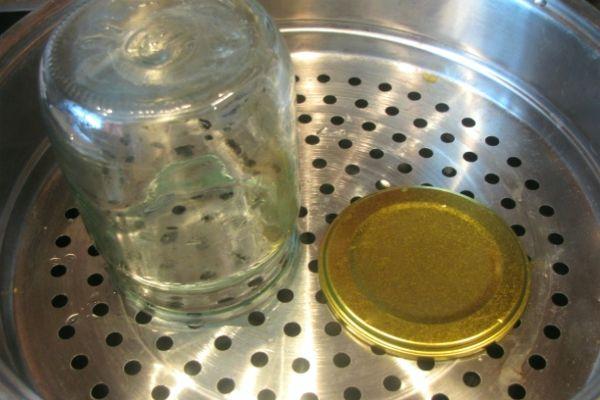
Steam sterilization
One popular method involves using a saucepan with a rack. Water is poured into the bottom of the steamer. A rack with jars, placed upside down, is placed on top. The water boils, and steam penetrates the glass jars, depositing droplets of water on the walls. Jars of various sizes can be disinfected this way. The procedure time increases depending on the volume, starting from 7-10 minutes for a 0.5-liter jar.
Using an air fryer
For cooking, the electric appliance has a rack installed underneath. Place clean, dry jars on it. Ensure there is space between each jar. Disinfect at a temperature no higher than 180 degrees Celsius. Set the timer for 8-10 minutes, depending on the container's capacity.
Using a saucepan
The easiest way to prepare jam jars is to take a saucepan of the required capacity. Line the bottom with a layer of thick cotton cloth. Place the jars, necks down, on the cloth, without touching each other. Fill the jars with cold water. Place the jars on the stove and wait for them to boil. Boil for 10 minutes or more.
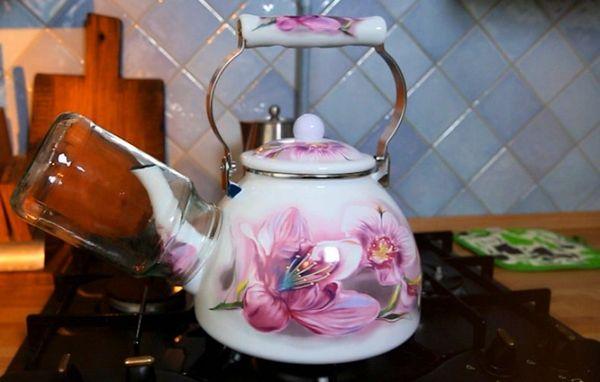
Above the kettle
When you're making a small amount of food, there's no need to bother with disinfecting the container. You can sterilize it over the spout of a boiling kettle. Simply place the container over the spout and let it sit for 10-15 minutes. Large jars can also be placed over the opening of the kettle, removing the lid.
In a multicooker
The appliance has a steam setting. It's used for quickly processing small quantities of jars.
In a steamer
A steamer is a safe and easy way to sterilize. Pour water into the bottom of the bowl and place the jars on the rack, with the opening facing the boiling water. Close the steamer and set the time for 15 minutes. After turning off the steamer, wait 5-10 minutes and then remove the jars with a dry towel or napkin, immediately turning them upside down. Add the jam and seal.
Take a look Also
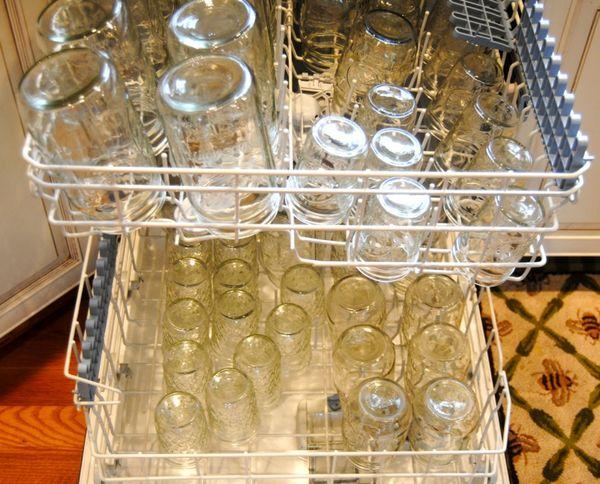
In the dishwasher
The device is convenient because it can be used to rinse a large number of canning jars first. The jars can then be left in the machine, heating the water to 70 degrees Celsius. Only jars for jams made with a large amount of sugar are suitable.
Sterilization of jars with blanks
If housewives are unsure whether the product they've prepared for winter will last long, they can pasteurize the jars containing the preserves. It's important to remember to only cover the jars with metal lids, not seal them.
In a saucepan
Place the glass jars filled with jam in a saucepan lined with a piece of canvas. Pour water up to the shoulders of the lidded jars. Place the saucepan on the stove. Once the water boils, leave it on the stove for 10 minutes for half-liter jars, 15 minutes for liter jars, and 20 minutes for 2 and 3-liter jars.
Instead of a saucepan, an enamel bucket is used for large-volume vessels.
In the oven
A sterilizer is often used to sterilize jars of preserves. This method is especially convenient for small containers of jam. Jars are placed on a rack or tray and covered with metal lids. The oven can be slightly preheated and the tray placed inside.
The sterilization temperature should be 160-180 degrees.
 To prevent jam from getting to the bottom of the oven, do not pour it into a container with a top.
Lids used
There are different types of lids for canned sweets. Each has its own pros and cons. However, it's important for home cooks to ensure the product has a long shelf life and doesn't spoil prematurely.
Thermal lids
These devices are often used to seal berries and fruits tightly cooked in sugar syrup. Before sealing glass jars of jam, it's a good idea to soak the lids in hot water. They will expand and seal the jar tightly after cooling. However, the downside is that you'll have to open the preserves by submerging the top of the jar in hot water.
Vacuum
Reusable lids create an air-free, vacuum-sealed environment when sealing jars. Pathogenic microorganisms cannot thrive in these conditions. Under vacuum lids, berries will retain their unique flavor and aroma for a long time, even with a small amount of sugar and after quick cooking.
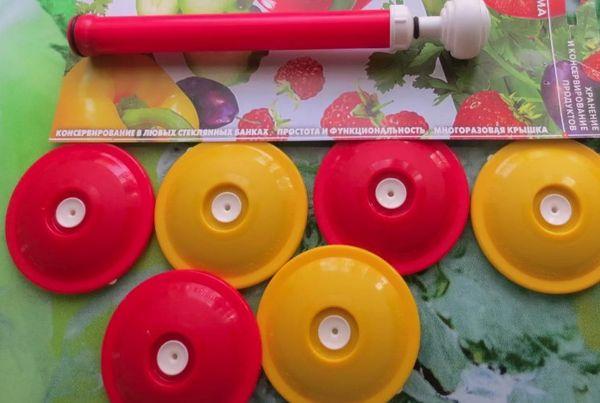
After the first sealing, vacuum sealing should be repeated 2-3 more times. This applies to preserves made from store-bought ingredients.
Don't forget that when rolling up the container, you will have to pump the air out of the vessel by moving the rod 6 to 20 times.
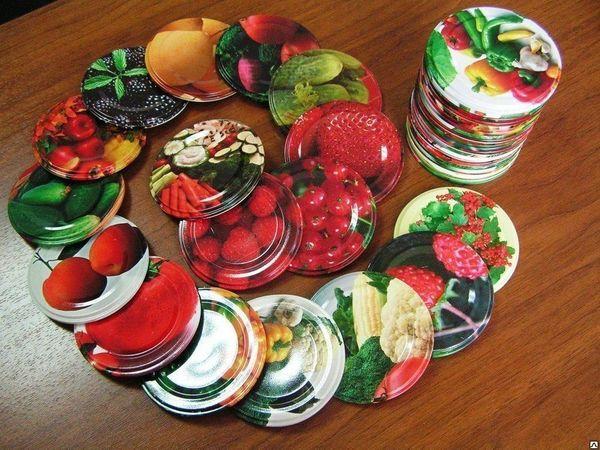
Twist-off
Threaded jars are sealed with screw-on lids. They are popular because they don't require any additional tools. Twist-off lids allow for long-term storage of canned goods thanks to the tight seal of the lid when screwed on.
Tin
Jars are sealed with tin lids using a seaming machine. It takes some effort to ensure a tight seal. Lids are available with or without a lacquered surface. The lacquered option will prevent the tin from oxidizing for a long time.
Nylon
This type of closure is suitable for jams made using the correct technique, maintaining the correct sugar-to-berry ratio. Although the lids are convenient to use, they should only be used for storing jams in a cool place for no more than 3-6 months.
Glass
One of the eco-friendly methods for closure of jam jars is becoming less and less popular. Between the jar and the glass lid is a seal that presses against the neck, preventing bacteria from entering. These lids can be used annually to store jam and preserves.
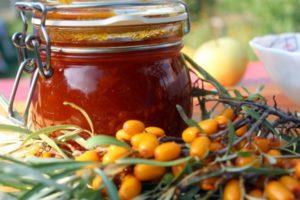
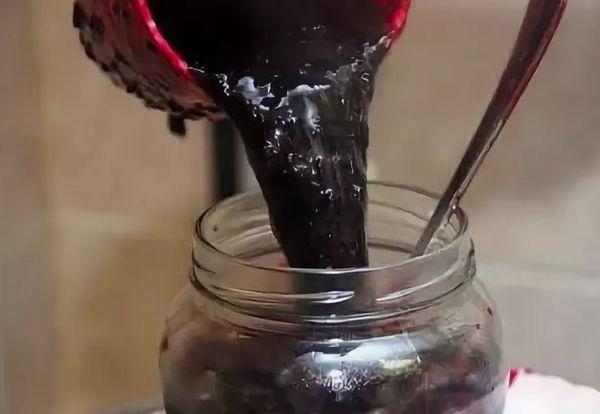
How to pour jam into sterilized jars
Once the jars and lids are ready to be filled with jam, the question arises whether to pour the treat hot or cold. It's recommended to place the berries, cooked in syrup until tender, into sterilized, warm jars. Bring to a boil according to the "Five-Minute" recipe, and pour them hot and immediately seal with either a tin lid or a twist-off lid.
When the jam has been boiling for up to half an hour, it is better to cool it first before placing it in a glass container, also cooled after sterilization.
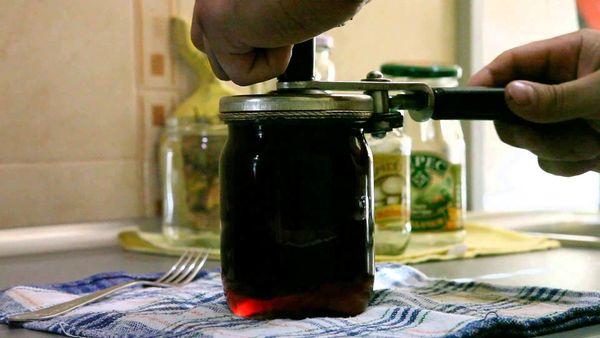
How to properly seal jars with iron lids for the winter
You should close jars of jam, marmalade, and preserves with tin lacquered lids:
- checking the presence and tight fit of the elastic band inside;
- pressing against the neck of the vessel;
- by rolling, rotating several times around the opening of the container with a special key;
- tilting or turning the container over to ensure that the winter preparation is airtight.
If you notice syrup leaking through the lid, replace it with a new one. If the jam is tightly sealed, no air bubbles will be visible inside the container. This means the jam will keep well in the cellar.
Features of sealing jars with screw-on lids
Before screwing, the twist-off is heated over steam or in the oven. time for sterilizing jarsYou need to apply force when tightening the lid onto the jar's screw threads. Be sure to check for leaks by turning the jars upside down.
When you first open a jar of jam, you will hear a sharp pop, which indicates that the jars have been sealed correctly.
How to store jam without sealing the jars
When simmered in sufficient sugar, berries and fruits can be stored perfectly under ordinary lids. You can even wrap the lid with a linen cloth and tie it with a rubber band or thin twine.
The product won't spoil if it's thoroughly boiled down. After placing the jam or preserves in glass containers, sprinkle sugar on top without stirring.
Related posts:
 15 simple recipes for making blueberry jam at home with apple and lemon in a slow cooker
 27 Best Homemade Pear Jam Recipes for the Winter
 Simple step-by-step recipes for making melon jam for the winter and tips on choosing the fruit and storing the preserves
 14 Best Step-by-Step Recipes for Making Apricot Jam for the Winter
 TOP 10 recipes for jam from garden and wild strawberries for the winter, in a slow cooker and on the stovetop
 How to properly sterilize jars at home and for how long, the best methods
 Simple step-by-step recipes for making lingonberry jam for the winter
 Is it possible to sterilize empty jars in the microwave? How to do it correctly and for how many minutes?