- Advantages and disadvantages of sterilizing jars in the microwave
- Preparing empty glass jars
- Methods and step-by-step instructions for sterilization in an oven
- Sterilize with steam
- Sterilize using dry method
- Features of microwave sterilization of canned food jars
- With salty foods
- With raw berries and fruits
- With jam
The canning process is time-consuming and cumbersome. Besides preparing the ingredients for filling the jars, you also need to prepare the containers themselves. The fastest and most time-efficient method is microwave sterilization. To do this, you need to understand: How to properly sterilize jars in the microwave.
Sterilization is a must. After all, if the prepared food is placed in a jar containing fungal spores, the contents will simply spoil. Botulism, a dangerous disease, should also be kept in mind. Safety is key. Therefore, containers and lids must be given due attention.
Advantages and disadvantages of sterilizing jars in the microwave
Microwave disinfection is a quick and easy way to sanitize containers, saving you time while you prepare the necessary ingredients for canning.
The main advantages of the method:
- Speed, convenience, and minimal effort required. Sterilizing jars takes no more than five minutes.
- Sterilize several containers at once if they are small in size and fit perfectly on the turntable.
- There is no increase in temperature or humidity in the room, which is achieved with the traditional treatment method.
The method also has some disadvantages:
- Only small containers can be sterilized. A 3-liter container cannot be sterilized.
- You can't sterilize tin lids in a microwave, as metal and microwave ovens are incompatible.
- The method is energy-consuming.
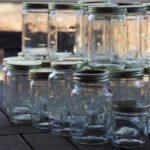
Preparing empty glass jars
Before calcining the containers, they must be properly prepared, namely:
- The jar should not have any cracks or chips. Such a jar may burst during processing. Therefore, carefully inspect the container for any visible defects.
- Wash glass jars thoroughly using a metal sponge and baking soda. Avoid using chemical dishwashing detergents. The jars should be dry.
- Boil tin lids in a separate container.

Methods and step-by-step instructions for sterilization in an oven
Properly sterilized jars in the microwave do not contain small bacteria and microorganisms.
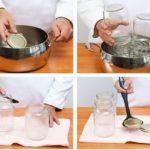
Sterilize with steam
How to proceed:
- After checking for damage, the containers should be thoroughly washed and scalded with boiling water.
- Add a small amount of water to each container, keeping the level within two centimeters. The water must be boiled or filtered. Boiling will cause the water to evaporate, leaving behind limescale deposits on the walls.
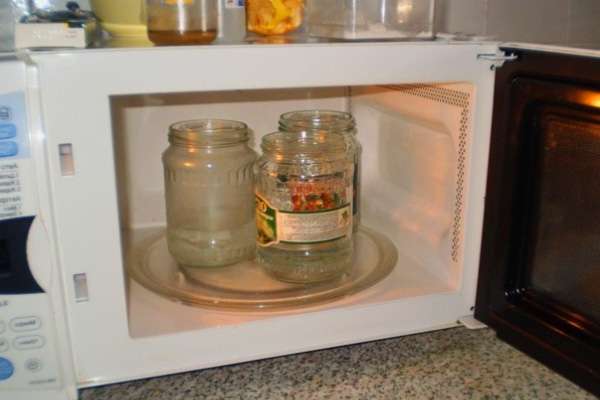
- Place the jars on the rotating plate. It's important to ensure that the jars don't touch the sides of the appliance. There should also be no resistance when the rotating element rotates.
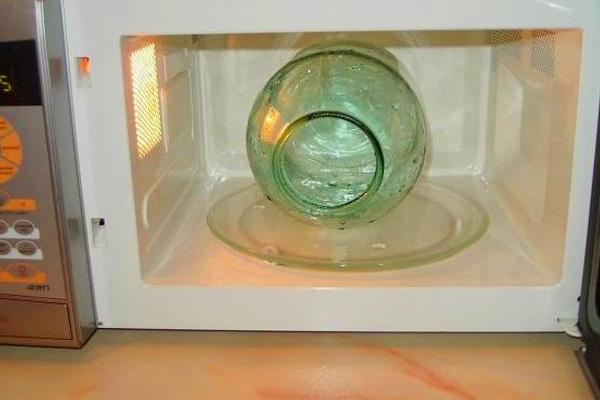
- A standard microwave oven can hold 4-5 half-liter jars. If you need to sterilize three-liter jars, place them one at a time, laying them on their sides. To prevent the jar from moving during processing, place it on a folded towel.
- The amount of time depends on the jar size. Half-liter and liter jars are sterilized for 4 minutes at 1000 W. Larger jars are sterilized at 650 W for 7 minutes.
- In practice, each housewife determines the required time for herself. To be on the safe side, sterilize the jars for 2 minutes longer than the time indicated above. The most important thing is for the liquid in the jar to boil.
- After the beep, remove the jars. It's important to take your time and use an oven mitt or towel when removing them, as they are very hot.
- Drain off any remaining liquid and wait until the jar is completely dry.
- If you are sterilizing several jars, you need to take them out one by one, drain the remaining water and place them upside down on a towel.
- Before filling the jars, ensure that the temperature of the jar and the product is nearly identical. A sudden change in temperature can damage the jar.
- This method is suitable only for containers made of glass.

Sterilize using dry method
Some find the above method unreliable, as liquid remains in the jars after processing. If this method isn't suitable, another method—a dry method—can be used.
Stages of the procedure:
- Wash undamaged jars with clean water and baking soda if they have no visible damage. Rinse thoroughly and place them on a towel over the neck.
- Once the container is completely dry, proceed to the disinfection process.
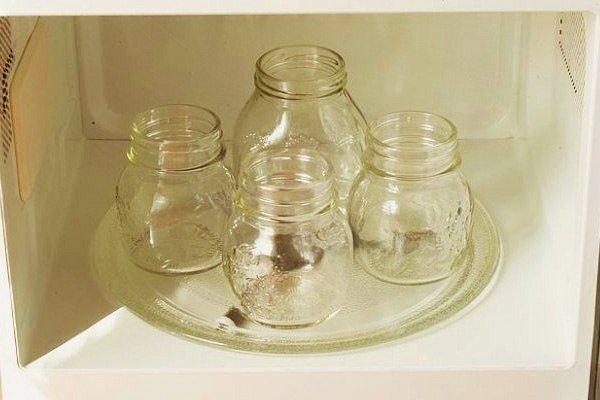
- Take a 250 ml glass and fill it ⅔ full with water.
- Place it in the center of the rotating plate.
- Place the jars around the glass. Microwave at 700W for 5 minutes. The number of minutes required depends on the size and number of jars.
- The water in the glass should boil.
- After the timer turns off, remove the container from the microwave. You can begin the canning process. The main thing is to avoid temperature fluctuations.
Features of microwave sterilization of canned food jars
Sometimes it's necessary to sterilize jars already containing the pickles. The jars don't require additional treatment if vinegar is used as a preservative. If desired, you can sterilize all the pickles. This will prevent the cucumbers from losing their firmness and becoming overcooked—a misconception.
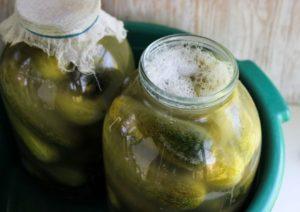
With salty foods
To preserve pickled foods, follow these steps:
- Fill washed, scalded with boiling water and dried jars with pickles.
- Add some boiled water.
- Place in microwave oven without lids.
- Heat for 5 minutes.
- Remove and fill to the top with boiling marinade.
- Cover with lids and seal tightly.
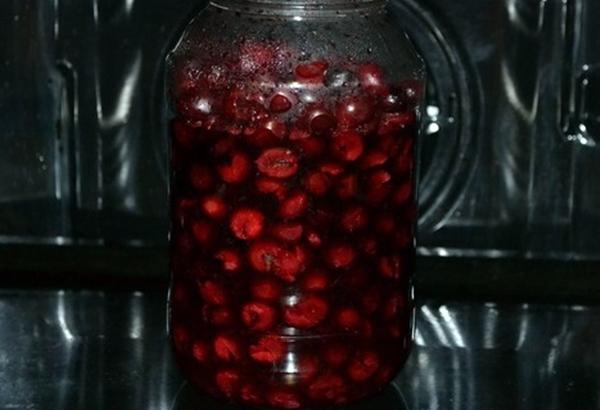
With raw berries and fruits
You can disinfect jars already filled with raw berries and fruits. Sometimes this is simply necessary. It's important to follow the correct procedure. Here are the steps:
- First, you need to prepare the filling liquid. If it's compote, mix sugar and filtered water.
- Prepare the berries in advance. To do this, discard any damaged berries, remove the seeds, and trim the stems.
- Rinse thoroughly under running water using a colander.
- Fill the containers with berries, leaving 3 centimeters from the top.
- Pour syrup to the top and microwave for 5 minutes at maximum temperature.
- You can sterilize the fruits and berries themselves, and then pour in the syrup.
- Roll up with a key.

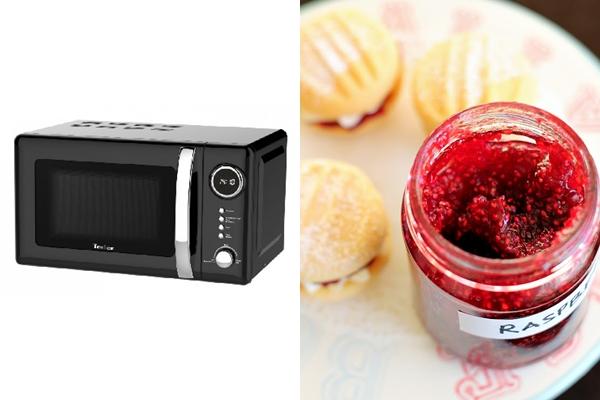
With jam
You can quickly pasteurize jars already filled with jam in the microwave.
Stages of implementation:
- Wash and dry the containers.
- Cook jam using one of the proven recipes.
- Fill the jars with the jam mixture. The only condition is that the jam should not reach the top by 5 cm.
- Place the jars in the microwave so that they do not touch each other or the walls of the appliance.
- Turn on maximum power and set the time to 7 minutes. High-power microwaves will require less time.
- Do not open the door after the beep. Product sterilization continues at this point. Wait 10 minutes.
- After this, remove the container from the microwave and seal it tightly with lids.
After this, let it cool slowly, keeping it warm.
Related posts:
 How to sterilize jam jars in the microwave: methods and rules
 How to properly sterilize jars at home and for how long, the best methods
 How long does it take to sterilize jars with steam? Home cooking instructions.
 How to plant grapes step by step, with a description of the process and care
 How to properly plant peas in a greenhouse and open ground
 How to properly sterilize jars with preserves, the best methods and duration
 How to propagate and grow peas, cultivation technology, and care in open ground
 15 simple recipes for pickling tomatoes in jars for the winter