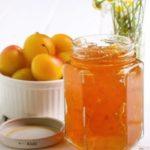
Summer is a time of wonderful fruits. But it's also a time of opportunity for experimentation and new culinary discoveries. Making jam from melon rinds is one of them. This wonderful fruit produces an extraordinary jam with a stunning flavor and aroma. And if you get creative and add additional ingredients, the culinary discoveries will be priceless. The opportunity to create your own unique masterpiece opens up!
Peculiarities of making jam from melon rinds
The special thing about this method is that you don't have to throw away the hard part of the melon—that's what the jam is made from. This is also an advantage. In the summer, these ripe, delicious berries are always in demand, and the remaining rinds can be used to make amazing jam.
Another unique feature is that preparing this delicacy requires little effort, time, or concentration. You don't need to dedicate any special time to it; it can easily be prepared alongside other dishes.
Preparing the main ingredient
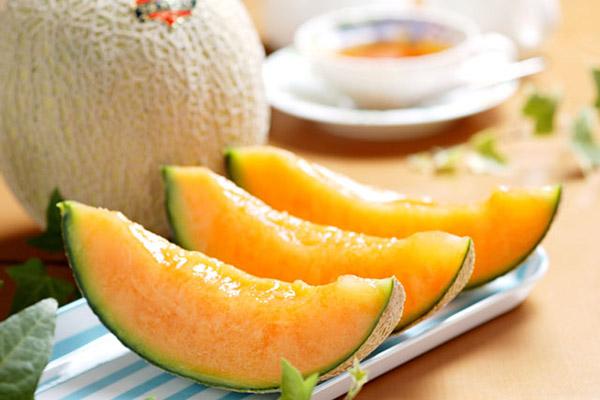
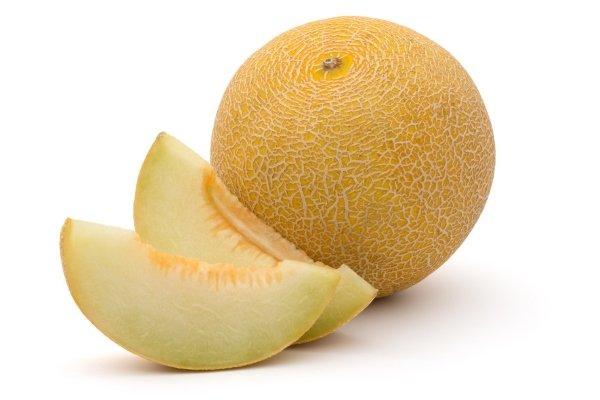
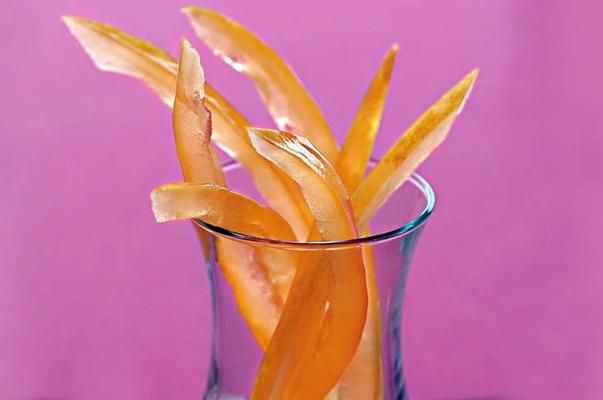
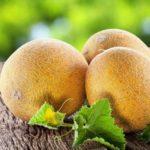
For jam, it is recommended to choose hard varieties.
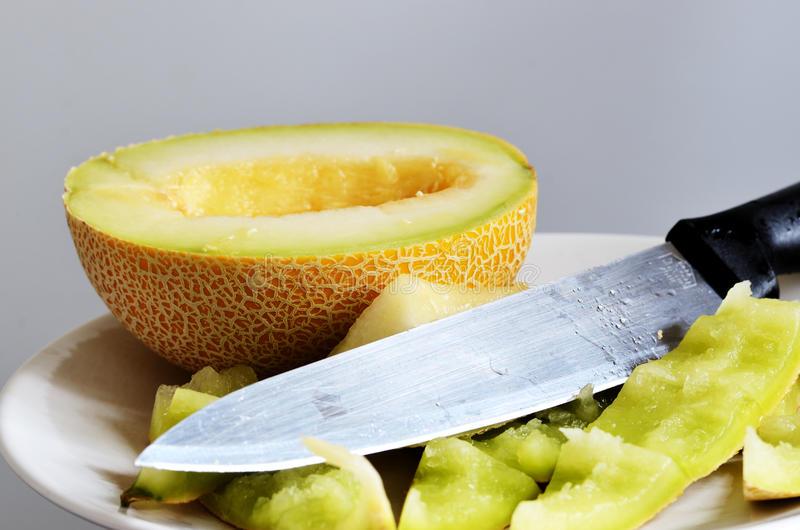
Preparing the crusts is easy:
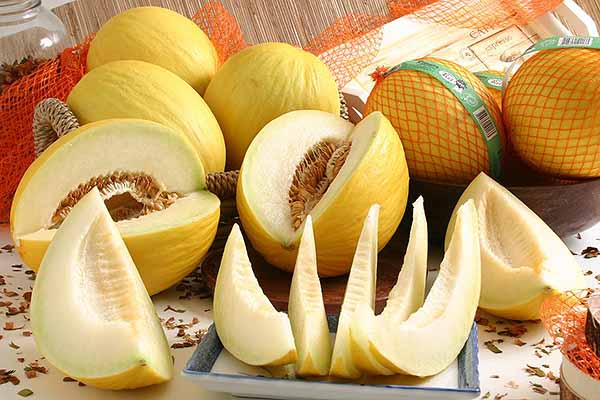
- Wash the melon, dry it and cut into slices.
- Separate the soft part that everyone loves to eat.
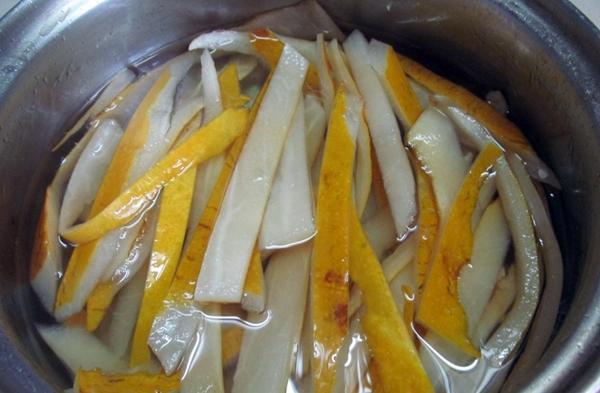
- The next step is to remove the hard, outer rind. If the skin itself has any tough fibers, trim it to remove them.
- Cut the resulting melon into cubes of any size. Don't grate it, even if it's large.

In addition to the main component, you will need:
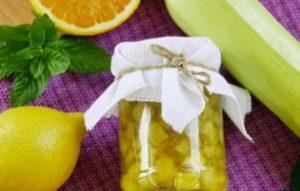
- Citric acid – it will not only add a pleasant sourness, but will also help preserve the jam, otherwise it will “sparkle” in the jar.
- Vanilla sugar, vanillin or a vanilla bean will give the finished product a pleasant, delicate aroma.
- Don't be afraid to experiment with additional ingredients; they will add a unique aroma and flavor to the jam. Mint, star anise, cardamom, and cinnamon are recommended. They add wonderful variety. banana jam, kiwi, pumpkin. And zucchini—don't be surprised, it tastes amazing in jam!
- To give a richer color, you can add turmeric.
Take a look Also

Cooking algorithm
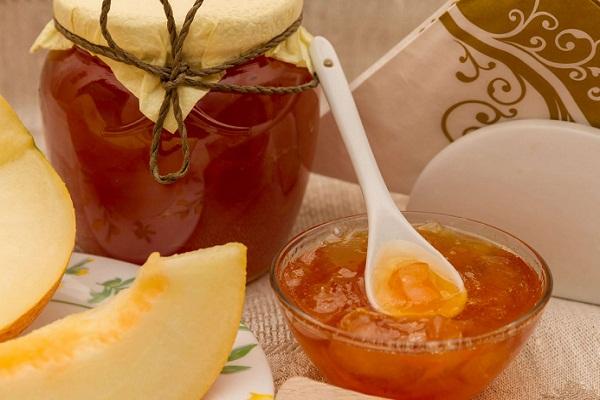
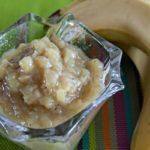
To make jam using the simplest recipe, simply cover melon pieces with sugar and cook. The jam will be similar to marmalade, with softened pieces of melon rind.
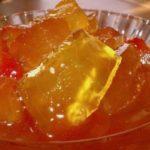
If you want a clear amber syrup with whole pieces of fruit floating in it, the preparation method changes: you'll need to periodically drain the syrup, boil it separately, and pour it over the melon pieces. Only the final step involves boiling it together.
The canning process step by step
To prepare, you will need the following ingredients:
- crusts – 600 grams;
- citric acid – 2 grams;
- granulated sugar – 450 grams;
- vanilla sugar – 7 grams.
Step-by-step preparation procedure:
- The crusts, from which the thin hard crust (outer part) has been previously cut off, are cut into pieces in the form of cubes of any size.
- Place the pieces in the container in which the jam will be cooked.
- Add granulated sugar and gently shake the container with the melon so that the sugar spills into all the holes.
- Leave the pieces, covered in sugar, for 2 to 4 hours. During this time, the juice should be released.
- After 2 hours, stir; if little liquid is released, it is recommended to add a little water (100-120 milliliters);
- The resulting mixture must be boiled and removed from the stove.
- The next day, boil the jam again, which will have released even more juice, and set it aside.
- Repeat this procedure morning and evening for two days.
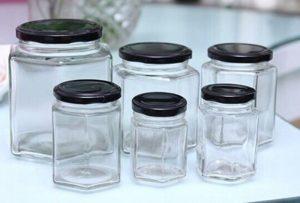
- On the third day, bring to a boil, add citric acid and vanilla sugar, bring to a boil and place in previously sterilized jars.
It often happens that the melon pieces become soft and lose their integrity during cooking. To ensure the jam is amber and translucent, and the pieces retain their integrity, you can try the second method. It's more labor-intensive, but the results will exceed expectations:
- Pour sugar into the container in which the jam will be cooked.
- Pour 100-110 milliliters of water and cook the sugar syrup over low heat, stirring occasionally.
- While the syrup is preparing, cut the melon rinds into pieces of the desired size.
- Pour the melon into the boiling syrup and leave to soak.
- When the syrup has cooled and the melon has released its juice, carefully drain the liquid into another container and bring it to a boil.
- Pour boiling syrup over the melon again and leave to soak.
Take a look Also
 Important! Don't boil the melon itself in the syrup, otherwise it will fall apart. Soaking the melon in the syrup will help it stick together.
- The next morning, drain the liquid again, bring it to a boil, and pour it over the melon. Repeat the process in the evening. Continue making the jam this way for two days.
- On the third day, you can bring the entire jam to a boil. If the product is still a bit runny, simmer for 5-10 minutes and let it steep. The time period before it boils again is about 10 hours.
- The next day, boil the jam for about half an hour and place it in dry jars that have been sterilized beforehand.
Storage Features
There are several ways to preserve the resulting product for the winter:
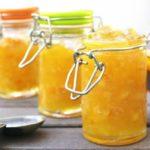
- Jam, placed hot in dry, sterilized jars and hermetically sealed, can be stored at home at room temperature.
- Once cooked, the jam can be cooled and placed cold in dry, sterilized jars. Sprinkle with sugar to create a "sugar crust." Seal with a non-airtight (plastic) lid. Store in a cool, dark place.

Whatever method of preparation is chosen, jam made from melon rinds will always turn out very tasty and appetizing. If you vary it with additional ingredients, taking into account the combination of flavors, it will become a culinary masterpiece and a table decoration during tea parties with family or friends on long winter evenings.
Related posts:
 Golden recipes for preparing pickled melon for the winter and storing the prepared products
 Simple step-by-step recipes for making melon jam for the winter and tips on choosing the fruit and storing the preserves
 Simple step-by-step recipes for making lingonberry jam for the winter
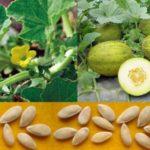 How to grow melons outdoors, planting dates, watering, and care
 Simple recipes for making cherry plum jam with and without pits for the winter
 Simple step-by-step recipes for making watermelon jam for the winter at home, with and without gelatin
 Growing Kolkhoznitsa melon in open ground: benefits and how to choose
 Simple recipes for making banana jam for the winter