- When to plant
- Location
- Processing of the landing area
- Preparing seeds for sowing
- Growing seedlings
- Planting seeds for seedlings
- Fertilizing and watering
- Preparing seedlings for planting
- Transferring seedlings to open ground
- Planting diagram
- Landing
- Caring for a melon
- Hilling and loosening
- Pinching
- Watering mode
- Top dressing
- Protection from diseases and pests
- Harvesting
- Storage
Planting this crop in a garden can seem like a daunting task for gardeners. But after delving into the details and learning the intricacies of growing melons, everyone realizes there's nothing complicated about it. Simply follow the advice of experienced vegetable growers, strictly following their recommendations. Keep a close eye on the plant: it will tell you what it needs.
When to plant
Growing melons in open ground is simple. You need:
- choose the right place;
- prepare a garden bed;
- select variety;
- determine the correct planting timing;
- plant seeds.
In central Russia, recurring spring frosts are common. Therefore, melons are sown in the ground no earlier than late May or early June. In other regions, the melon planting time is determined by the climate. Each gardener chooses their own planting date, taking into account factors such as climate, weather conditions, soil composition, and more.
Plant the seedlings when the soil is well warmed and the seeds are guaranteed to germinate. Otherwise, they will rot in the ground without even trying to sprout.
When choosing a time, the ripening period is calculated from the day of sowing. The earlier a gardener plants a melon, the sooner they will reap a harvest, which depends on the characteristics of the variety.
Location
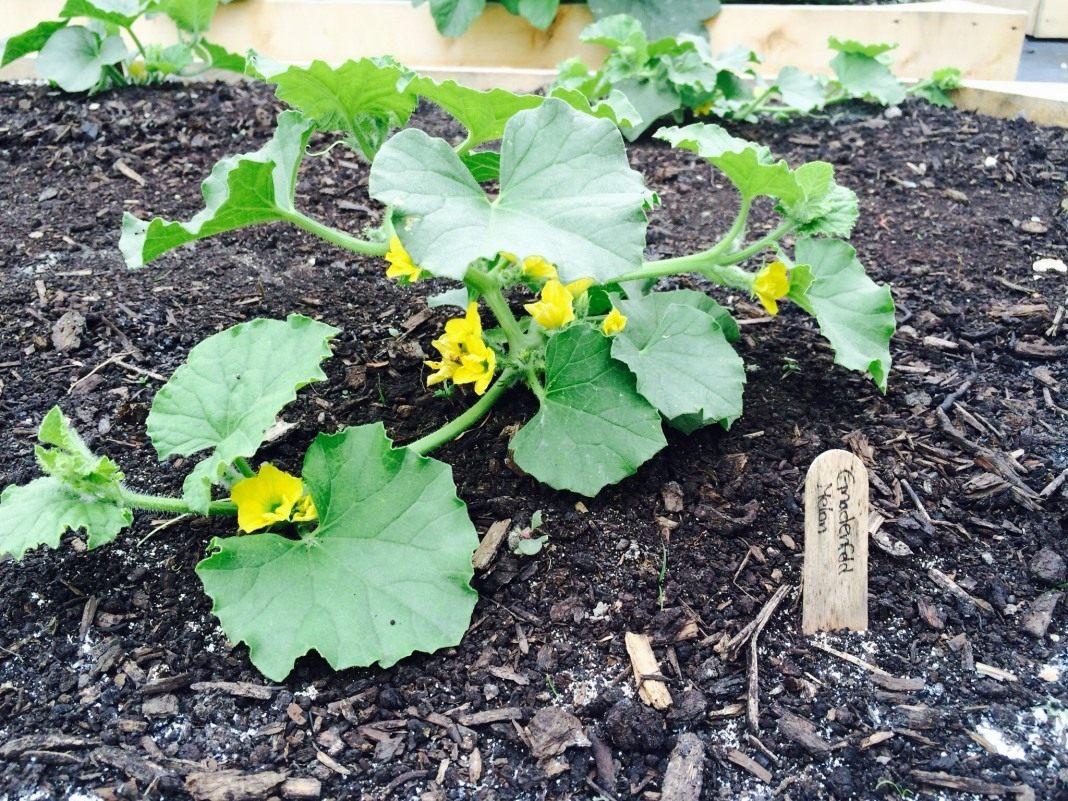
Choosing the right location for your plant is key to success. Melons thrive in areas with full sun; they don't tolerate shade. The planting site should not allow water to accumulate, as excess moisture will cause root rot and the plant to die. Therefore, if possible, sow in small mounds.
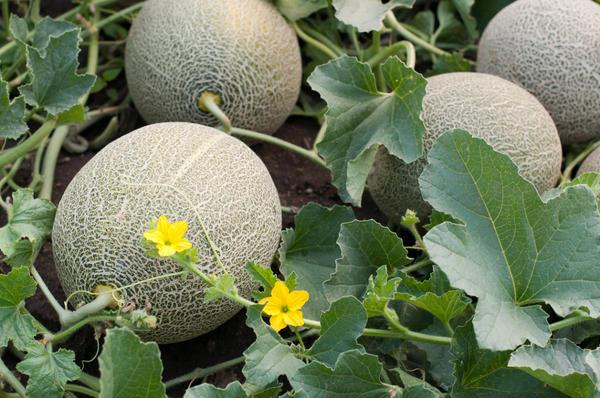
Planting melons near trees and shrubs is not recommended, as shade will reduce their flavor. It's best to sow them after vegetable crops; if pumpkins were previously grown, select a different plot. Planting sites should be clear of roots and weeds and well-ventilated.
The following soils are preferable:
- black soil;
- sandy loam soil.
It is not advisable to plant:
- in acidic soil;
- into dense soil.
The chosen warm location must be prepared before sowing the melon seeds. Experienced gardeners and seed producers will advise on how to sow the seeds correctly.
Processing of the landing area
To grow melons outdoors, you need to properly prepare the area for planting. To do this, dig the soil to a depth of 25-30 cm in the fall. Add humus and compost at a rate of 25 kg per 1 m.2Oversaturation will lead to an increase in green mass and a decrease in the number of fruits.
In spring, the area is loosened, adding potassium-phosphorus fertilizers. The proportions are 25-35 g per 1 m.2Later, two weeks after planting, repeat loosening to a depth of 5-7 cm. Finally, sow the seeds. After preparing the soil, sowing into open ground is done at the designated time. By following the preparation tips and choosing the right variety, gardeners can reap an excellent harvest.

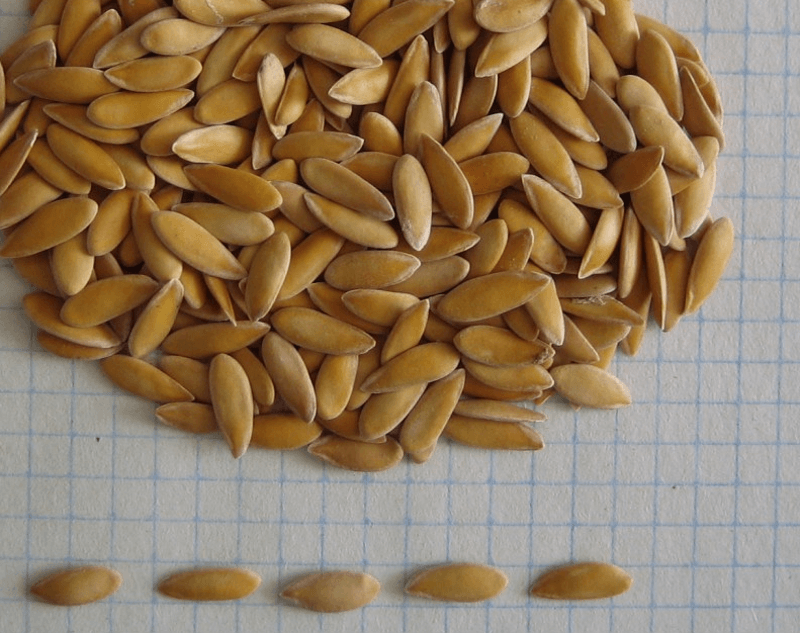
Preparing seeds for sowing
Seeds prepared for planting must be inspected. The future harvest depends on this. This planting stage is crucial. Dissolve 50 grams of salt in a liter of water and pour in the melon seeds. Immediately discard any that float to the surface; the rest are suitable for planting. Rinse them lightly and proceed to further processing.
There are many methods, and every gardener shares their own recipe. But there are a few basic ones:
- A simple method: Keep the seeds in the sun for 14 days. Then place them in a weak solution of potassium permanganate for 30 minutes. Then rinse under running water, dry, and sow.
- Place the seedlings in a thermos for 2-3 hours and fill with water at 70°C. After this treatment, keep them in a warm place until sprouts appear, always wrapping them in a cloth. Then plant them in soil or containers.
- Place the seedlings in a gauze bag in warm water for 20 minutes. Then wrap them in a plastic bag and leave until germination occurs.
- Stir 1 teaspoon of wood ash into a glass of water. Soak the seeds in it for 12 hours. Then rinse and dry them.
- When growing in cold climates, hardening is recommended. Place the seeds in a warm place for 12 hours, using a radiator. Wrap the seeds in a cloth and lightly moisten them. Then place them in the refrigerator for 24 hours. Then return them to a warm place. Repeat this sequence up to five times, alternating between cold and warm conditions.
- Treat with a solution sold at a specialist store. Be sure to read the instructions carefully when choosing a more neutral solution.

Gardeners choose methods that are safe for the human body, not placing much trust in chemicals. In any case, the choice remains with the vegetable grower. Outdoor gardening consists of mandatory procedures, the implementation of which will ensure the desired yield.
Growing seedlings
This heat-loving crop often doesn't have time to ripen, so experienced gardeners recommend using seedlings to grow the crop. This will save time and allow you to enjoy delicious, ripe melons much sooner.
Planting seeds for seedlings
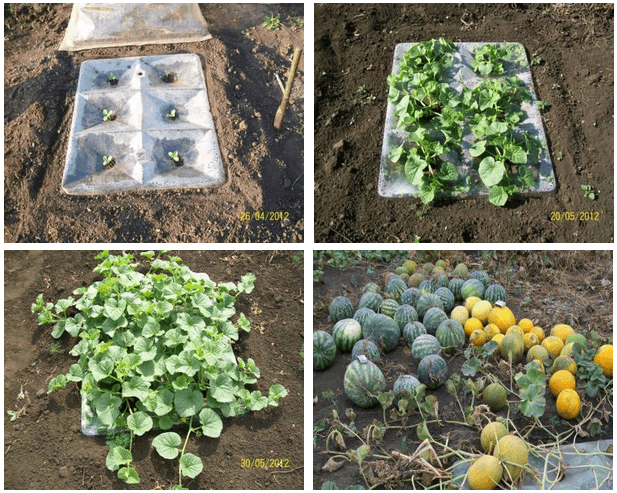
Growing seedlings is the most suitable option for a vegetable garden. From mid-spring until planting, the seedlings are kept indoors. When the weather warms up and the threat of frost has passed, the grown plants are brought outside and planted in their permanent location.

Every second gardener wonders how to properly grow melons at home and avoid mistakes. Nothing special is required. By following simple steps, gardeners grow strong, vigorous seedlings. Peat pots with a diameter of 10 cm are filled with a nutrient mixture. The melons are planted at a depth of 5 cm. Then, the containers are covered with plastic or glass and placed in a warm place. The optimal temperature is +20°C.
Once the seedlings emerge, remove the plastic wrap and allow the melons to grow. The pots containing the seedlings are moved to a sunny windowsill or other well-lit area. If necessary, provide supplemental lighting using special lamps, as the seedlings tend to stretch in insufficient sunlight.
Fertilizing and watering
Use mullein or another organic fertilizer to feed melons. It's best not to overfeed the plants, as this can be harmful to the plants. When the fifth true leaf appears, plant them in their permanent location.

Water as needed, once the top layer has dried. Keep the soil moist until the seedlings emerge. If necessary, mist the soil with a spray bottle.
Preparing seedlings for planting
Before planting, it's recommended to harden off the plants. Melons need to acclimate to sun, wind, and other outdoor conditions. To do this, place the pots with the seedlings on a loggia, veranda, balcony, or simply outside for 10-20 minutes. The next day, repeat the process, but with an increased time. This process continues for 7-10 days, for a total of 10-12 hours of outdoor exposure.
Transferring seedlings to open ground
Ready-to-transplant plants are planted in their permanent location. To do this, dig holes and then water them. If the seedlings were grown in peat pots, plant the melons along with them. The peat will eventually decompose, turning into root fertilizer.

When planting seedlings, transplant them into the ground in early June or late May, depending on the climate of the growing region and the age of the seedlings. The optimal age for planting is 4-5 weeks. Care should be taken when removing the plants from their containers, as melon roots are fragile. Damage to the root system will result in the death of the entire plant. Water them thoroughly before planting.
Take a look Also
Planting diagram
To prevent plants from interfering with each other, it's important to maintain proper spacing between bushes. Dig small holes in the planting pits and plant the seedlings in them. Leave at least 60 cm between bushes, and 1-1.5 m between rows.
Landing
When planting, ensure the root collar remains above ground. After planting, water the melon thoroughly and protect it from direct sunlight for the first few days.
 If you accidentally plant the root collar too deep, it will rot. Disease will eventually develop, and the bush will be lost.Proper planting will ensure vigorous growth and harmonious development of the plant. The melon will bloom and set fruit on time.
Caring for a melon
When caring for plants, gardeners expect a return on their efforts. It's important to perform tasks promptly and correctly, strictly following the instructions of experienced gardeners. Adherence to the norm is an important part of plant care.
Hilling and loosening
When caring for melons, many techniques are used, one of which is loosening the soil. The root system requires air, so it is recommended to loosen the soil around the plants after each watering or rainfall. This should be done carefully, as melons have easily damaged roots. The cultivation depth should not exceed 10-12 cm.
The benefit of loosening is that it helps retain soil moisture and reduces weeds. Hilling is less common, but it promotes good growth and faster fruit set.
Pinching
An important technique for increasing plant yields. Not everyone knows how to properly pinch melon seedlings. It's not difficult; you just remove the growing point after the fourth leaf appears. The plants' lateral shoots begin to grow vigorously.
The process continues after transplanting the melons to their permanent location. How should a gardener properly pinch out the melons to avoid making the situation worse? Wait until 5-6 ovaries form, then remove the tops of the vines. Be sure to leave 2-3 leaves after the last fruit.
Pinching doesn't stop there; as the bush grows, shoots and flowers are removed, as they only weaken the plant. The melon must devote all its energy to growing the fruit left by the gardener.
Watering mode
This is a separate issue, one that gardeners approach with particular care. Water the soil regularly, up to once a week during the dry season. It's best to do this in the morning, using warm water. Care must be taken to prevent water from splashing onto the leaves or buds of the melon.
At the beginning of the growing season, water sparingly. If necessary, monitor the top layer of soil; as soon as it dries out, water the plants. During the fruiting period, increase the amount of water. Before fruiting, reduce watering, gradually stopping.

Top dressing
This technique is combined with watering. Two weeks after planting, the plants need to be fertilized with ammonium nitrate. The proportion is 20 g per 10 liters of water. Each plant should receive 2 liters of liquid. Gardeners wonder what to feed during flowering. To do this, water again with the same solution or a 1/10 organic solution.
After half a month, feed again with a special complex, mixing the following components:
- 50 g superphosphate;
- 30 g ammonium sulfate;
- 20-20 g of potassium salt;
- 10 liters of water.
 After applying fertilizer, it is recommended to loosen the soil; this will help the nutrients stay in the ground longer and nourish the plant roots.When applying fertilizer, do not allow drops of moisture to fall on the plants, as this will cause burns to the melon.
Protection from diseases and pests
Growing melons without running into disease is very difficult. It's important to follow planting techniques and care recommendations. This will reduce the risk of viruses and pests. Gardeners place great emphasis on preventative treatments.
Choosing the right variety can help avoid disease problems. Plant breeders are developing special varieties with strong immunity. Proper planting, watering, and fertilizing will ensure that these plants are disease-free.

Diseases characteristic of the culture:
- powdery mildew;
- downy mildew;
- Fusarium wilt;
- copperhead;
- Ascochytosis;
- root rot;
- cucumber, watermelon and highly specialized mosaic viruses.
Carrying out preventative treatments results in the plant being resistant to or not being infected by the disease at all.When using chemicals, be extremely careful and observe safety precautions. And be mindful of the potential harm to humans.A gardener's best friend in this case is a folk remedy. The effect is short-lived, but safe for health.
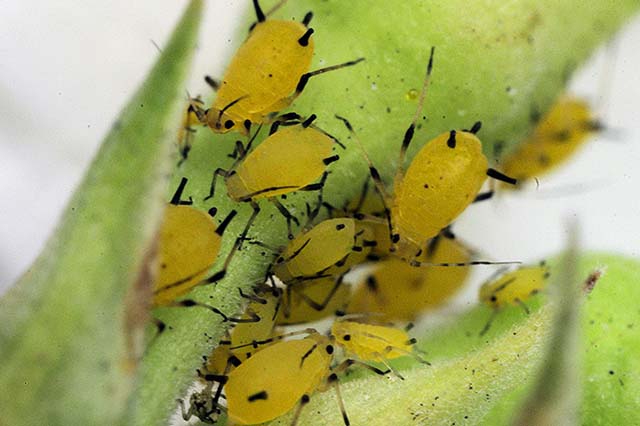
Pests typical for the crop:
- melon aphid;
- spider mite;
- wireworm;
- scoop.
The method of control is spraying with special solutions.
Harvesting
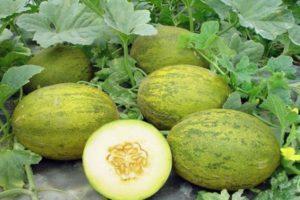
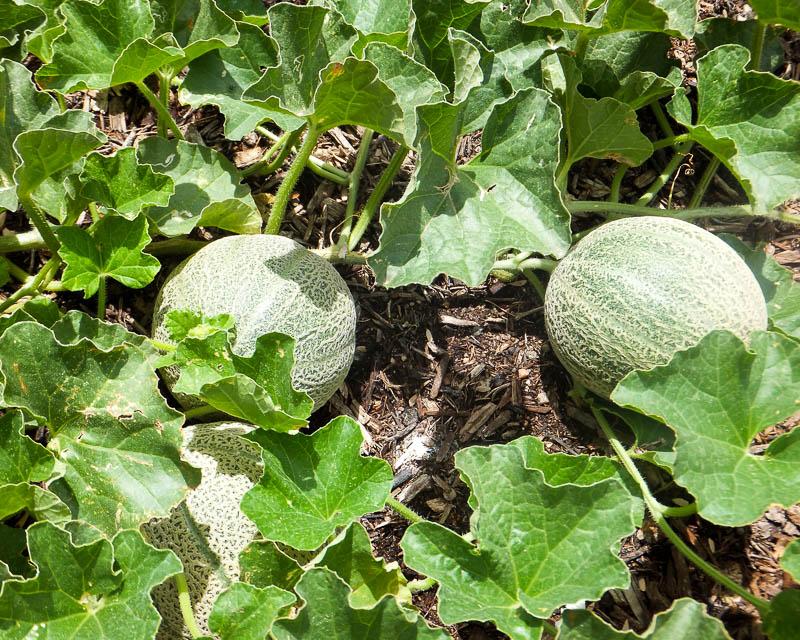
Once the melon is ripe, the number of ovaries on the bushes is the number of fruits the gardener will harvest. This should be taken into account during shaping and pinching. If the region's climate is unstable, 5-6 ovaries should be left on each plant. The melon's ripeness should return to normal over the course of the season. If the gardener has cared for the melons properly, watered and fertilized them on time, the fruits are ready for consumption.
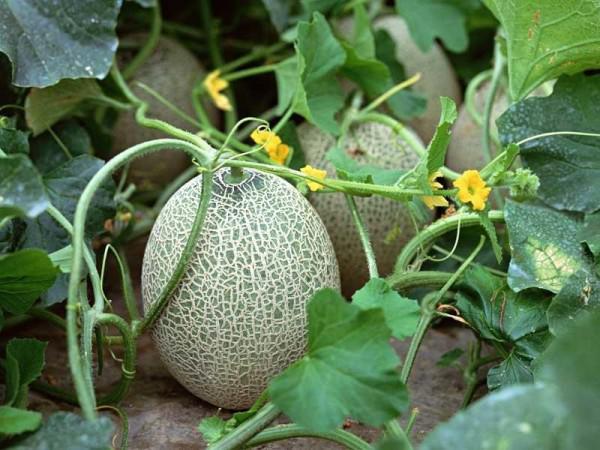
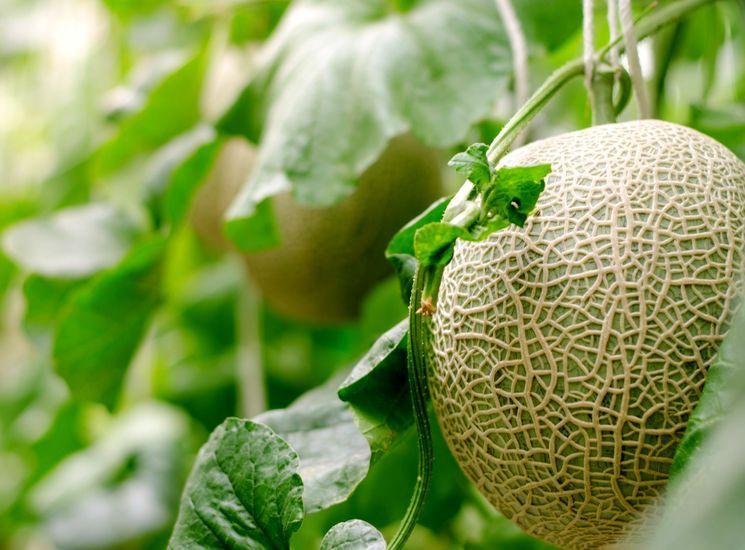
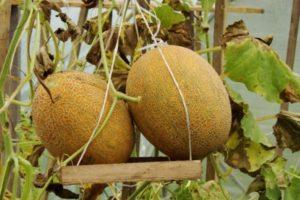
But before picking, you need to make sure they're ripe. A ripe melon separates easily from the vine, the mesh pattern becomes clear, and the color changes. Unripe fruits rot, while overripe ones become mushy inside, losing their flavor, aroma, and marketability.
Storage
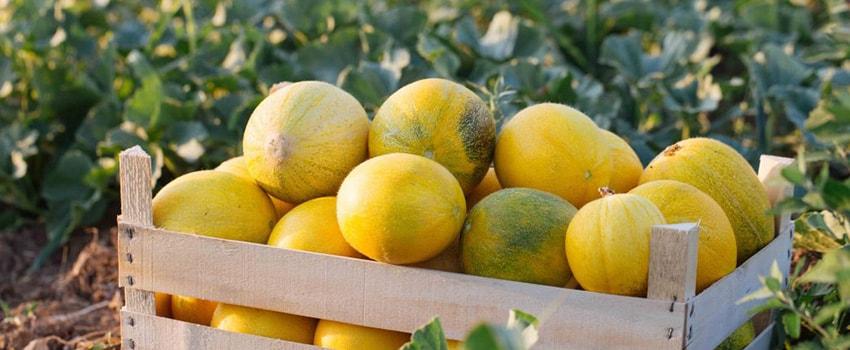
The shelf life of the fruit depends on the variety. Melons should be stored at a stable temperature of no less than 0°C and no higher than 7°C. Humidity should not exceed 80%. Properly picked melons can be stored in a cool place for up to 6-7 months.
Early melon varieties don't store well; their shelf life is 1-2 weeks. Mid-season and late-ripening varieties are best stored.
To extend the shelf life of melons, leave about 30 mm of the stem when harvesting. It is recommended to pick the melons early in the morning or evening. Do not harvest melons during hot weather. Then, let them rest in the sun for several days, turning them periodically.
Before storing melons, ventilate, disinfect, and prepare them for winter. Be sure to whitewash all structures in the room with quicklime. This will help kill pests and viruses. It's not advisable to store potatoes and apples next to each other, as this will develop an unpleasant odor and taste in the melons. Hang the melons in nets in storage to preserve them better. Growing melons in your garden is a laborious process. For those who love sweet melons, it's not a problem. Even a beginner can handle it; the key is patience and diligence.
Related posts:
 Growing Kolkhoznitsa melon in open ground: benefits and how to choose
 Rules for growing and caring for melons in Siberia in open ground
 Golden recipes for preparing pickled melon for the winter and storing the prepared products
 Why melons aren't setting fruit and what to do about it. Methods for hand pollination.
 Why are my melon leaves turning yellow in open ground? How to treat and what to do.
 How to treat melons against pests and diseases, and can infected fruits be eaten?
 How to plant grapes step by step, with a description of the process and care
 Description and cultivation technology of the Ethiopian melon variety
Timing of melon seeding is crucial. Remember that this fruit is quite heat-loving, so only plant the seeds in well-warmed soil. If the temperature drops significantly at night, I recommend covering the seedlings.