- Benefits of installing blackberry supports
- Types of trellises and installation technology
- Single-lane model
- Two-lane
- V-shaped
- Y-shaped
- T-shaped
- How to make a structure yourself
- Made of fiberglass reinforcement
- We use metal supports
- Methods of tying up a bush
- Rules for shaping blackberries on a trellis
- One-sided tilt
- Fan method
- Interlacing method
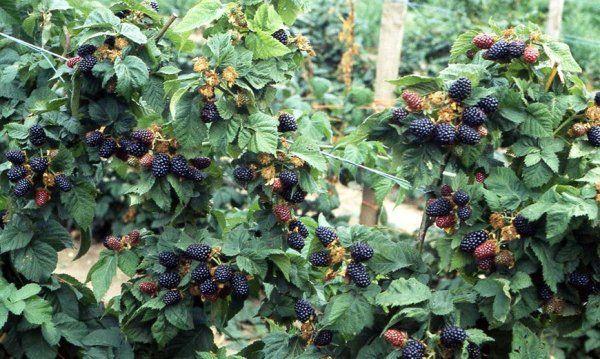
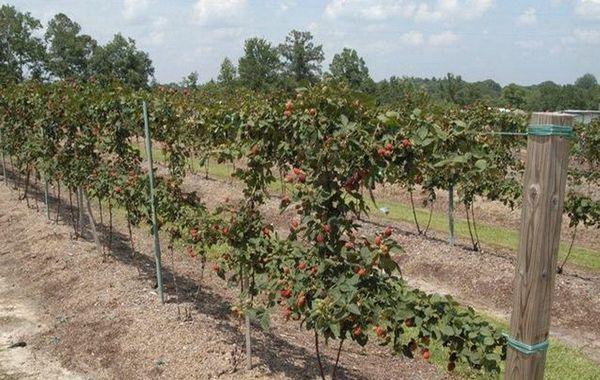
A crucial element of blackberry cultivation is the use of trellises—special supports consisting of poles and wire or metal cable stretched between them. Due to their numerous advantages, these supports are widely used not only by summer residents and amateur gardeners, but also by medium-sized and large farms and specialized agricultural organizations.
Benefits of installing blackberry supports
The advantages of using trellises when growing blackberries include:
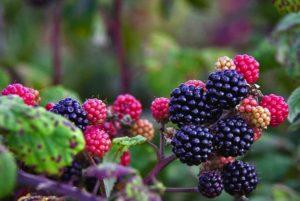
- No contact between berries and the soil – berries raised above the soil surface do not come into contact with it, which means they do not become contaminated with soil particles during heavy rain or heavy watering.
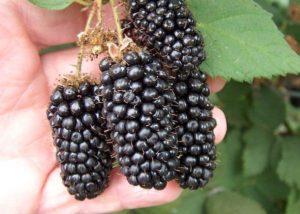
- Ease of berry picking – the berries hang quite high and are very easy to pick.
- Space savings – plants placed compactly on a trellis take up much less space than when grown without trellises. This is especially important for those whose garden space is severely limited by various outbuildings.
- Ease of pruning – shoots located on a trellis are easier to prune without damaging neighboring young shoots.
- Convenience of fertilizing and cultivating between rows - thanks to the compact placement of the plant shoots, it is much easier to fertilize and cultivate between rows using small motor cultivators.
Types of trellises and installation technology
To maximize the yield of a particular blackberry variety, you'll need to choose and install the right type of trellis. Depending on the design, trellises are classified as single-strip and double-strip.
Single-lane model
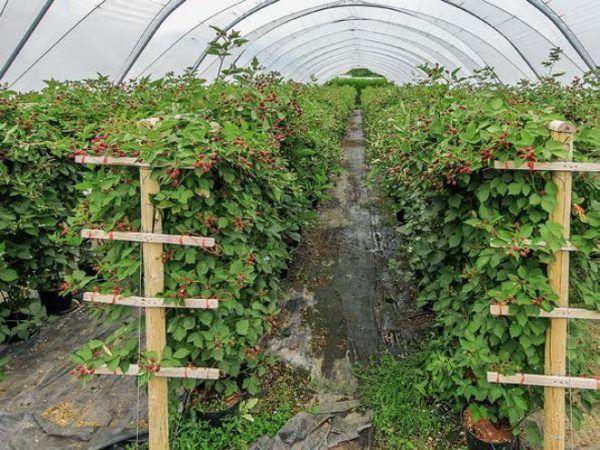
The simplest trellis design consists of 2 outer posts, up to 220-230 centimeters high, and 3-4 rows of wire stretched between them, with a step of 60-70 centimeters.
This support is installed as follows:
- At the ends of the row of blackberries, using a garden drill, make two holes 70-80 centimeters deep.
- Three-meter-long support posts made of rectangular metal with a cross-section of 40x40x2 mm are inserted into the holes, with caps pre-inserted into the bottom ends. The ends of the posts, buried in the ground, are treated with a special anti-corrosion mastic.
- The posts are concreted or fixed in holes using a mixture of fine gravel and broken bricks, which are covered with sand or earth and carefully compacted.
- 4 M10 nuts are welded onto the supports.
- Bolts are screwed into the nuts.
- M8 nuts are welded to the bolts.
- Wire is attached to the nuts at the ends of the bolts.
- The wire is tensioned by rotating the bolts in the threads of the M10 nuts welded to the supports.
To prevent the support posts from leaning inwards over time, they are reinforced with inclined spacers.
If the length of a row is more than 8 meters, one intermediate support post is installed between the outermost support posts.
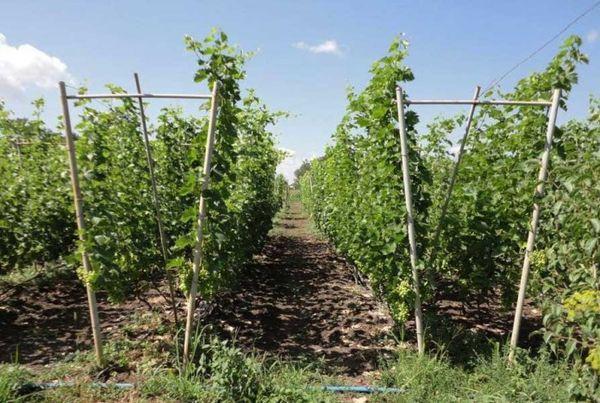
Two-lane
A two-strip trellis, unlike a single-strip trellis, has not one, but two rows of wire located parallel to each other.
Depending on the design of the supporting posts, such trellises can be Y-shaped, V-shaped and T-shaped.
V-shaped
Such trellises consist of two trellises located at an angle of 30-35 to each other. 0 main posts connected at the top with a corner, tensioning devices and 3-4 rows of wire.
These supports are made by welding two 300mm long V-shaped profile pipes together, joining them with a meter-long angle at the top. The assembled supports are concreted at both ends of the crop row, driven 70-80 centimeters into the ground. Tensioners are welded in place, wire is secured to the tensioner nuts, and the wire is tensioned by turning the bolts.

Y-shaped
It is an improved support, described in the previous type, with the only difference being that two welded V-shaped profiles are not concreted into the ground, but are welded to a capital support post dug into the ground.
T-shaped
This type of trellis consists of two supporting posts with 2-4 crossbars of different lengths, to which the ends of the wire are attached on both sides.
How to make a structure yourself
Trellis for blackberry bushes are made from materials such as metal-plastic reinforcement and metal profile pipes.
Made of fiberglass reinforcement
A similar design is made as follows:
- Every 3-4 meters along the row, two pieces of fiberglass rebar, 2.5-3 meters long, are driven into the ground. The rebar is driven in using a profile pipe and a sledgehammer.
- The pieces of reinforcement protruding from the ground are connected with wire every 50-60 centimeters.
- Long pieces of reinforcement are passed through the resulting intersections, securing them to the resulting supports with knitting wire.
Trellis assembled in this way are lightweight and have a long service life (the service life of their products, as stated by fiberglass reinforcement manufacturers, ranges from 30 to 50 years).
We use metal supports
When making the simplest structure from a profile pipe, its 6-meter blanks are cut into 3-meter posts, they are installed at both ends of the crop row, tension devices are welded on each of the posts every 50-70 centimeters, after which wire is attached to them and tensioned.
Methods of tying up a bush
When growing blackberries on trellises, experts recommend tying them to the wire using soft linen twine or paper-wrapped tying wire.
Rules for shaping blackberries on a trellis
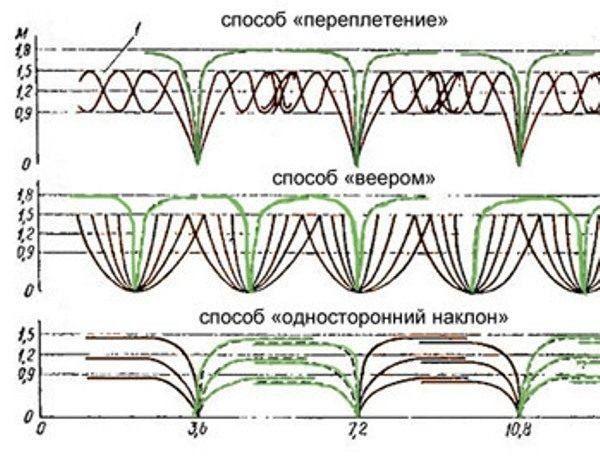
Depending on the location of the crop shoots on the wire rows of support, there are different methods of shaping blackberries, such as one-sided tilting, fan-shaped, and interlacing.

One-sided tilt
With this method of formation, all the old branches are tilted to one side, and the young ones to the opposite side, after which they are attached to horizontally stretched rows.
To tie branches inclined to the wire rows, it is recommended to use soft linen thread or insulated wire.
Fan method
All old branches are straightened so that the bush takes on the shape of a spreading fan. Young one-year-old shoots are secured to the bottom row of wire.
Interlacing method
Long branches are placed behind the top 3rd or 4th row of wire, then bent and braided over the 2nd or 3rd row. As with the previous methods, the branches are secured to the wire rows of the trellis using linen thread or soft insulated wire..
Related posts:
 Description and characteristics of the Natchez blackberry variety, planting and care
 When and how to prune blackberries: timing and instructions for beginners
 How to care for blackberries in open ground, growing and planting
 Characteristics and description of the Thornfree blackberry variety, cultivation and care
 A simple recipe for making blackberry jam for the winter
 Description of thornless blackberry varieties and their cultivation, planting and care
 Timing and methods for propagating blackberries at home, planting rules
 How to make blackberry jelly for the winter without gelatin: simple homemade recipes