How to plant and grow peas indoors – methods for preparing seeds, soil, and planting containers, as well as planting and care guidelines. This is not a complete list of questions that need answers to grow beautiful green plants with tasty beans on your windowsill. This article provides reviews and advice from experienced gardeners who can grow a winter garden on their balcony.
Growing pea seedlings
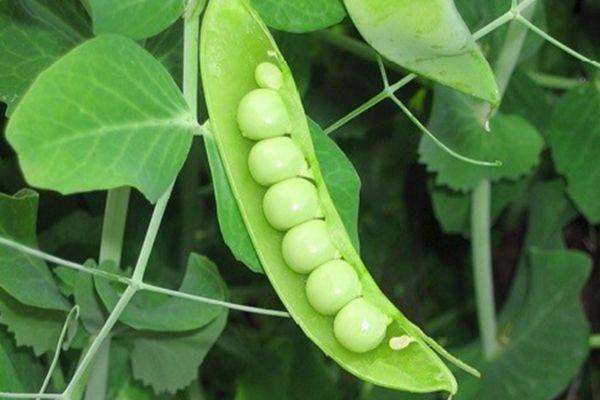
Anyone who loves greens and tasty peas can grow peas on their windowsill. For home growing, sugar snap pea varieties are recommended, the most popular of which are:
- Sugar Oregon;
- hybrid Zhegalov 112;
- Children's Sugar;
- Oscar.
Plants are propagated by planting seeds and growing pea seedlings. Let's take a closer look at the process of preparing seeds for planting and the stages of planting and care. This is the only way to get a complete answer to the question of how to grow succulent peas at home.
Preparing beans for sowing
It's best to choose vegetable and flower seeds in specialized stores. They offer a wide range of high-quality seeds of the best varieties.
The preparatory stage of seeds for planting is carried out in several stages:
- Calibration. This procedure allows for the preliminary removal of immature or damaged planting material. Sugar snap peas of hybrids or varieties are sorted, removing seeds with damaged skins, holes, or darkened ones. Placing the seeds in salted water can help with calibration. Any seeds that float to the surface should be discarded.
- Pre-soaking of planting material. To do this, rinse the seeds under running water and then dry them. Dissolve a weak solution of potassium permanganate in a saucepan and soak the beans for 20-30 minutes. After soaking, rinse them under the tap. Boric acid, a popular ingredient among gardeners, can shorten the process. To prepare the solution, dissolve 0.2 g of the solution in 1 liter of water. Disinfect the seeds in this solution for 5-8 minutes. Place the treated beans in a saucepan of warm water for 3-4 hours. During this time, change the water several times to remove any fungal spores or pest eggs.
- The final stage of preparatory work is seed germination. This process is carried out in several stages:
- prepare a piece of cotton fabric or gauze napkin;
- dilute the growth stimulator in water and add potassium permanganate on the tip of a knife;
- the fabric is soaked in the solution, the seeds are evenly spread out and the edges of the napkin are folded like an envelope;
- A nutrient solution is poured into a plate and an envelope with seeds is placed there.
Take a look Also

The fabric should always remain submerged in the solution, so you'll need to add water periodically. This simple preparatory work will allow you to grow a bountiful harvest of peas in your garden or at home. As soon as the peas open and tender sprouts appear, they can be planted in a seedling tray.
Sowing pea beans for seedlings
Planting begins in late March – early April.
Before starting work, you'll need to prepare the soil and seedling trays for planting. The seed containers should be rinsed with boiling water several times or treated with any contact fungicide solution to disinfect them. You can purchase the soil at a gardening store or make your own. To do this, take equal amounts of turf soil and mix it with equal parts of compost. Add 200 grams of superphosphate and 200-300 grams of sifted wood ash to the nutrient-rich soil for every 5 kg of soil.

All other operations are performed according to a specific scheme:
- the planting boxes are not completely filled with soil, leaving a distance of 4-5 mm to the top;
- the soil is watered with warm water;
- Furrows up to 20 mm deep are drawn on the surface of the mini-bed. The distance between rows is at least 15-20 mm;
- you can make small holes for each pea, placing them at a distance of up to 300 mm from each other;
- the sprouted seeds are placed in a hole so that the sprout grows into the soil;
- the remaining space is filled with loose soil and the rows are watered with warm water;
- A layer of mulch is placed on top and the boxes are covered with plastic film or glass to create a constant comfortable microclimate for the seeds.
 Before the first shoots appear, the soil is moistened with a spray bottle if it dries out.
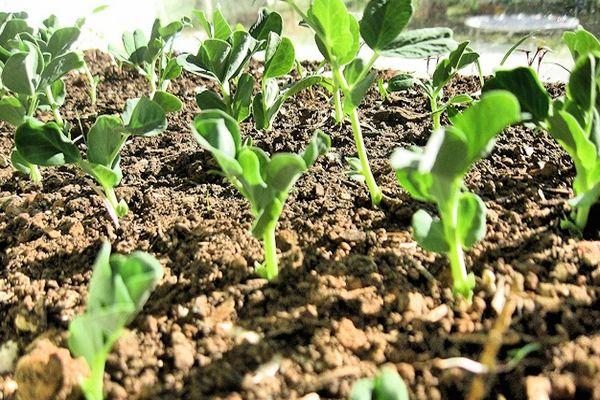
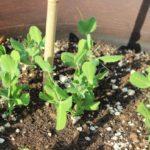
The first pea shoots have emerged, the plastic wrap is removed, and the seedlings are being nurtured. After the shoots have been pricked out, each plant should be planted in its own flowerpot.
Having chosen the best time to sow pea seeds At home, you can significantly increase the yield and growth rate of plants by providing them with sufficient sunlight and maintaining a comfortable indoor temperature.
Picking
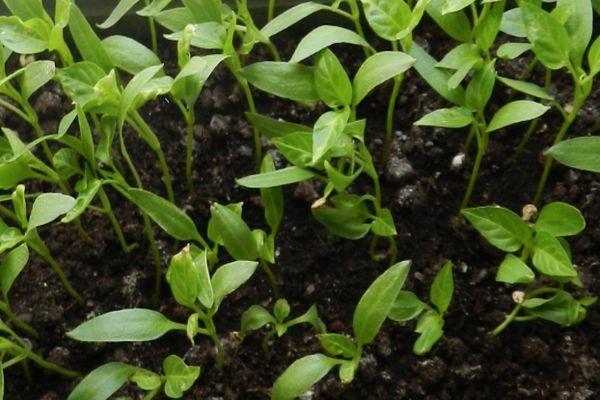
This work is performed after the second pair of true leaves has sprouted. The process is simple, but requires careful handling of the delicate plants. The minimum pot size for growing peas in an apartment is 300 ml. If the balcony is equipped with special flower boxes, the beans can be planted in them, but at an optimal distance.
When picking, work is carried out according to a specific scheme:
- planting containers are pre-treated with boiling water;
- fill the pots with nutritious soil and make a small hole in the center of the pot, the size of which depends on the size of the seedling rhizome;
- the minimum distance between plants when planting in a common box is 200 mm;
- the soil in the seedling box is first filled with warm water - this makes it easier to remove the seedlings without damaging the delicate roots;
- the seedlings are placed in a hole, the roots are carefully straightened and covered with loose soil;
- There is no need to compact the soil; it is enough to lightly water the seedlings with warm water and place them in a shaded area for a few days—during this period, sunlight is harmful to young legume plants.
Planting is complete, now it is important to create optimal conditions for the peas to grow and develop.
Plant care
Growing sugar snap peas at home It won't require much time or effort. Unpretentious beans grow well, but the home gardener will need to fully comply with the minimal conditions and care requirements.
Caring for and growing legumes is similar to planting them outdoors. However, there are a few differences.
Lighting
To grow peas indoors, they need 12 hours of light. This can be achieved using fluorescent lamps or special lighting fixtures. This is especially important when planting in winter or when the window faces north. In these conditions, fluorescent lamps are the only way to provide the plants with chlorophyll.
 Important! The distance from the lamp to the green mass of legumes is 500 mm.
Watering peas
Another key factor in successfully growing beans indoors is the amount and frequency of watering. Before flowering, water the plants at least twice a week; it's better to water the beans more frequently with a small amount of water than to overwater. After flowering, during the fruiting period, increase the frequency of watering. The plants need nutrition at least every other day.
Constant loosening of the soil and a layer of mulch will help reduce the number of treatments - such soil will always be well-drained, but not excessively moist.
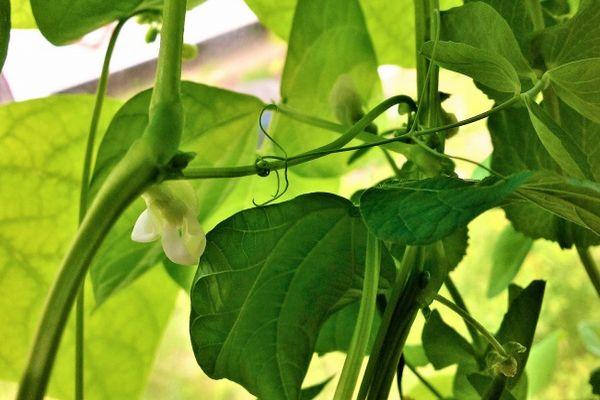
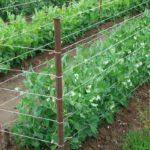
Support
Growing peas in pots on a balcony or loggia requires support for the tall plant. This can be a wooden or metal stake, or taut twine, allowing the beautiful vine to spread across the entire surface of the room. A large-mesh plastic net is recommended. This work should be carried out when the shoots reach a length of 120 mm.
Fertilizing peas
Growing delicious peas at home will require the addition of nutrients several times per season:
- Immediately after transplanting, you'll need to support the established plants. To do this, prepare a solution of 20 g of superphosphate and 10 liters of water. This mixture is used to water all indoor plants during the summer, but the best time for peas is when the transplanted plant begins to develop.
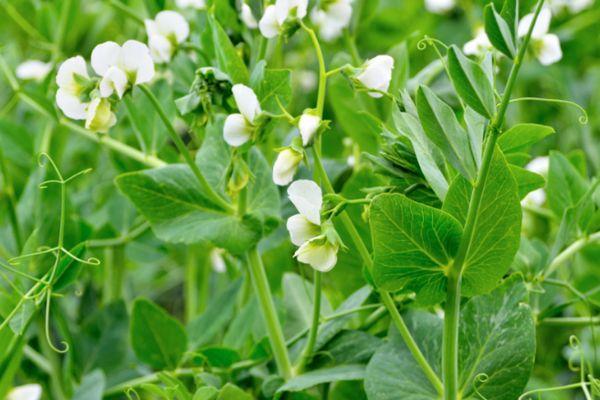
- The next two feedings are done before and after flowering. Fertilize the soil under the bushes with a potassium-phosphorus solution. Dissolve 15 g of superphosphate and 15 g of potassium salt in a bucket of water and water the plants after moistening.
Harvesting
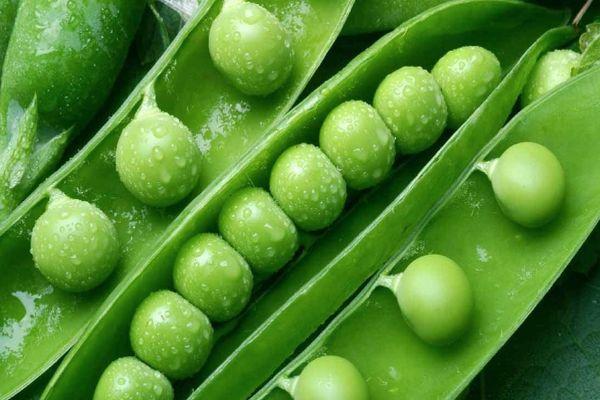
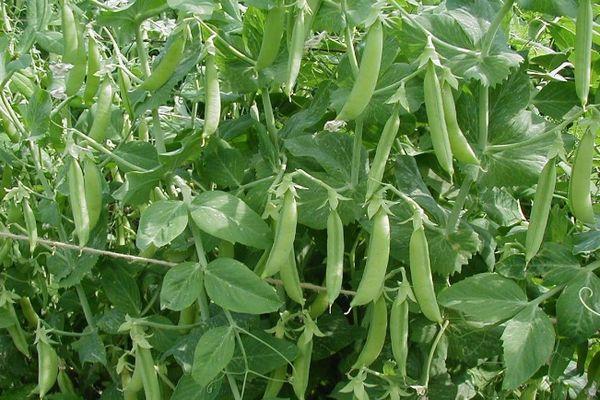
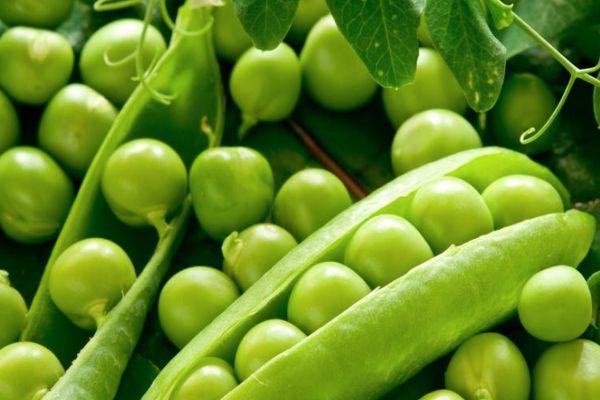
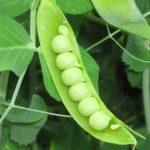
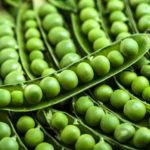
The harvest is collected as the beans grow in the pods. Once the peas reach 6-7 mm in diameter, the pods are carefully cut from the plant. The fruiting period for sweet varieties on windowsills extends to two months. With proper care, a balcony planting can yield up to 700 grams of sweet peas. The first mature pods appear at the bottom of the plant. Reviews of growing peas at home
In conclusion, we will provide some reviews from home gardeners who have already grown a crop of green young peas on their windowsill in winter.
Anna, a housewife from Moscow: "I wasn't able to grow a large pea crop, but the greenery on the windowsill during the winter cold was a joy for me and my family. I'll try planting peas on the windowsill again; maybe I just didn't give the plants enough light. Now I'll buy a special lamp at the store and I'll definitely be able to eat juicy, sweet peas."
Elena, Syktyvkar: "It's hard to grow a harvest of tasty beans in our climate, but I tried planting peas on a warm balcony for the first time, following a friend's advice. I was delighted with the results, but the kids were even more delighted. They quickly devoured the ripe beans. Now we'll be planting beans on all the windowsills in the apartment."
Related posts:
 How to properly plant peas in a greenhouse and open ground
 How to propagate and grow peas, cultivation technology, and care in open ground
 Description and characteristics of the best seeds of pea varieties and types
 Description of varieties of sowing peas and cultivation, to which family they belong
 Description of pea pests and diseases, treatment and control measures
 The health benefits and harms of peas for men and women, and recipes for treating diseases
 How to plant and grow peas indoors and in a greenhouse
 How to properly tie and create support for peas in open ground