Fans of this root vegetable try various methods to preserve turnips for the winter. To ensure their shelf life lasts longer, it's important to consider certain features and rules. Since ancient times, turnips have been used in a variety of dishes. They contain a wealth of beneficial nutrients. These days, their popularity has declined. Despite this, they are still grown in gardens and preserved for the winter.
When to harvest turnips?
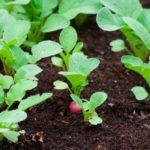
Harvesting is directly related to the timing of planting and subsequent use. Turnips have a long maturation period. Three months pass from the first shoots to maturity.
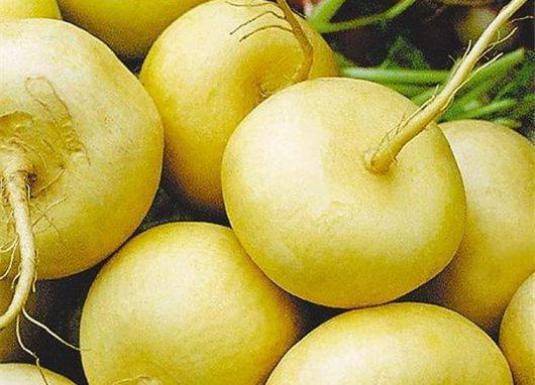
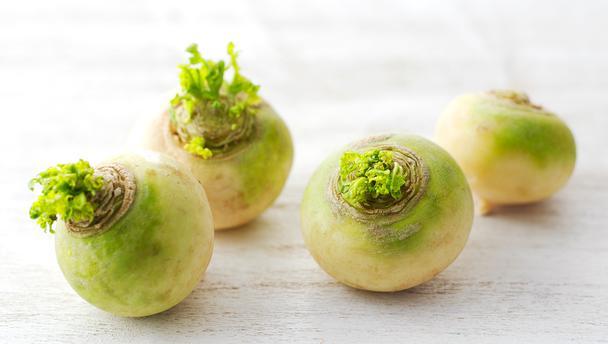
When the root reaches a diameter of 4-5 centimeters, it is at its sweetest and suitable for cooking. Unripe turnips are mainly used in salads.
Fully ripened root vegetables are suitable for winter storage. Harvesting occurs in mid-autumn.
A fully ripe vegetable stores well and does not lose its properties until spring.
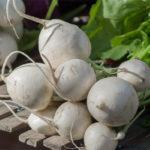
Selecting root vegetables suitable for storage
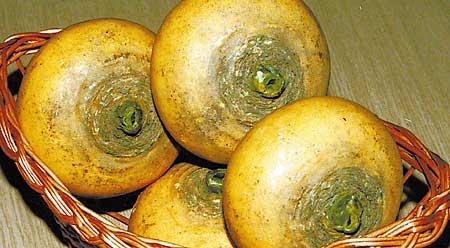
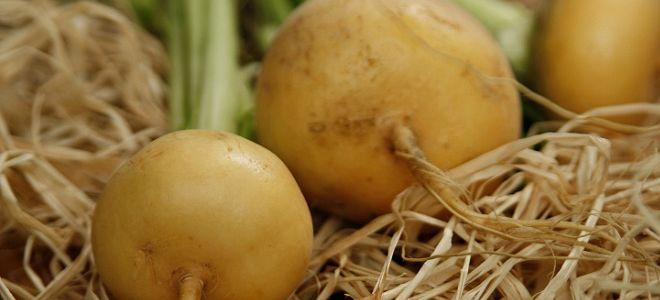
Late-ripening root crops are the most suitable for storage. Choose healthy, ripe fruits. Discard any irregularly shaped roots with damaged or rotten areas.
Storage conditions for turnips
The shelf life of vegetables directly depends on storage conditions. Root vegetables are easy to store and don't require special conditions. They can be easily stored with other root vegetables, as they don't absorb foreign odors. Some gardeners sprinkle their vegetables with chalk to extend their shelf life.
Almost all root vegetables thrive in cool, dry, and dark spaces. Cellars and basements meet these requirements.After digging, trim off the tops of the turnips, leaving 2-centimeter-long tips. Let them dry slightly and store.
Methods for storing turnips
There are various ways to preserve turnips for the winter, each with its own rules and peculiarities. Homemakers try different methods and choose the one they like best.
How to keep turnips fresh?
When potatoes weren't so popular, turnips were a staple food for bread. They kept well in a cool place without changing their texture or flavor.
In the cellar
The simplest and most accessible method of storing turnips in winter is in a cellar. They are stored like carrots. The turnips are placed in a special wooden box, each layer covered with sand, reaching the top.
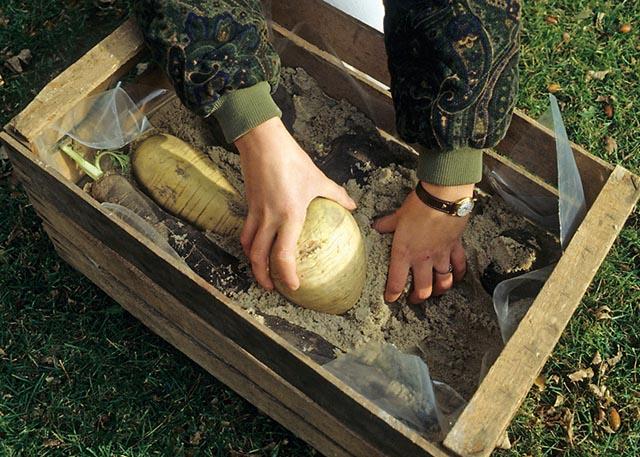
If space is limited, vegetables are laid out directly on shelves and sprinkled with sawdust or sand. These materials absorb moisture well, and the vegetables can be stored until spring.
At home
Having a good, spacious cellar where you can store plenty of fruits and vegetables is great. But what about those who live in apartments and don't even have a basement? Storing root vegetables at home is easy. Pre-harvested and ripened vegetables should be cleaned of tops and any dirt. Handle them manually to avoid damaging the skin.
Next, the turnips are placed in a plastic bag with holes punched in it. Some gardeners cover the turnips with a clay mixture. The room must be humid, otherwise the top crust of the turnips will dry out.
In the vegetable pit
Storing in a special vegetable pit is very effective. The only thing is, you have to dig it.
Steps to create a pit for storing root crops:
- Dig a rectangular hole about one meter deep.
- The bottom must be lined with a thick layer of dry straw.
- Place the vegetables in a circle, trying to keep some distance between the root vegetables.
- Sprinkle each layer with slightly damp sand.
- The top layer should be sand.
- The hole must be filled with soil from above and covered with either pine branches, dry grass, or fallen leaves.
- It's important to ensure water drainage from the pit. To achieve this, ditches are dug on both sides.
This method is rarely used. It's used in extreme cases, or when there's no cellar. This makes it difficult to remove the vegetables from the pit.
Harvesting and processing of root crops
If you don't have a cellar and don't want to prepare a vegetable pit, you can use other methods of preparation: drying, freezing, or canning.
Drying
Drying is a common method. It's very quick and easy to dry the root vegetable using an electric dehydrator or oven. If you don't have one, sun drying will also work. The only thing you need to do is use special nets to prevent insects from accessing the turnips.
Stages of turnip preparation:
- After harvesting the turnips, they must be cleaned of roots and washed under running water.
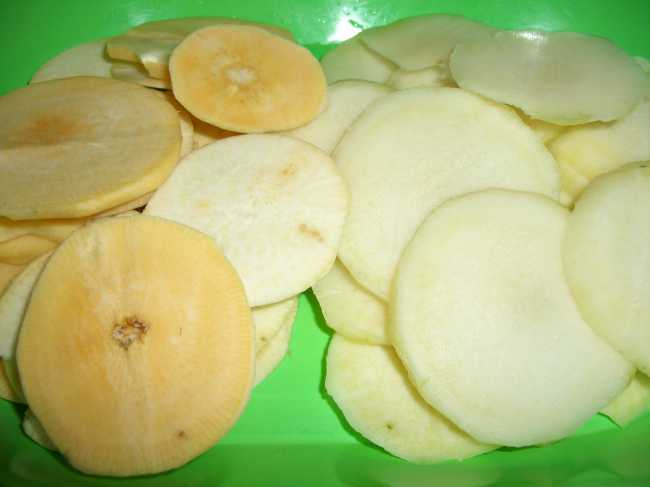
- Dry slightly and cut off the top layer of peel.
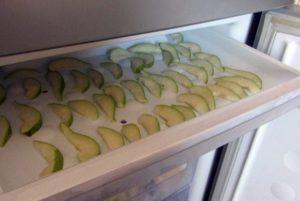
- Cut the vegetable into small circles and plunge them into boiling water. 20 seconds is enough.
- After this, place the turnips in a colander and let the excess liquid drain.
- Spread out in one layer on a towel.
- If using an oven, set the temperature to no higher than 70 degrees Celsius. Arrange the vegetables in a single layer on a rack and place them in the oven.
- Drying time depends on the thickness of the circles. It's approximately 6 hours.
The slices should be turned periodically and checked for doneness. When using an electric dehydrator, the fruit is placed in the compartments and the drying mode is turned on. Drying time is 10-12 hours.
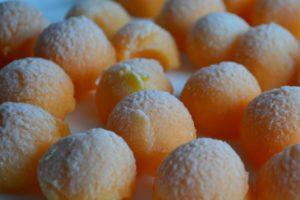
Freezing
This method is the leading one, as it can freeze vegetables, fruits, and berries. Special freezers used at home maintain low temperatures and preserve the fruit intact.
Freezing stages:
- Remove the roots and tails from the turnips.
- Rinse under running water and let excess liquid drain.
- Peel off the outer skin using a vegetable peeler.
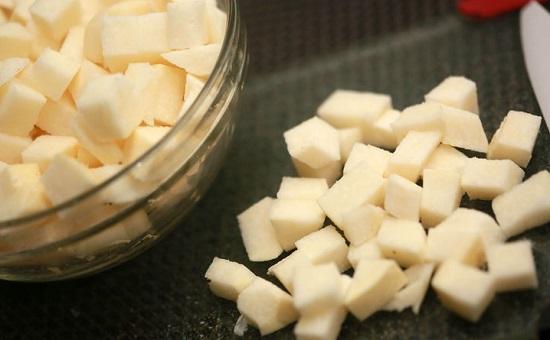
- Cut into cubes and spread on a tray in a single layer.
- Place in a deep-freeze chamber. After 24 hours, you can pour it into plastic bags or special containers for further storage.
- Some housewives blanch the vegetable immediately before freezing.
- To do this, the pieces are dipped in boiling water and boiled for two minutes.
- Then comes freezing.
Conservation
Canning is a traditional way to preserve vegetables for the winter. Turnips are preserved as a standalone vegetable, as well as in stews with other vegetables and fruits.
Related posts:
 Growing and caring for turnips in open ground, how to plant and when they ripen
 A detailed description of the 25 best turnip varieties for open ground and greenhouses
 Description of turnip pests and their control using folk and chemical methods
 How to plant grapes step by step, with a description of the process and care
 How to properly plant peas in a greenhouse and open ground
 How to propagate and grow peas, cultivation technology, and care in open ground
 How to control onion flies using natural and chemical methods
 How to store radishes for the winter in a cellar and refrigerator at home