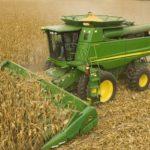
In the fall, gardeners with livestock often wonder how to make a corn sheller themselves. At the end of the season, feed is sold at low prices. You can stock up for the entire winter.
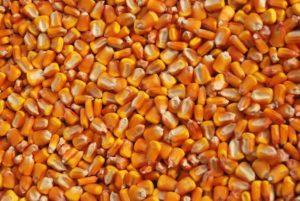
Next, consider how to quickly separate the kernels from the cobs. The traditional method is to rub one head of corn against another. But this cleaning method takes a considerable amount of time. And it leaves the gardener exposed to dust.
Manufacturers offer a variety of corn shellers. But they're expensive and don't always fully satisfy gardeners. It's important to have a tool that meets all your needs. This kind of helper should be built yourself.

General description
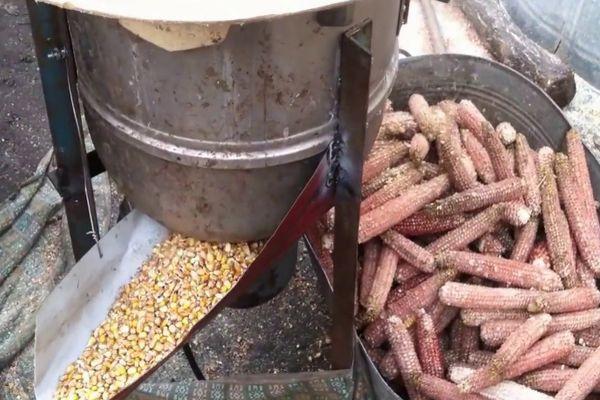
The device mimics the actions of a gardener's hands when husking corn cobs. However, the separation occurs by rubbing the corn cobs against the protruding teeth of the husker drum. The kernels should emerge cleaned through the holes during the process.
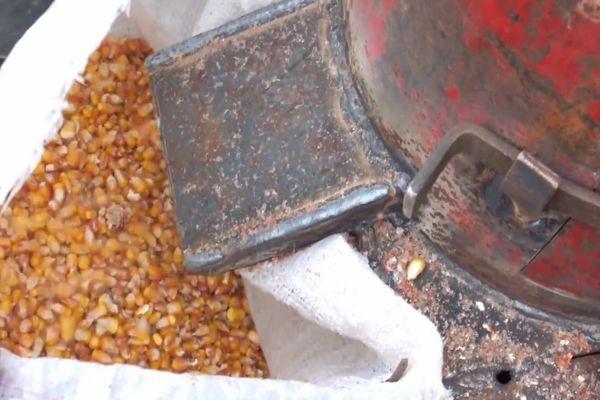
The kernels and cobs vary in size and weight. They scatter through the holes and end up in special bins. The configuration and diameter of the slits must accommodate corn of varying sizes. All the gardener has to do is open the flaps and empty the bins.
Making the tool requires the skills of a lathe operator and miller. Simple calculations are required to create the drawing. Gardeners use readily available materials, such as washing machine housings and motors, and cut-up gas cylinders. The key is the reliability and efficiency of the tool.
A homemade corn huller will make gardening easier and save you money on expensive equipment. All requirements will be taken into account during design. You can share the plans and calculations with neighbors and friends.
Operating principle
To understand how it works, you should remember how you clean corn at home, what forces cause the kernels to fly out of the cob, and where they end up after separation.

At the initial stage, the force of sliding friction is at work. It separates the kernel from the cob. Then, the kernel moves in a circle under the influence of centrifugal force and flies off tangentially from the cob. Under the influence of gravity, the corn falls onto a support material on the ground.
The device's operating principle completely replicates the manual process. As the husker operates, corn cobs rub against the drum's teeth. A motor provides rotational motion to the drum. Centrifugal force causes the corn kernels and shelled cobs to fly tangentially toward the drum's walls.
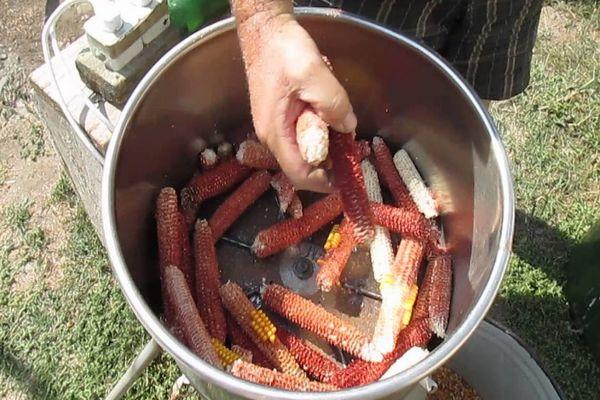
The waste discharge opening in the sheller must be closed with a flap. This can be a hook or a latch. This will ensure the gardener's safety when using the peeler: during the separation process, dust is produced that can easily clog the eyes.
How to make
The bulk of the work involved in manufacturing a peeler involves selecting materials and creating operating diagrams. This stage is the most labor-intensive: errors will result in poor performance.
What to prepare before starting work
First, it is necessary to imagine the main components and parts that make up the peeler:
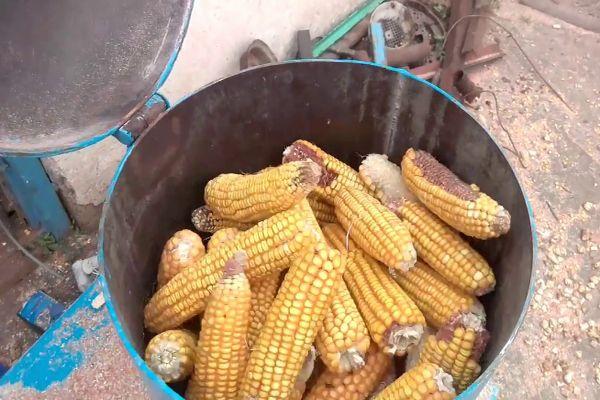
- the main unit is a tank with holes for placing corn cobs and for removing grain and cobs;
- rotary shaft;
- transmission belt (sometimes not required);
- washing machine motor;
- peeling disc with teeth;
- steel corners for mounting the stand;
- wheels;
- electrical cords, plug;
- main hopper cover;
- outlet flaps;
- mounting bolts.
Description of the manufacturing process
Making a corn husk huller yourself is easy: just follow this simple algorithm:
- Prepare a round washing machine tank. If you don't have one, you can carefully cut a gas cylinder into half.
- Make a flat disk of 4 mm thick steel. Divide it into 4-6 sections. The sections should have 1-3 cm slits for pouring the corn kernels.
- The disc diameter should be 2-3 cm smaller than the diameter of the container. This gap is necessary to separate the clean corn.
- Each sector is equipped with 8 mm high teeth. The tips of the teeth should be blunted. This is necessary to prevent the grain from breaking.
- The disk is fixed in the center of the housing on the shaft.
- The structure is mounted on legs. The corn husker is an electric machine. The disc is driven by a motor mounted underneath. It should have a power of 1.5 kW. It is recommended to set the speed low: 500-600 rpm.
- The body is equipped with two openings: one for the exit of heads of cabbage, the other (at the bottom or on the other side) for pouring out clean corn.
- For convenience, a hopper with a flap on top of the sheller should be provided for loading cobs before shelling. When processing large quantities of corn, this will save time: the hopper is filled in advance, and after the cobs are ejected, the flap is opened, and the process continues.
- When using high power motors, it is recommended to provide an emergency interruption of the power supply.
- All that remains is to attach the lid to the body and you can do a test run of the peeler.

It's important to remember: when connecting the peeler's electrical components, technical standards and regulations must be followed. This will ensure the safe operation of the unit.
Homemade corn sheller
Before you start making a peeler, it is recommended to carefully think through the sequence of actions.
The gardener will need:
- Schematics and drawings of parts and assemblies. These are produced independently after completing the necessary calculations. A sketch design will help visualize the overall appearance of the peeler.
- The structure is quite heavy. To ensure easy movement, consider a method of propulsion. It is recommended to attach runners or wheels to the legs.
- The outlet openings should be equipped with bag holders to prevent debris from clogging the area where the sheller is located. This simple device will protect the gardener from dust when discharging the heads and grain.
- Choose a motor mounting option: belt or direct to the shaft. It's recommended to consider the motor's power and RPM. At low RPMs, a low-power motor can be mounted directly to the shaft.
- Provide a secure lid for the corn cob opening. It should fit snugly on the tank while the engine is running.
When using a gas cylinder to make a peeler, exercise extreme caution: clear it of any remaining fuel before use. The presence of liquefied gas during sawing can cause an explosion.
Related posts:
 Technology for growing corn in open ground and greenhouses, planting and care
 Corn sowing rules and regulations, how to plant and prepare seeds
 Description and characteristics of the most productive varieties and hybrids of corn
 Rules for harvesting corn from fields for different purposes: for grain, for popcorn and for silage
 Technological map for growing corn for silage, seeding rates and yield per 1 ha
 Why do you need to fertilize corn? Irrigation and watering after applying fertilizer.
 Corn diseases and pests, effective control measures and prevention
 The benefits and harms of corn for human health
I'll definitely show this article to my husband; with this device, cleaning corn takes just a few seconds. I always add corn to my birdseed; it's very rich in vitamins.