- General information about rutabaga
- Harm and benefit
- Popular varieties
- Specifics of growing crops from seeds
- Sowing
- Caring for seedlings
- How to dive
- Planting rutabaga in open ground
- When to plant
- Suitable soil
- Landing rules
- Planting rutabagas in winter
- What to plant with rutabagas in the same bed
- Specifics of plant care
- Watering regime and maintaining soil moisture
- Temperature conditions
- Fertilizing the crop
- Processing
- Diseases and pests
- Harvesting and storage
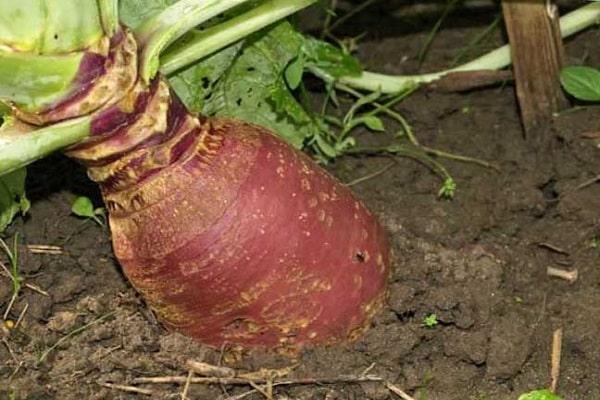
Among root crops distinguished by their excellent taste and nutritional qualities, rutabaga, a biennial plant of the Brassicaceae family, holds a distinguished place. Although rarely used for cultivation in gardens today, rutabaga is easy to grow and care for outdoors and is very low-maintenance. It has delicious, juicy flesh and is a source of a wide range of vitamins and microelements.
General information about rutabaga
A distant relative of the turnip, rutabaga is significantly superior in flavor and nutritional value. It boasts a high fiber content, containing pectin, starch, and mustard oil. It also boasts B vitamins, ascorbic and niacin, provitamin A, and minerals (potassium, sulfur, phosphorus, iron, and calcium)..
Rutabaga has a wide variety of cultivars, some of which are used for food and others for fodder. It's a moisture-loving plant, growing well in fertile, well-drained soils. It's cold-hardy but tolerates heat well (though with a loss of flavor).
Harm and benefit
Rutabaga's rich vitamin and micronutrient content makes it a valuable food, especially in the spring when vitamin deficiencies are common. It can be part of a therapeutic diet. Its high fiber content helps with constipation. It is also an important component of an anti-sclerotic diet.
Rutabaga has been used as an anti-inflammatory, burn remedy, and diuretic. Its juice is used as a mouth and throat rinse for respiratory infections. Its rich calcium content makes it suitable for treating calcium deficiency.
Rutabaga also has contraindications. These include acute gastrointestinal diseases (gastritis, peptic ulcers, gastroenteritis, pancreatitis).
Popular varieties
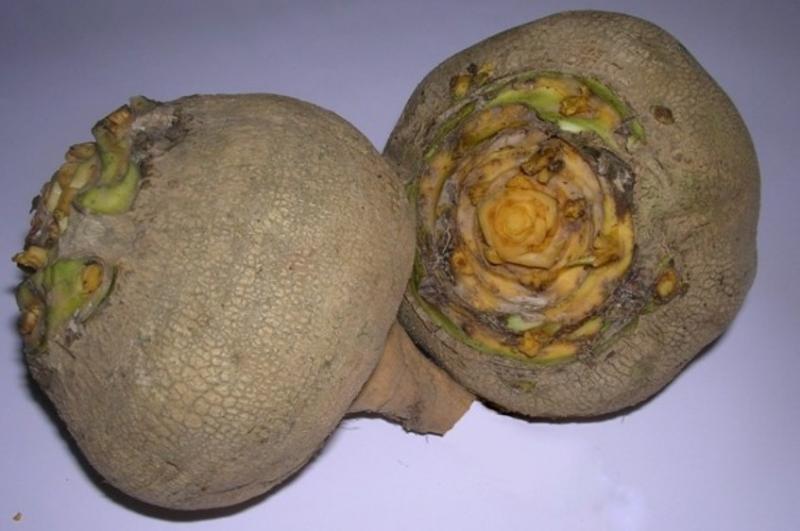
Rutabaga comes in a variety of cultivars. They all have different ripening times, produce roots of varying sizes and weights, and vary in flavor. The most popular are:
- The Vereya rutabaga is a mid-season variety. It takes 80 to 90 days for the roots to ripen. The average fruit weight is 250-300 grams. It has delicious, juicy flesh.
- Rutabaga "Svetlaya Mechty" is an early variety with the shortest ripening period (70 days). The skin is yellow, and the flesh is also yellow, appetizing, and juicy. The roots are large, reaching 350 grams.
- Rutabaga "Children's Love" is a mid-early variety. It ripens in 100-120 days. The large, round fruits, with proper care, can reach up to 400 grams. The plant has a high yield of 6.3 kilograms per square meter.
Take a look Also

Specifics of growing crops from seeds
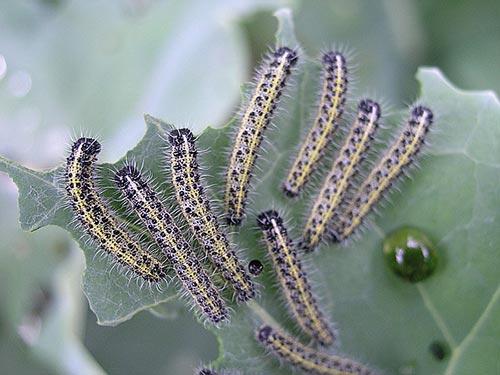
Growing rutabaga yourself begins with growing seeds. Doing this indoors will protect the young sprouts from a dangerous pest, the cruciferous flea beetle.
Before sowing, disinfect the seeds in a one percent solution of manganese or a garlic solution (25 grams of crushed garlic pour 100 grams of water), then rinse in running water and dry on a napkin.
Then, sprout the seeds on a damp cloth or gauze. Once the sprouts emerge, begin sowing.
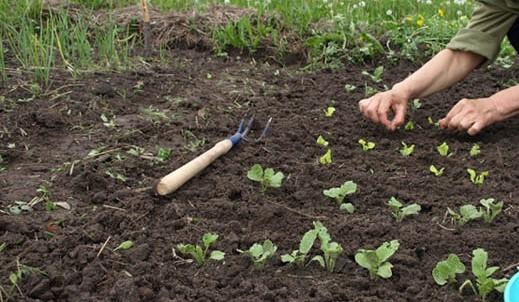
Sowing
Rutabaga seeds are sown in early April. The seedlings develop over the next six weeks, after which they are transplanted into open ground. Special containers filled with a well-moistened nutrient mixture are used for sowing. The planting depth is approximately one and a half centimeters.
Space the seeds approximately 30 millimeters apart, and the row spacing is 70 millimeters. After sowing, cover the seedlings with plastic wrap and place them in a sunny location to ensure optimal germination.
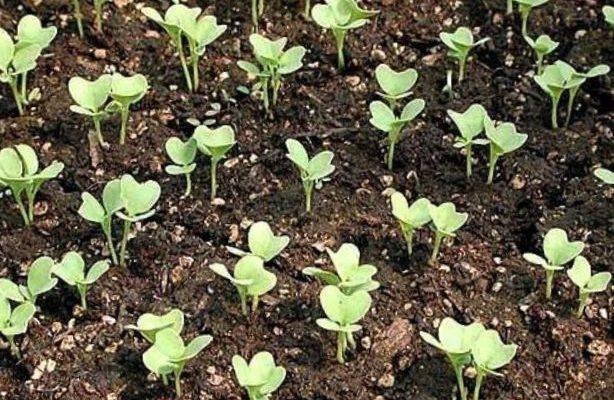
Caring for seedlings
After the first leaves appear, remove the plastic wrap and place the seedling boxes in a cool place. Seedling care involves regular watering, loosening the soil, and removing weak, non-viable plants.
Hardening off the seedlings by exposing them to cold temperatures daily helps strengthen them. The time spent in the cold is gradually increased.
How to dive
When germinating rutabaga seeds, avoid pricking them out to avoid damaging the delicate roots. Deep containers, which provide the roots with enough space to develop well, eliminate this need.
Planting rutabaga in open ground
High-quality root vegetables can be grown if the beds are planted in a sunny, south-facing location with fertile, normally acidic soil. Good predecessors for rutabagas include cereals, legumes, and nightshades. Before planting, prepare the soil by digging it thoroughly and removing weeds. Add organic fertilizer—compost or well-rotted manure—at a rate of 5 kilograms per square meter.
When to plant
A rosette of four leaves on the seedlings is a sign that it's time to plant them outdoors. It usually takes about 1.5 months from planting the seeds. This usually happens in mid-May, although the exact planting time depends on weather conditions.
Suitable soil
The ideal soil for growing rutabaga should have a neutral pH level (from 5.5 to 7.0 units), loamy or sandy loam composition.
Acidic soil will lead to persistent diseases; it is alkalized by adding lime fertilizer. Marshy, waterlogged soil is also unsuitable.
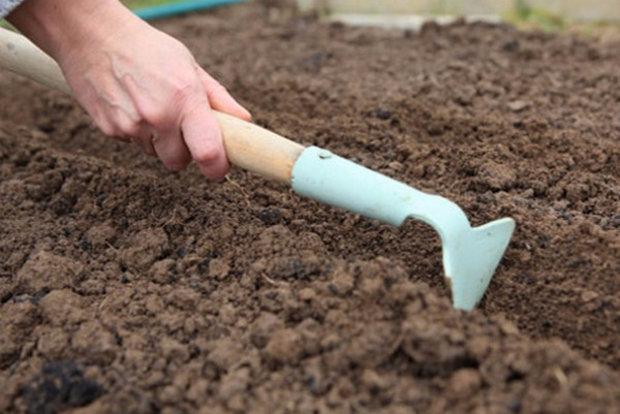
Before planting, the soil is prepared by digging and adding organic and mineral fertilizers.
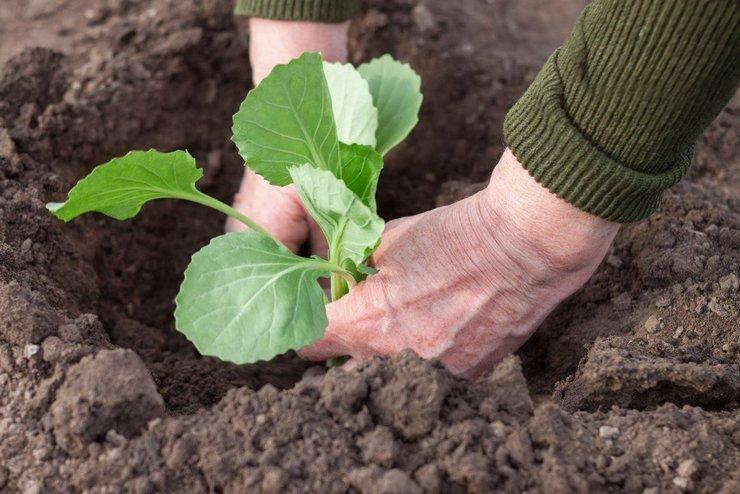
Landing rules
Once a planting site has been selected, create beds with planting holes spaced 10-15 centimeters apart and half a meter between rows. Water the empty holes generously. Take the seedlings with a lump of soil, carefully transplant them into the soil so that the root collar is exposed, compact them lightly, and water generously. For some time after transplanting, the plants need protection from strong winds, rain, and scorching sun.
Planting rutabagas in winter
Rutabagas can be planted in the ground before winter. Overwintered seedlings have a high level of disease resistance, grow vigorously, and produce a good harvest. For winter-planted plants, the time to plant them in open ground is late fall, after the first frosts have struck and the ground has frozen to a depth of 5 centimeters.
Before planting, the bed is loosened and organic and mineral fertilizers are added. The bottom of the holes is lined with a layer of sand, on which a couple of seeds are laid. Dry sand is also added on top, followed by a layer of organic matter such as humus or compost.
The plantings are watered with warm water. The beds are mulched and covered with a layer of fallen leaves or spruce branches to retain heat.
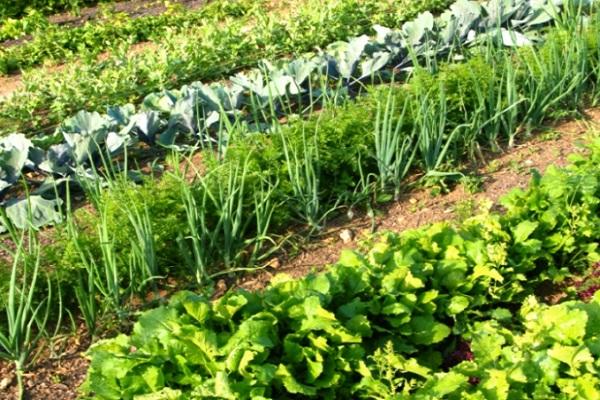
What to plant with rutabagas in the same bed
Rutabaga plants pair well with greens, any type of lettuce, and medicinal herbs. Planting strongly fragrant flowers (such as marigolds and marigolds) nearby can provide effective pest protection. Beds of carrots, dill, and celery protect the plants by attracting predatory insects. However, planting rutabaga next to Brassicaceae (turnips, radishes, and cabbage) can be detrimental.
Specifics of plant care
Caring for rutabagas isn't difficult, but it does require attention and care. This includes timely watering, hilling, careful weeding, fertilizing, pest control, and cultivating the soil between rows. By following these guidelines, even a novice gardener can grow a high-quality and bountiful harvest.
Watering regime and maintaining soil moisture
Rutabaga thrives on moisture, so adequate soil moisture is essential. During dry weather, plants should be watered more frequently, otherwise the roots will become tough and bitter. However, moderation is essential. Overwatering will result in tasteless and waterlogged roots. It's best to combine watering with weeding and loosening the soil. Rutabaga is watered with warm, settled water at a rate of 10 liters per square meter.

Temperature conditions
Turnips thrive best at temperatures between 16 and 18 degrees Celsius. These conditions produce roots with the best flavor and nutritional qualities. Temperatures above 21 degrees Celsius are unfavorable.
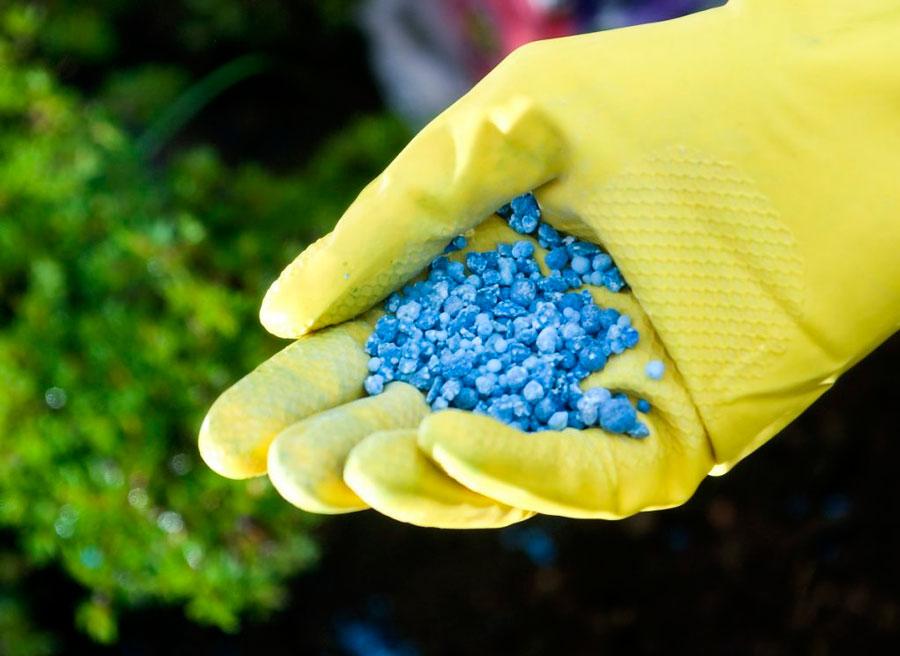
Fertilizing the crop
To obtain a high-quality rutabaga harvest, regular fertilization is necessary. Fertilizer is applied two or three times per season. The first application of liquid manure is done two weeks after planting in open ground. The second application is done after the roots have formed. This time, a complex mineral fertilizer containing the following elements is applied:
- calcium, manganese, copper, phosphorus (these fertilizers make the root crop sweet);
- boron (this substance affects the quality of the pulp, which becomes juicy, tasty, and light).
Processing
To protect rutabaga crops from diseases and insect pests, a range of treatments are used. Regular inspections help identify the first signs of damage so that timely action can be taken. Wood ash is the most commonly used treatment to control the main pest, the cruciferous flea beetle.
Both folk remedies and chemical treatments can be used as treatment measures.
When using insecticides, take precautions. It's important to complete treatments no later than a month before the rutabaga harvest.
Diseases and pests
Rutabagas are susceptible to the same diseases and pests that affect other members of the Cruciferae family—cabbage, turnips, and radishes. The most common are felt blight, mosaic, and blackleg. Other pests that pose a threat include sprout flies, slugs, and the cabbage root fly.
The fight is carried out through a number of measures:
- compliance with crop rotation rules;
- disinfection of seeds before sowing;
- regular weeding of seedlings;
- removal of organic residues after harvesting.
 High-quality fertilizing of rutabaga significantly increases the plant's resistance, and therefore reduces the risk of developing one or another infection.
Harvesting and storage
Rutabagas ripen quickly. The harvest is completed four months after planting. Root crops intended for winter storage are harvested just before frost. Harvesting and storage are carried out according to a number of rules:
- It is important not to damage the root vegetables when harvesting; the green above-ground part should be left, cut off at the stem;
- You should thoroughly clean and dry the vegetables, placing them in a cool, dark place;
- After drying, the rutabaga should be stored in an unheated, ventilated storage area at the dacha, at a temperature of 3 to 5 degrees Celsius, and covered with river sand;
- If there is no storage facility, vegetables are placed in shallow trenches outside, covered with dry sawdust, and then covered with soil.
A nutritious and healthy root vegetable, rutabaga adds variety to the winter diet and is widely used in traditional medicine recipes. Experienced and novice gardeners alike are advised to keep this vegetable in mind and plant it more often in their plots. It stores well and retains its flavor for a long time.
Related posts:
 The best eggplant varieties for growing in a polycarbonate greenhouse: planting and care
 How to propagate and grow peas, cultivation technology, and care in open ground
 The best grape varieties for growing in the Urals, planting and care rules in summer
 How to properly plant peas in a greenhouse and open ground
 Methods for planting and propagating cherries at home
 Carrot care guidelines for outdoor cultivation to ensure a good harvest
 Peach tree care and agricultural secrets, pest control
 What can be planted next year after cabbage in open ground?
Rutabaga is really delicious. I've been treated to it. But this is my first year planting it. Now I have to wait for the harvest. The nights are cold now. I covered the plantings with mown grass. There's no rain, so I'll have to water more often.