- The health benefits and contraindications of green peas
- Prepare the main ingredients
- How to prepare peas for the winter at home
- We preserve
- Canning in the classic way
- A quick way without sterilization
- Canned with cucumbers
- Marinate
- Pickled in pods
- Marinating without sterilization
- Marinate without vinegar
- Drying
- Freeze
- About the rules for storing peas
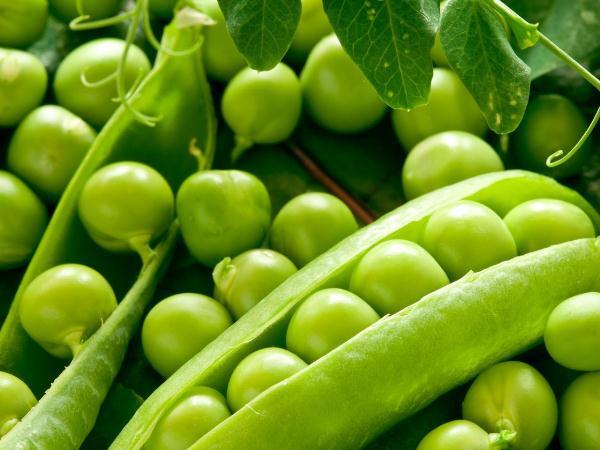
One of the most important ingredients in any kitchen is green peasIt's used in soups, salads, meat dishes, and even eaten raw. No table should be complete without it, not only in summer but also in winter.
To ensure your family has enough peas for the winter, you'll need to remember a couple of simple recipes. Below, we'll discuss how to preserve green peas for the winter at home and the best recipe.
The health benefits and contraindications of green peas
This product not only has a bright, explosive taste, but also a host of beneficial properties, such as:
- Contains a lot of plant-based protein, making it ideal for vegetarians.
- It is easily and quickly absorbed by the body.
- In addition to protein, it contains a large number of vitamins of various groups.
- The fiber contained in peas in large quantities helps to normalize the functioning of the gastrointestinal tract.
- Peas are considered a high-calorie food, and when compared to other ingredients, such as potatoes, the calorie content of peas is almost twice as high.
- The antioxidants included in its composition have a beneficial effect on the condition of human hair and skin.
- It is used to fight cancer, and is especially useful against stomach cancer.
- Strengthens bones.
- It is good for your eyesight.
- It reduces blood cholesterol levels, which helps the cardiovascular system stabilize and function smoothly.
Please note! If you're planning a hike or long trip, take a supply of peas with you. They'll quickly restore your energy and keep you feeling energized for a long time.
Unfortunately, this product does not always benefit a person, and its use is not recommended for the following people:
- suffering from gastrointestinal disorders;
- pregnant women;
- if you are allergic to this culture.
Do not consume in large quantities as this may cause dizziness and nausea.

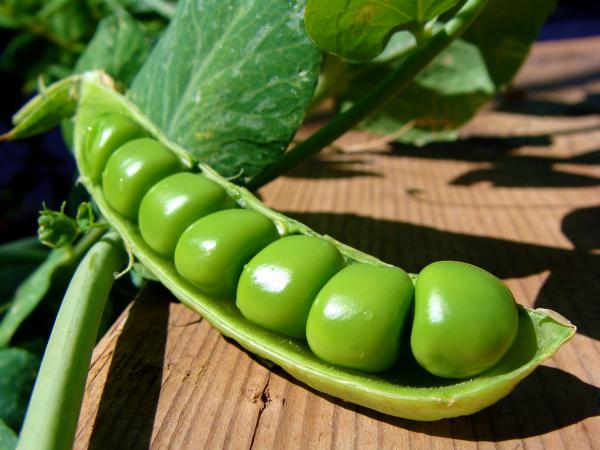
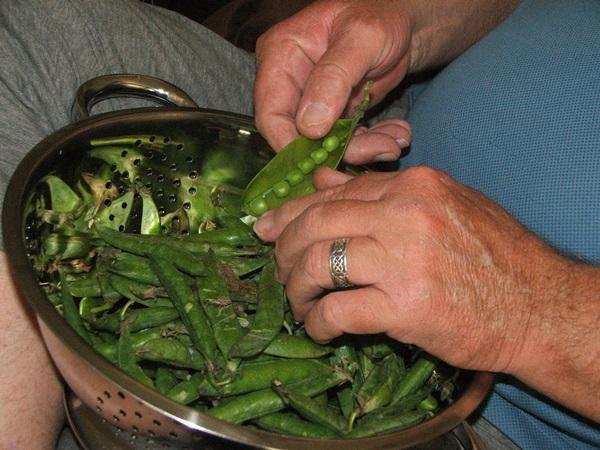
Prepare the main ingredients
Housewives planning to stock up on peas for the winter should keep in mind that not all varieties are suitable for canning. When choosing ingredients for canning, pay attention to:
- Product maturity. Young green peas are best; you can crush the seeds between your fingers if desired;
- Ripe or overripe produce is not suitable for canning. Using it will give the product a cloudy, unpleasant color, and the dish will taste overly starchy;
- the product does not require any special processing, but it is always washed thoroughly before use;
- Make sure that no damaged seeds or pods get into the preparation.
How to prepare peas for the winter at home
So, you've decided to can green peas and stocked up on all the necessary ingredients, but you're unsure which method to choose. In this case, you have the following options:
- marinate the product;
- preserve it;
- stock up on dried peas;
- freeze it in the freezer.
Each option is good in its own way, and you should have at least one recipe from each. Let's take a closer look at each.
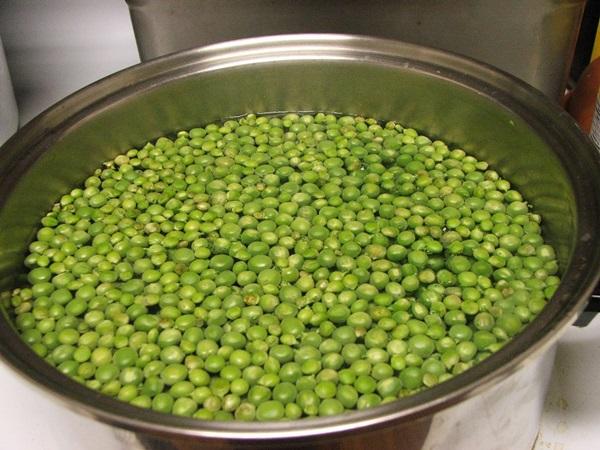
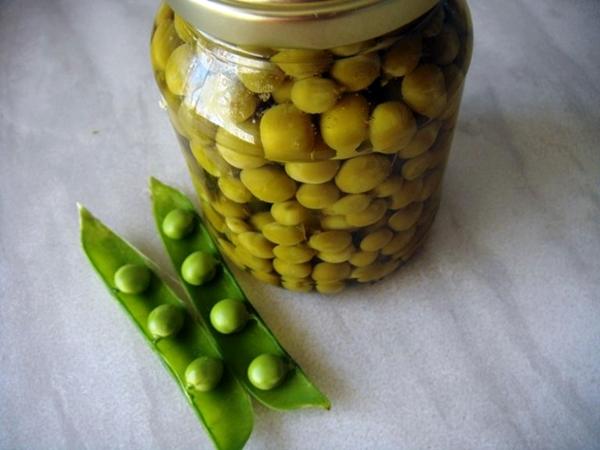
We preserve
Canned peas are a great addition to meat, poultry, and various salads. They're easier to digest and are easily digested, even by children.
If you choose this method, please read the basic cooking rules:
- The best container is considered to be a jar with a capacity of 0.5-1 liter.
- The container in which you cook the product must be deep so that the water covers all the peas.
- The readiness of a product for canning is determined by the appearance of its grains. If they have shriveled during cooking, transfer them to a jar.
- Any grains that burst during cooking are removed, as they will spoil the appearance and taste of the product.
- Don't eat the canned product right away. It should be left in the jars for at least 3-4 days. This will allow the grains to soak in the brine, allowing you to fully enjoy their flavor.
There are many ways to preserve this crop, but we will look at the simplest and most delicious of them, which can be repeated not only by experienced but also by novice housewives.
Canning in the classic way
To prepare preserves you will need:
- 1 liter of water;
- granulated sugar – 35 grams;
- salt – 35 grams;
- peas – 1 kilogram;
- 9% vinegar – 25 milliliters.
Recipe:
- Place two pots on the stove. We'll boil the peas in one, and prepare the brine in the other.
- In a saucepan intended for cooking, we collect enough water to cover all the peas completely.
- Bring the liquid to a boil and pour in the peas for no more than half an hour. If the peas cook too early and become soft to the touch, remove them before the allotted time.
- Pour a liter of water into the brine pan and add sugar and salt. Once the water boils, add vinegar.
- We distribute the finished product into sterilized jars and fill them with brine.
- We roll up the lid and send it to cool in a specially prepared place, covering the jars with a blanket.
Important! You don't necessarily need to use 9% vinegar. It can be more or less concentrated, but in that case, you'll need to adjust the amount of vinegar in the brine accordingly.
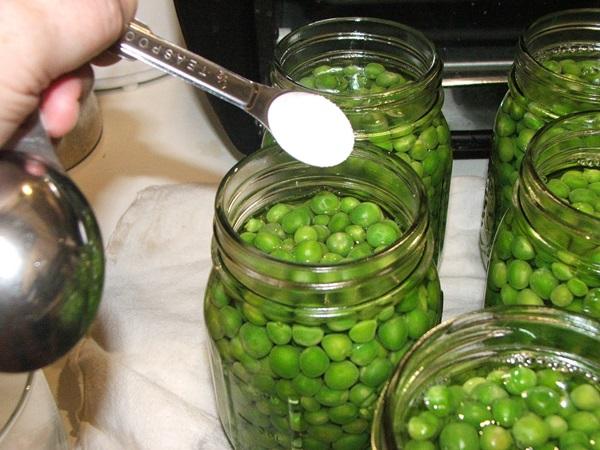
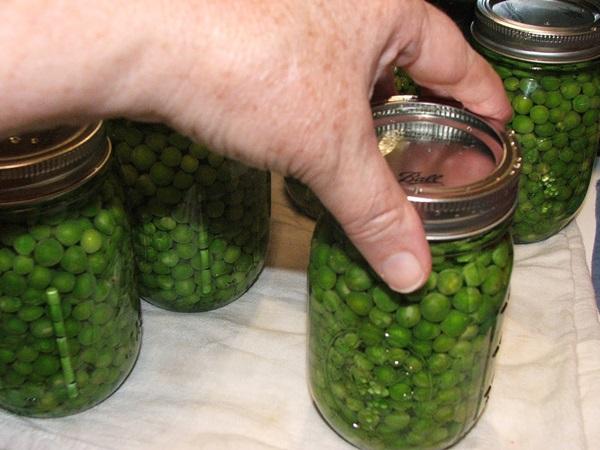
A quick way without sterilization
You can preserve peas without sterilization. To do this, you'll need:
- peas – 1.5 kilograms;
- a liter of water;
- granulated sugar – 1 tablespoon;
- salt – 1 tablespoon;
- citric acid – 1 teaspoon.
Cooking algorithm:
- We take the grains out of the pods and wash them thoroughly.
- Pour the peeled grains onto a towel and let them dry.
- Place a saucepan on the fire and fill it with water, adding granulated sugar and salt.
- Add peas to boiling liquid.
- Wait 25 minutes and add citric acid to the container.
- We fill the jars with boiled peas, then pour brine over them.
- Housewives who are unsure about the safety of their preserves can add a small amount of vinegar, at a minimum concentration, to each container. Half a teaspoon is usually sufficient for this purpose.
- We seal the jars with lids and store them in a basement or cellar. The preserves are ready without sterilization.
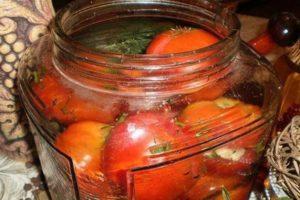
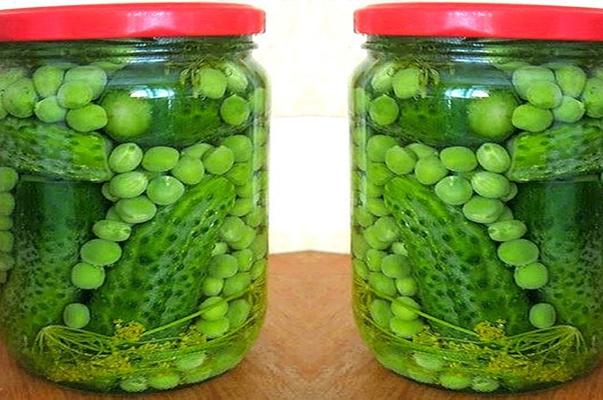
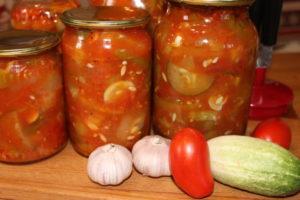
Canned with cucumbers
Preparing canned peas with cucumbers is not a complicated process, but you will need to prepare:
- 1.5 liters of water;
- 1.5 kilograms of fresh cucumbers;
- 9% vinegar – 60 milliliters;
- salt and sugar – 30 grams;
- garlic – 4 cloves;
- peas – 450 grams;
- dill and currant leaves.

Wash the cucumbers and peas, checking for any damage. Place the washed peas in a saucepan and cook for 20 minutes. Once the peas are cooked to the desired consistency, remove them and rinse them again.
Sterilize the jars and add all the ingredients, then pour boiling water over them for 15 minutes. Drain the water and boil again, then pour the boiling water into the jars. Repeat this process three times. For the third time, add salt, sugar, and vinegar. Pour the brine into the jar and seal with a lid.
Marinate
Pickling peas is a process no less exciting than canning, and here housewives are offered the following recipes to choose from:
- pickling without using vinegar;
- pickling peas in pods;
- pickling without sterilizing containers.
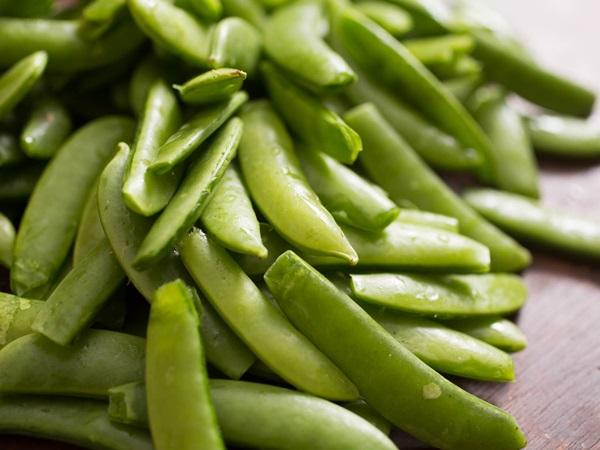
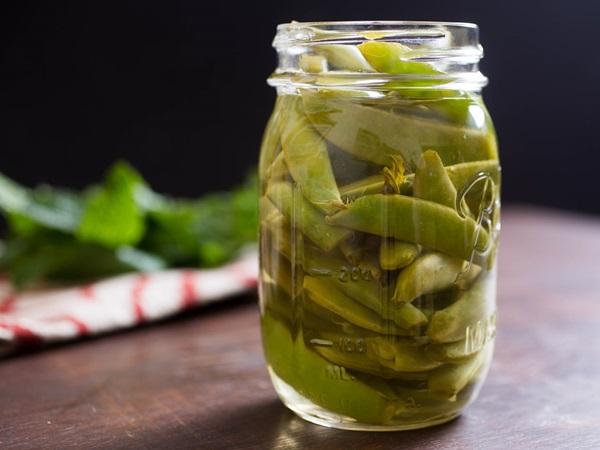
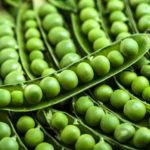
Pickled in pods
By preserving green peas without removing them from the pod, you infuse your dish with an extra dose of vitamins and nutrients, which are abundant in the plant's fiber. Raw peas are quite difficult to eat, as they have a dense texture that is difficult to chew and digest. Marinating softens the peas, making them more pliable.
Ingredients:
- 2 liters of water;
- a kilogram of green peas;
- salt – 7 spoons;
- granulated sugar – 4 spoons;
- vinegar 3% – 500 milliliters;
- allspice – 5 peas;
- baking soda – 5 grams;
- citric acid – 5 grams.
Recipe:
- The pods are washed, checked for integrity and damage, and then soaked in cold water for 1.5 hours.
- Scald the pods with boiling water with the addition of citric acid.
- The prepared pods are carefully placed in sterilized jars, along with salt and allspice.
- In a separate pan, cook the marinade, adding sugar and vinegar.
- As soon as the liquid boils, pour it into jars.
- We sterilize the containers covered with lids, and then roll up the lid.
- We prepare a special place in which we place the jars of pickled peas upside down, wrapping them in a warm blanket or rug.
- The next day we take out the jars and put them away for storage in the cellar.
Please note! It is advisable to place the pods vertically in the jar.
Marinating without sterilization
The recipe for pickling without sterilization is identical to the recipe for canning without sterilization. The ingredients and preparation method are absolutely identical. The only difference in the recipes is the addition of more spices to the pickled version, depending on your preference.
Marinate without vinegar
During the cooking process we will need:
- peas – 5 kilograms;
- 1 tablespoon of salt;
- water – 4 liters.
Preparation: Separate the pods, removing the young, fresh peas, checking their integrity as you go. Meanwhile, place a saucepan of salted water on the stove and bring it to a boil. Place the peas in the boiling water and cook for 5 minutes, then remove them and place them in a container of cold water.
Let the product sit in the water until it cools completely, then transfer it to the prepared container, pouring the marinade over it. Cover the jars with lids and sterilize for about an hour. When the product is ready, seal it with a lid and store it in the cellar.
In the future, this product is perfect for use as an additional ingredient in soup or salad.
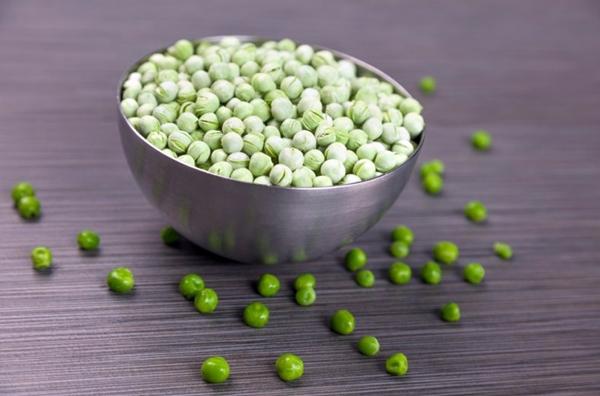
Drying
Only young peas, freshly picked from the garden, are suitable for drying. If more than six hours have passed since harvest, the peas are not suitable for drying. Fresh pods should be opened and the peas removed, selecting only whole, young peas. Overripe, hard peas are not suitable for drying.
Once the peas are prepared, you need to do the following:
- Place the peas in boiling water for a couple of minutes. This will help preserve the rich green color after drying;
- Place the scalded peas in ice water and let them cool;
- repeat the first two points again;
- Dry the processed peas by spreading them on a towel.
The drying process takes place in two stages, each lasting two hours, during which the peas are placed in the oven. The temperature inside is at least 40°C. OBetween stages, the peas are left to rest at room temperature for four hours. If desired, the temperature can be increased slightly during the final stage, raising it to 60°C. OIn this case, you should check the oven more often to make sure the food is cooked through.
Important! The better you dry your peas, the longer their shelf life will be.
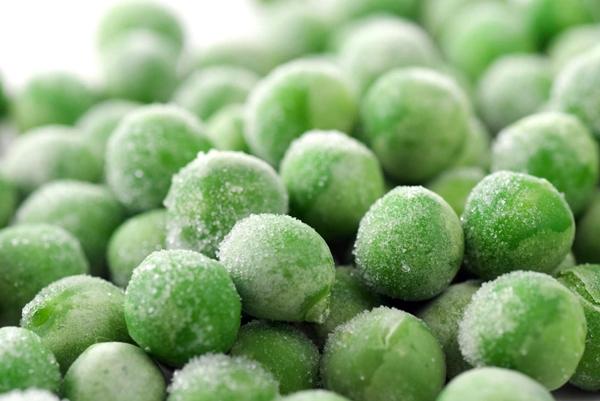
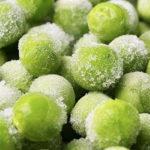
Freeze
It's best to freeze ripe, well-ripened peas. You can freeze either individual peas or whole pods. It all depends on varieties of peasBefore freezing, peas are blanched and cooled in ice water. After this process, the peas are dried and spread out on a tray in an even layer. The tray is then placed in the refrigerator for a couple of hours.
This is necessary to prevent the peas from clumping together during freezing. After the allotted time has passed, the trays are removed from the refrigerator, the peas are distributed into plastic bags or boxes, and placed in the freezer.
It's best to make portions large enough to be used at once. If you're freezing whole peas and they don't fit into a container or bag, you can cut them in half. In this state, peas can be stored for at least six months.
About the rules for storing peas
Peas are stored according to the following rules:
- Fresh peas in pods can be stored in the refrigerator for no more than 7 days, after which they lose their beneficial properties.
- Once removed from the pod, the peas can be stored in the refrigerator for several months. To do this, pour the peas into a bowl and place it on a shelf away from the freezer.
- The preparations are stored in a cellar or basement for at least 6 months.
- The frozen product is stored for 6 to 8 months.
- Dried vegetables can be stored for over a year. This will depend on the quality of the drying process. Store them in a dry place, away from rodents and insects.
Related posts:
 Description of varieties of sowing peas and cultivation, to which family they belong
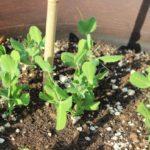
 How to propagate and grow peas, cultivation technology, and care in open ground
 Description and characteristics of the best seeds of pea varieties and types
 The health benefits and harms of green peas, composition, calorie content, and properties
 How to properly plant peas in a greenhouse and open ground
 How to quickly sprout peas at home: benefits and harms, recipes
 Is it possible to freeze green peas for the winter in the freezer and how to do it correctly?
 How to choose and use mung peas, their beneficial properties in folk medicine, cooking, and cosmetology
Everything is brief and instructive. Thank you.
Good afternoon
Thank you, we try our best for our readers.