- Description and characteristics of the variety
- Advantages and disadvantages of Alligator dill
- The subtleties of growing crops
- Preparation of planting material
- Planting dates
- Soil preparation and planting
- Specifics of dill care
- Watering
- Covering with film
- Top dressing
- Soil care
- Protection from diseases and pests
- Collection and storage
- Reviews of Alligator dill
Greens are always a favorite in the garden. Adding fresh lettuce, parsley, basil, or other herbs to any dish adds a delicate aroma and flavor of summer. And no garden plot is complete without dill. Many varieties of this plant have been developed, including the Alligator dill—a juicy, aromatic, and delicious herb.
Description and characteristics of the variety
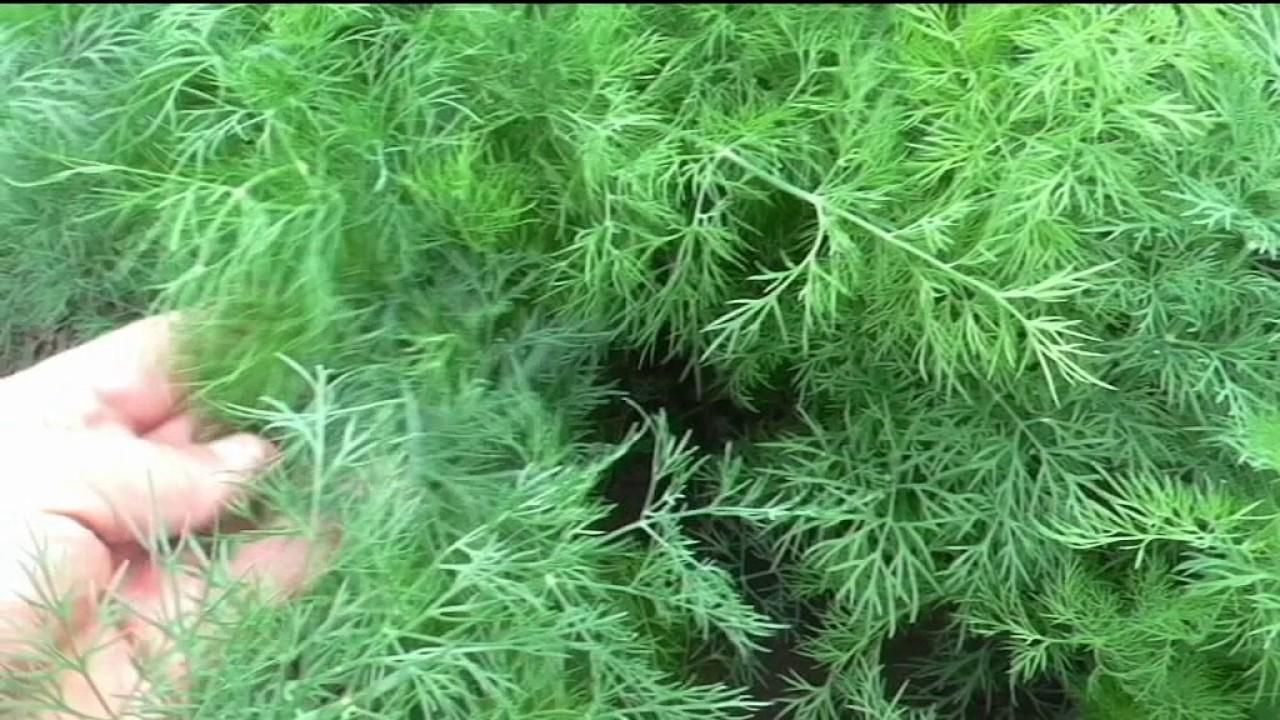
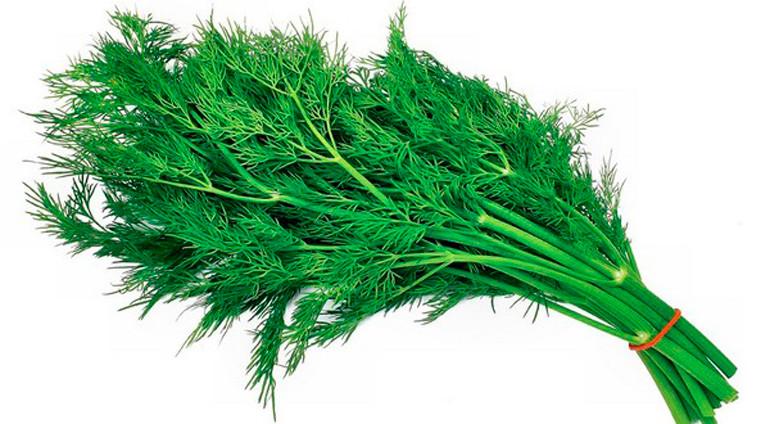
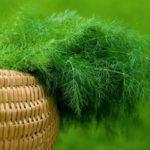
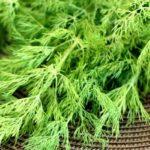
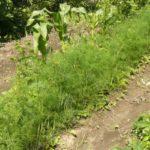
Alligator dill is a late-ripening variety and forms a fluffy bush up to 40 cm tall. It was developed through crossbreeding at the Gavrish experimental breeding plot. It is a typical member of the Apiaceae family and is distinguished by the following characteristics:
- green, jagged leaves with a bluish tint;
- large, raised rosette;
- formation of up to 10 leaves on the stem;
- unpretentiousness in care;
- good yield (30-60 g of green mass per bush).
The first greens can be harvested after 45 days, and flowering occurs after two months. The seeds need to wait another month to a month and a half for ripening (115 days after planting). The green herb is harvested before flowering, when the leaves have become few and somewhat tough.
If you don't need the seeds, it's best to pick off the flower umbels so they don't draw away nutrients.
Note: Late-ripening varieties are bush varieties, since the internodes on the stem are located close to each other. These varieties are considered the most difficult to care for, but they produce an abundance of green mass.
Advantages and disadvantages of Alligator dill
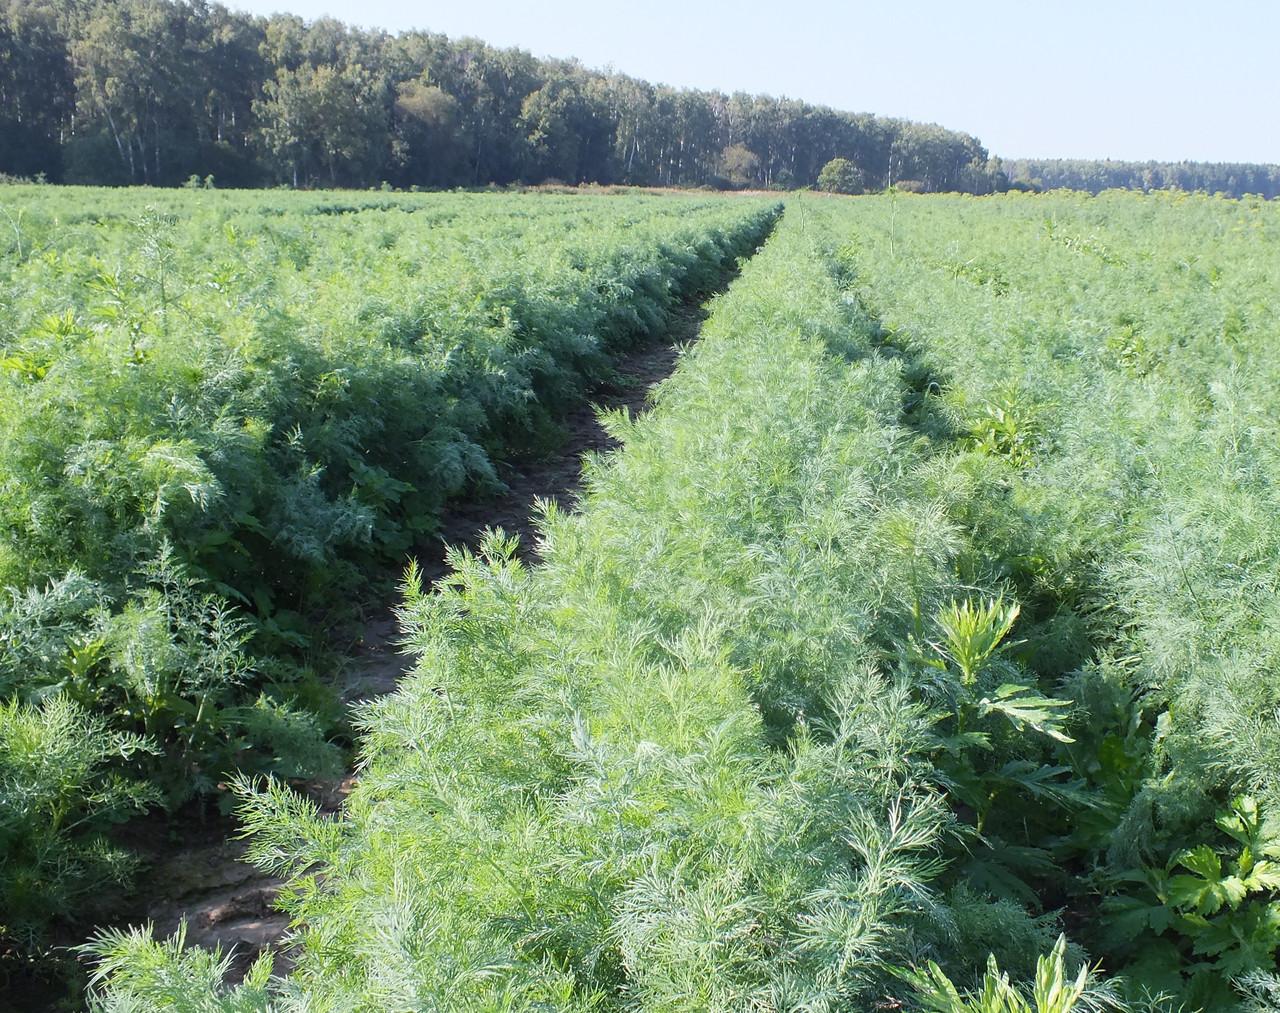
The Alligator variety is a versatile one: it grows well in greenhouses, hothouses, and open ground. It's productive and easy to grow, offering a whole host of advantages:
- gradual formation of greenery, which is collected throughout the season;
- pest resistance;
- growth in moderate light conditions;
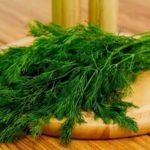
- thick, fragrant and juicy greenery;
- high quality of green mass;
- adapted for the middle zone with a continental climate.
The bush slowly develops leaves and rosettes, so there's no need to replant. Ten to fifteen Alligator dill plants are enough to provide a family with greenery. Start picking the branches from the bottom tier, and only then move on to the sides.
One drawback noted is the poor shelf life of fresh greens, which wilt quickly. However, this is typical of all dill varieties.
The subtleties of growing crops
Obtaining a high-quality harvest depends on proper preparation of seeds, soil, and adherence to planting rules.
Preparation of planting material
Like other members of the Apiaceae family, dill seeds are rich in essential oils. These oils coat the seed with a thick film, significantly delaying germination.
To avoid the sadness of waiting for the first fresh greens, you need to prepare the seeds:
- The seeds are soaked in warm water (45-50°C) for 3 days. This temperature should be maintained by adding hot water.
- The seeds are wrapped in a damp cloth and left in a warm place until they germinate.
- Dry slightly and sow in beds.
Note: Bubbling is an alternative method. The seeds are placed in water and an aquarium air pump is connected. Air bubbles gradually break down the seed coat without damaging the seed itself. The process lasts 20 hours.
Planting dates
Alligator dill seeds are best sown twice a year: in late fall before frost and in early spring, after the snow has melted and the soil has dried out slightly. The seeds can withstand soil freezing down to -6-8°C. When planting in spring, the soil temperature should be +3°C.

Tip: If you leave the seed umbels after harvesting, Alligator dill will self-seed beautifully, and there's no need to plan its planting: the green bushes will form on their own.
Soil preparation and planting
Prepare the beds for Alligator dill in advance by digging the soil to a depth of 20-25 cm and adding humus. When planting in strips, make small furrows 0.5 cm deep. Water them before planting, and sow the seeds at 2 cm intervals. Maintain a row spacing of 15-20 cm. Fill the furrows with fertile soil, peat moss, and humus, and compact lightly.
Specifics of dill care
Dill is an easy-to-grow plant, requiring minimal care. Just keep an eye on the bush, water it regularly, and feed it regularly to produce fragrant greens.

Watering
Alligator dill thrives in moisture and produces lush foliage only with regular watering. Drip irrigation is convenient, as it thoroughly soaks the soil. Sprinkler irrigation and root watering are also suitable. If the summer is rainy, the plant doesn't need additional water; the roots will become soggy and the plant will die.
Covering with film
If dill seeds were planted before winter, tender shoots will emerge in early spring and require protection. Creating small tunnels of plastic is necessary in temperate climates, where the risk of recurrent frosts is high. Covering the plants can also be done in the fall to extend the growing season and ensure greenery remains until the first frost.


Top dressing
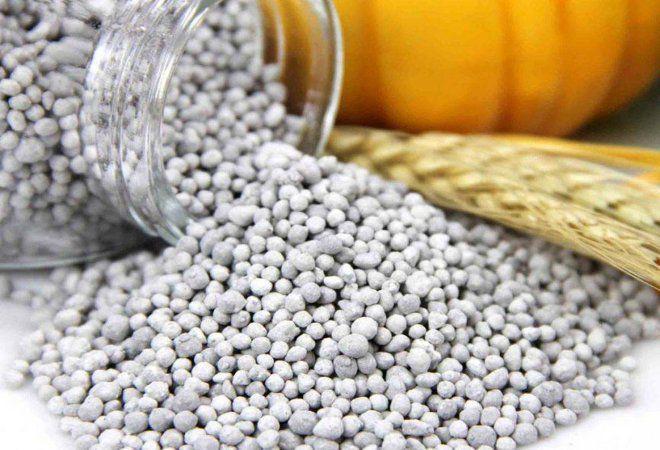
When planting Alligator dill in fertile soil, there's no special need for additional fertilizer. In sandy and loamy soils, the plants are fed in the spring with nitrogen-rich compounds (ammonium nitrate, mullein infusion), which encourages vigorous growth and foliage.
In summer, potassium-phosphorus compounds (superphosphate, potassium chloride) are beneficial, applied according to the instructions. During the summer, any organic fertilizers can be applied (infusion of bird droppings, green grass, ash).
Tip: Applying too much fertilizer is dangerous. Their excess is absorbed by the plant roots and ends up in the greenery, and then in our body.
Soil care
After watering, the soil around the bushes should be loosened to remove any crust and allow air and moisture to reach the roots. At the same time, weeds should be removed, as they shade the sun-loving dill and draw nutrients from the soil. If the dill has grown densely, thin the plantings.
A useful technique is mulching. To avoid frequent watering and loosening the soil, add a 1-2 cm layer of humus or peat, sawdust, or green grass (without seeds!) under the bushes. The soil beneath the mulch will retain moisture and warmth.
Protection from diseases and pests
Alligator dill suffers from fusarium wilt, a fungal disease that develops with sudden temperature fluctuations. To prevent the plant from becoming infected, treat the seeds with a phytosporin solution. The same solution is applied to the plants during rainy summers.
If dill in your garden becomes diseased, saving the herb is rare. If heavily treated with chemicals, the greens are unfit for consumption. It is not recommended to plant the herb in an infected area the following year.
Powdery mildew also attacks dill. If a whitish coating appears on the leaves, a harvest is unlikely. This fungal disease is associated with high humidity. Aphids also prey on dill, and bugs and caterpillars also nest there. However, pest infestations are relatively rare.
Advice: Inspect dill periodically and, at the first sign of disease, use traditional (safe) methods to save the crop. Pay attention to soil preparation and treat the seeds before planting.
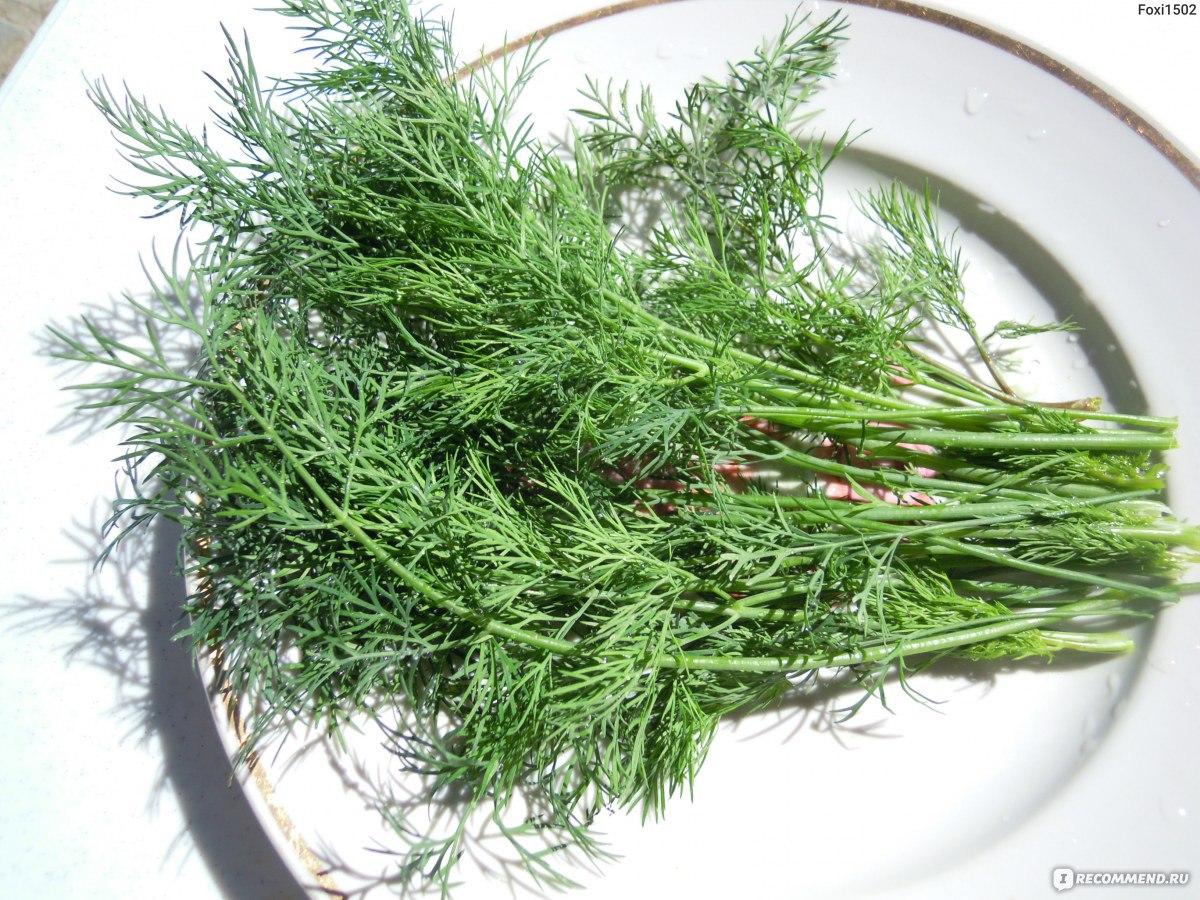
Collection and storage
The greens are harvested approximately 40 days after sowing. Typically, the leaves are picked selectively to avoid severe damage to the plant. If necessary (for drying or freezing), the greens are harvested wholesale. However, if only the main shoot and a few side shoots remain, the bush will quickly regain its former size.
Leaf collection begins at the bottom of the bush, trimming them with scissors. Young shoots, 5-10 cm long, are considered the most useful. In temperate climates, the newly formed inflorescences are picked off: the seeds don't have time to form, and the inflorescence draws nutrients from the plant.
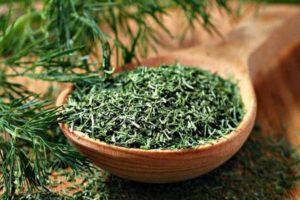
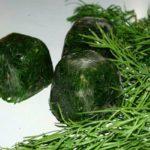
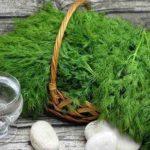
Fresh sprigs are stored in plastic wrap in the refrigerator for 2-3 days. Dried and frozen herbs are prepared for winter. Freezing preserves the juiciness and flavor of dill better. Drying loses some of the beneficial properties and essential oils, but this method is time-tested and therefore popular.
Reviews of Alligator dill
Marina, 50 years old, Minsk
The beauty of Alligator dill is that you don't need to plant seeds to create a green "conveyor belt." It produces greenery all summer long. In the fall, I ground up the umbels, dried them, and used them as a fragrant herb in the winter.
Anton, 37 years old, Vologda
I've been growing Alligator dill for greens for three years now. The large, fluffy, well-foliated plants produce a green harvest all summer long. In winter, I grow this same variety in boxes on the windowsill, using grow lights and keeping it watered.
Olga 42 years old, Kaspiysk
My opinion of the Alligator dill variety is extremely positive. The sprigs are juicy, aromatic, and tender. It takes a long time to gain green mass, so you can pick the leaves all summer long. I harvest it. greens for the winter and store by freezing.
The Alligator variety is one of the juicy and healthy greens available. There are various domestically bred varieties suitable for our challenging climate and less fertile soils. The choice is always up to the gardener, but Alligator dill is worth paying close attention to.
Related posts:
 Description of the best dill varieties for open ground and for greens, what the plant looks like
 How to choose the best dill varieties for growing greens without umbrellas in open ground and greenhouses
 How to freeze dill in the refrigerator for the winter: the best recipes
 Recipes for pickling fresh dill for the winter at home in jars, proportions, and storage
 Description and rules for growing dill of the Gribovsky variety
 The best recipes for preparing and storing dill for the winter at home
 How to properly plant dill in open ground and a greenhouse: secrets of agricultural technology
 How to dry dill at home for the winter