- Rules for preparing winter garlic for storage
- We harvest on time
- How do you dry winter garlic after digging it up?
- Leave the stems and roots
- Scales are the key to storage
- We hide it in a dark place
- We store different varieties in different places
- Storing garlic at home
- Banks
- Boxes
- Net
- Sunflower oil
- Scythe
- Bunches
- Nylon stockings
- Sprinkling with flour or salt
- Wicker baskets
- Pickling
- Paraffin
- Cling film
- In powder form
- Bags
- On the loggia
- In the refrigerator
- Freezing
- Potential problems when storing garlic
- Mold
- Drying
- Premature root growth
Many beginning gardeners ask themselves the question, How to properly dry winter garlic after diggingTo achieve this, it's necessary to adhere to harvesting timings and select a suitable location. Winter varieties are planted in the fall and ripen by the end of July, so their shelf life is shorter than that of spring varieties.
Rules for preparing winter garlic for storage
It's important to dig up garlic at the right time, as this determines how long it will last. Then, it needs to be dried and processed. Then, it needs to be properly prepared for storage.
We harvest on time
Winter varieties are planted for the winter. The harvest is usually by the end of July. Before harvesting, pay attention to signs of ripening. These include:
- Formation of a flower on a stalk in a capsule.
- By the time of ripening, the capsule cracks.
- The upper leaves are starting to turn yellow.
- The lower leaves are drying out.
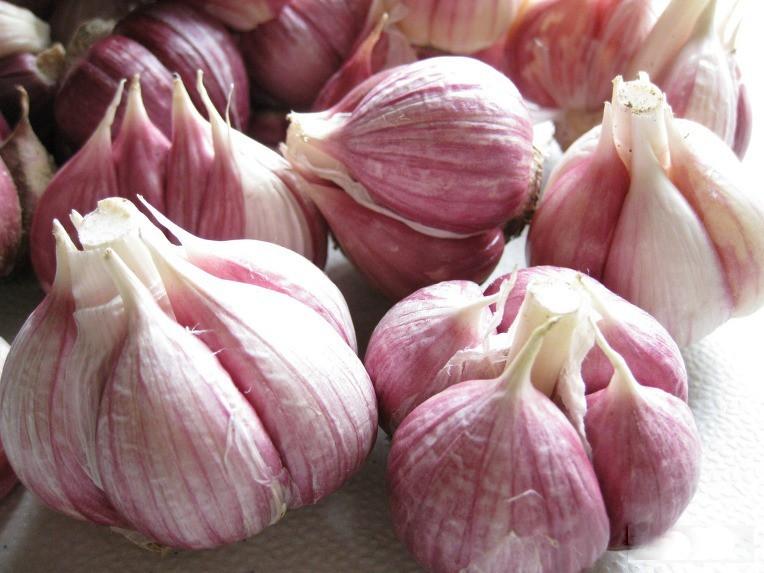
- The head is covered with a white-purple skin.
- The husk fits tightly to the teeth.
- The fruits are dense and have a characteristic garlic smell.
Important! To determine bulb maturity, dig up 2–3 bulbs and evaluate them.
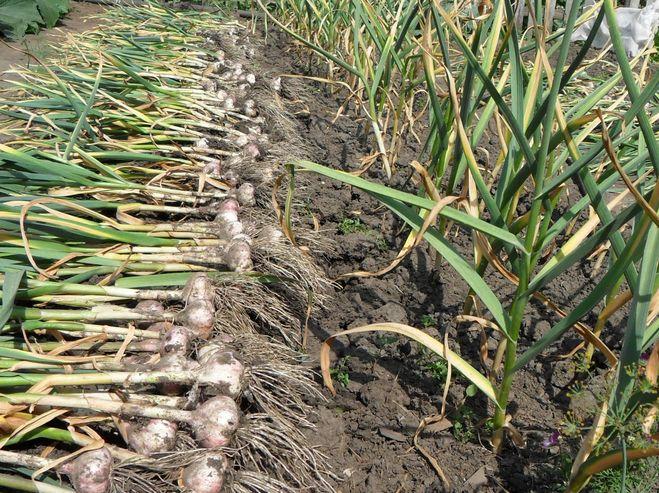
Don't pull the bulbs out of the ground by hand. They are dug out with a shovel or pitchfork. Then, remove the soil from each bulb by hand. Don't knock the bulbs against each other or other objects, as this will reduce their shelf life.
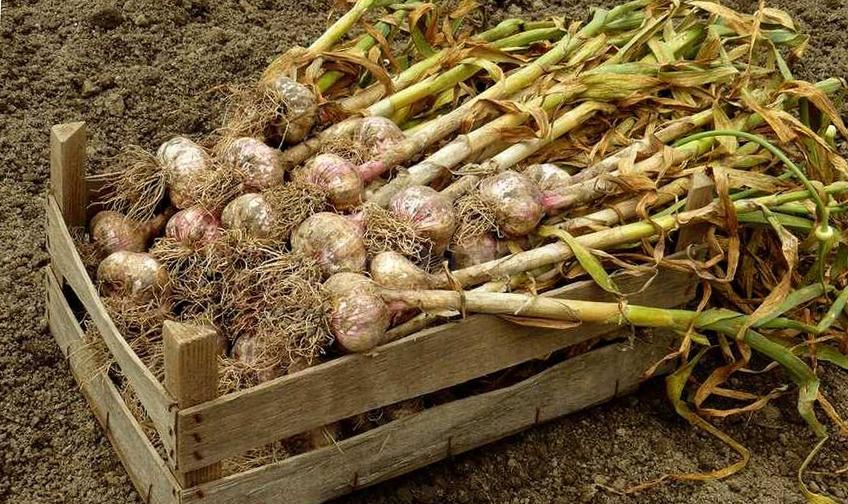
How do you dry winter garlic after digging it up?
After digging, the harvest is left on the ground for 3-4 hours. Then, the garlic is moved to a ventilated area under a canopy. Drying takes 7-10 days. It is distributed in small groups or hung.
Leave the stems and roots
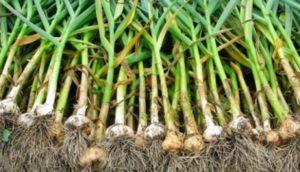
Depending on the storage method, the tops are trimmed or left on. For braiding garlic and tying into bundles, the tops are left at 30 cm long. For storage in boxes or nylon, they are trimmed off.
If trimming the tops doesn't affect storage quality, the roots should be trimmed within a month of digging. Failure to do so will result in the bulbs sprouting.
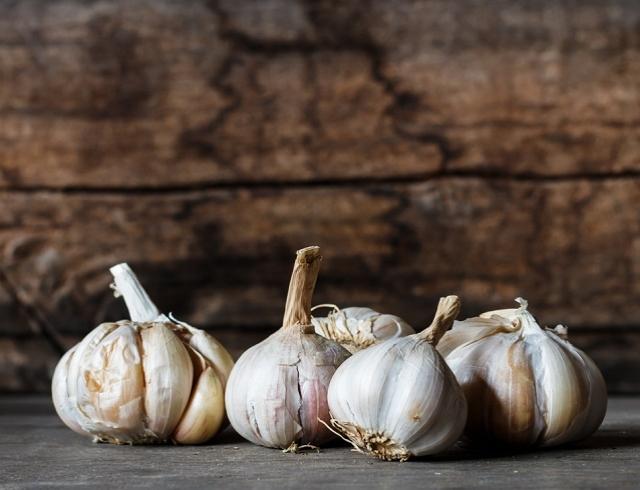
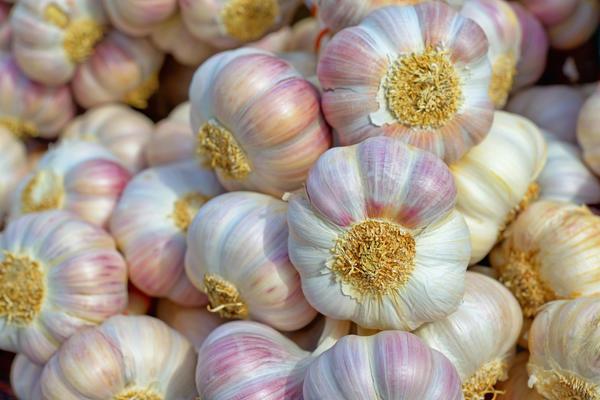
Scales are the key to storage
The integrity of the peel on the cloves ensures long-term storage. If the bulb is damaged or cracked, the fruit must be processed and cannot be stored. They are easily rotten because they are exposed.
Take a look Also
We hide it in a dark place
Winter garlic is best stored in a dark place. This will prevent the bulbs from sprouting. When exposed to sunlight, biochemical processes are activated that signal the need to produce green shoots. This prepares the crop for planting in the soil.
We store different varieties in different places
Winter garlic doesn't store as long as spring garlic. The optimal storage location is:
- basement;
- cellar;
- insulated loggia;
- fridge.
The shelf life is shorter, as the harvest is done 1.5 months earlier. It is recommended to process it immediately, and only store a small portion.
For the spring variety, storage at room temperature is suitable. It is stored in the following forms:
- braid;
- in nylon;
- in bunches;
- boxes.
It keeps for six months. Periodically, it's necessary to check the integrity of the heads and remove them to prevent rot or mold from ruining the entire harvest.
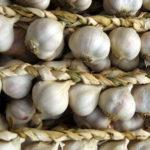
Storing garlic at home
There are several options for home storage that will help preserve your bulbs and prolong their shelf life. Garlic is planted in the fall; with proper storage, the bulbs can last until spring.
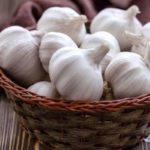
Banks
Garlic bulbs are placed in glass jars. These are suitable for small harvests, as larger bulbs will take up a lot of space. They are left uncovered and stored in a cool place. The vacuum created in the glass prevents moisture and air from entering, thereby prolonging the shelf life of the harvest.
Boxes
Cardboard boxes are ideal for storing garlic, as they can absorb some of the moisture in high humidity conditions. Fill the containers 2/3 full with bulbs and store in a cool, dark place.
Net
Trimmed heads are placed in nets of 5-6 and hung in the kitchen or cellar. Hanging the garlic prevents it from rotting and damaging.
If you store the bulbs in this form in the kitchen, you need to periodically inspect their condition and try to shade them from the sun.
Sunflower oil
Drizzling the garlic in sunflower oil prevents moisture from penetrating and mold from forming. To do this, pour 500 ml of oil into a deep bowl, then dip each onion in it. Leave it on a flat surface to drain, then store it in drawers. Alternatively, you can drizzle the separated garlic cloves with vegetable oil and store them in the refrigerator.
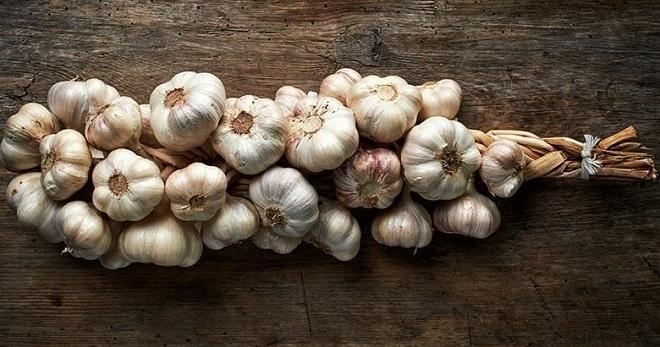
Scythe
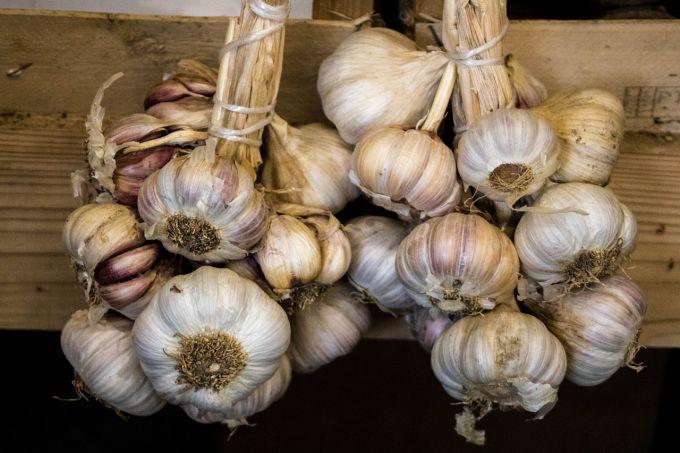
Braids have long been popular among gardeners, especially those living in country houses. Braids are made using rope, twine, or cord. The cord should be at least 1.5 meters long. The garlic tops are preserved. The rope is folded in half and tied into a knot, with the onion inserted into the knot. Then a regular braid is woven, like in hair, and a knot is tied at the end.

Important! All bulbs must be the same size, and the tops must not be broken.
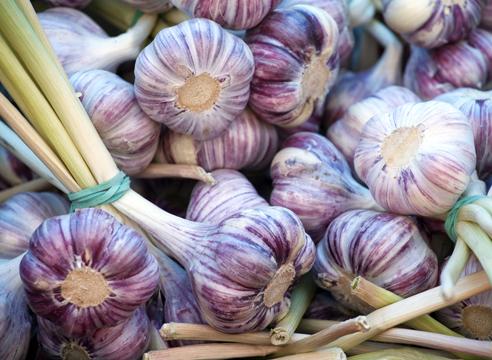
Bunches
Bundling is similar to braiding. It uses a shorter length of rope and fewer heads. This method is suitable for storing small garlic. Bundles are hung in cellars or kitchens.
Nylon stockings
Old, washed nylon stockings are an excellent alternative for storing garlic. The bulbs, with the tops and roots trimmed, are placed inside the stocking. Form a knot at the top and hang it on a nail. Small holes allow oxygen to penetrate. Nylon is a fairly dense fabric, so the stockings won't tear during storage. The peelings also don't fall off onto the floor.
Sprinkling with flour or salt
The harvest begins to spoil when exposed to moisture. Salt and flour prevent moisture from penetrating the bulbs. Flour or salt is spread thickly on a plate. Then, each bulb is rolled in the mixture. They are then placed in a box or bag. This procedure increases shelf life by 1 month.
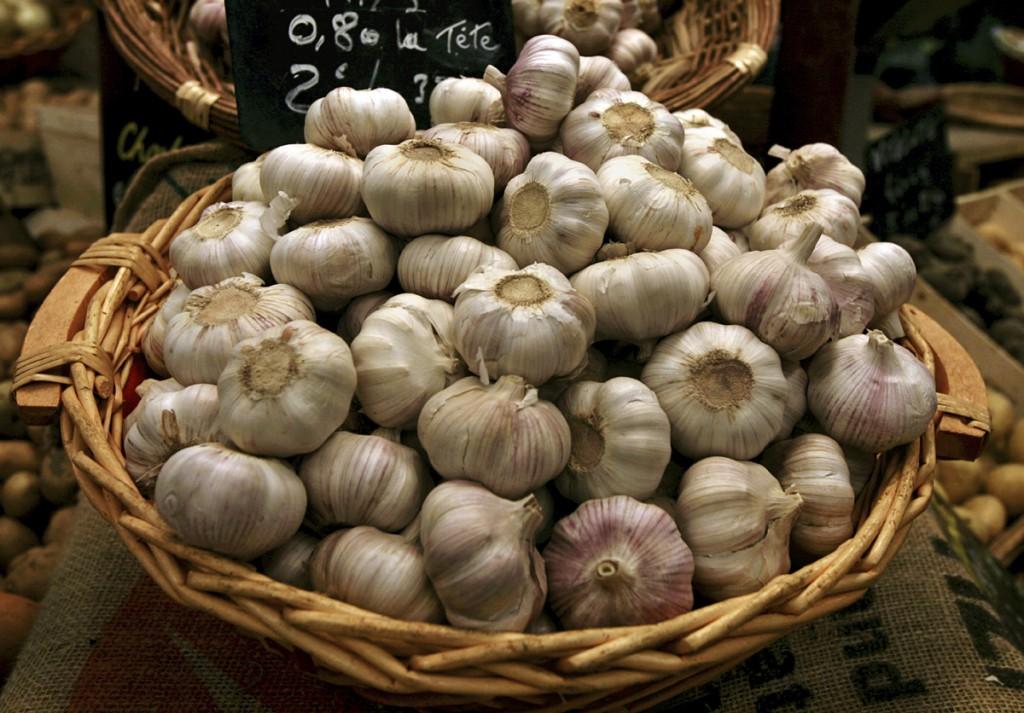
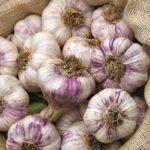
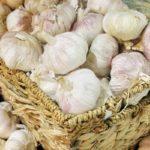
Wicker baskets
This type of container, made from natural materials, helps extend its shelf life. It has wide pores that allow moisture to escape. Garlic stored in this way is best stored in a cellar or basement.
Pickling
One of the best options for winter garlic. Peel each clove, fill the jar, add spices, and pour in the brine solution. Follow the instructions for the remainder. Pickled garlic will keep for several years. For this option, use small, unpeeled heads or individual cloves.
Paraffin
Melt the paraffin candles, then dip each candle head in the melted paraffin. Leave them on a flat surface to harden, then place them in a cloth bag. This treatment increases their shelf life to 4 months.
Cling film
Wrapping each head in cling film creates a similar effect to paraffin. It seals out moisture and prevents mold from growing inside. Refrigerating the garlic in this way increases its shelf life.
In powder form
This is one of the best options for winter varieties. The bulbs are peeled, then the cloves are sliced thinly. They are dried at 60°C in an oven or vegetable dehydrator. You can leave them as slices or grind them into a powder. For this, use a coffee grinder. The powder has a shelf life of two years. It is added to seasonings and used in any dish.
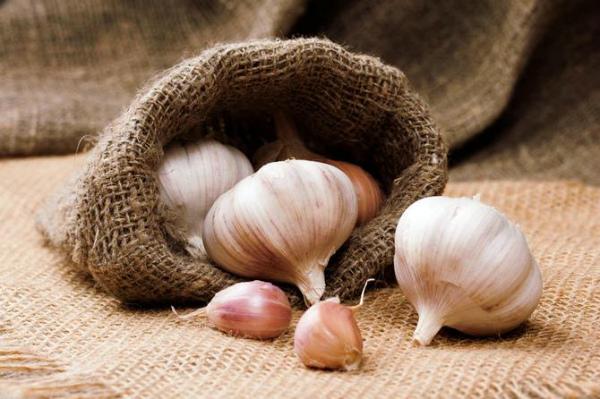
Bags
The harvest storage material should be breathable; cotton and linen are the best fabrics for this. The heads, trimmed of tops and roots, are placed in a bag and stored in a cool place. The bags are also soaked in a concentrated salt solution and then dried. This provides additional moisture protection.
 Important! Garlic in powder form loses some of its beneficial properties.
On the loggia
Winter garlic is stored on an insulated balcony. The air temperature should remain between -2 and +2°C throughout the entire storage period. If the temperature drops, the cloves will freeze, and if it rises, they will begin to sprout.
In the refrigerator
You can also store garlic in the refrigerator. However, this takes up quite a bit of space in the upper or freezer compartments. It's suitable for small quantities of onions.
Freezing
Peeled cloves are placed in a plastic bag and frozen. The shelf life is 6 months. The downside is that garlic takes up freezer space and must be defrosted before use.
Potential problems when storing garlic
Certain problems may arise during storage. Bulbs may develop mold, dry out, or sprout.
Mold
Mold can develop when stored in a cellar. This usually occurs when mold is present in the cellar or when an already infected bulb is added to the garlic crate. Mold is characterized by a blue or white coating on the surface of the cloves. It can only be removed by sorting the entire crop and removing any damaged bulbs. Such garlic is not suitable for consumption and should be discarded.
Drying
If stored improperly and in low humidity, garlic cloves begin to dry out. The optimal humidity level for garlic is considered to be 60%. If the humidity drops significantly, the heads dry out. The skins don't change appearance or show any signs of damage, and voids form under the skin. If voids form, damaged heads are removed and processed, and the remaining ones are subject to storage conditions adjustments.
Premature root growth
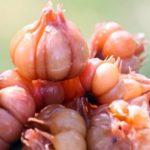
In high humidity and frequent sunlight, garlic, when kept in favorable, warm indoor conditions, begins to sprout roots. To prevent this, store the bulbs in a dark place or cover them with a lid. If the bulbs do sprout, they should be processed as quickly as possible.
Related posts:
 When can spring garlic be harvested in 2025? Harvesting from the garden and storage
 The best varieties and types of early and winter garlic with descriptions and names
 The 15 best ways to store garlic after digging it up at home
 How to properly grow and care for spring garlic in open ground and when to tie it into knots
 Description of the best cabbage varieties for 2025 for different regions
 When to harvest winter garlic in Siberia, planting and storage times, varieties
 How to properly and for how long to dry garlic at home after digging it up
 The best recipes for pickled garlic heads at home for the winter, like those found at the market, and the shelf life