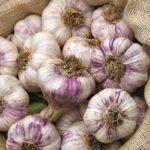
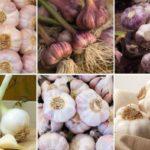
- Spring and winter garlic: differences
- Landing dates
- The nuances of agricultural technology
- Harvest time
- Storage and use
- Technology of planting garlic heads
- We're deciding on a date
- Choosing the best place
- What vegetables and crops can be precursors to garlic?
- We prepare the soil and form the beds
- Soil disinfection
- What fertilizers should be applied before planting garlic?
- Requirements for seed material
- Processing of cloves and correct planting
- How far apart should garlic be planted?
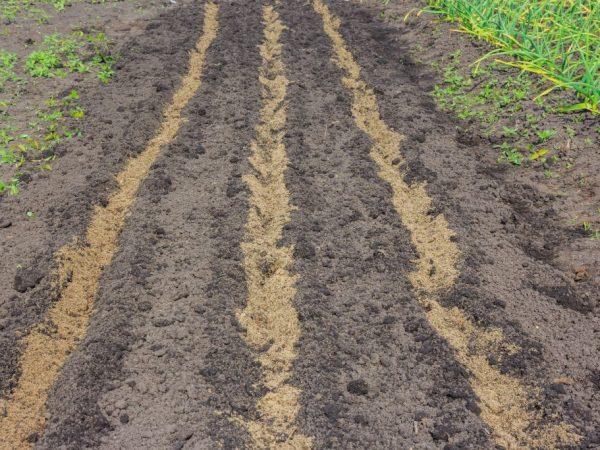
- Planting schemes for crops
- two-tier
- Under the shovel
- According to Mittlider
- According to Kizima
- Mechanized landing
- We use a marker
- Garlic planters
The key to a bountiful garlic harvest is choosing the right site, planting at the right time, preparing the garden, and following proper agricultural practices. Understanding how to plant garlic will help you avoid common problems that inexperienced gardeners make.
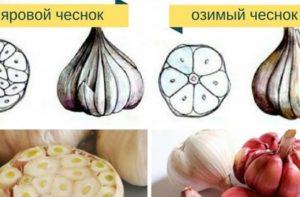
Spring and winter garlic: differences
The most common types of garlic are spring and winter. Planting, growing, and caring for them have several distinctive features that are important to consider during the growing season.
Landing dates
Winter garlic is planted in late September – early October in the central part of the country, and in November in the southern regions. To determine the exact timing of planting a crop, you need to take into account the degree of soil warming and the planting depth. It's recommended to begin planting when the morning soil temperature at a depth of 12-15 cm is above 7°C. These conditions typically occur 4-6 weeks before the onset of cold weather.
The spring variety should be planted in the spring. Sowing occurs when the soil temperature at the planting depth rises above freezing. This usually occurs around mid-April. Unlike the winter variety, the spring variety is planted at a shallow depth, with the tip of the clove buried 2-3 cm.
The nuances of agricultural technology
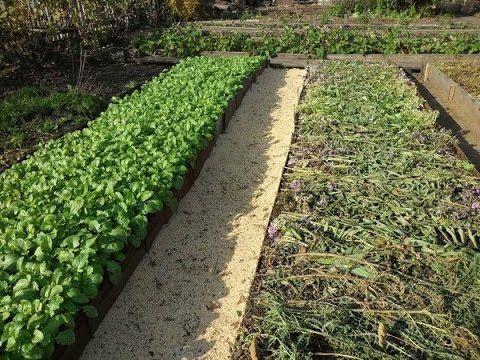
The main difference in cultivation techniques is the need for additional protection for winter garlic. After planting, the bed containing the plants is covered with a mulch layer of rotted compost or grass clippings approximately 10 cm thick. Without mulching, a good harvest is likely, but if there is little snowfall in winter, the seeds will freeze.
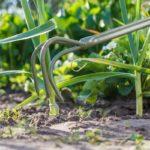
Harvest time
The exact ripening time depends on the variety being grown. In most cases, winter garlic is harvested 100-110 days after germination, while spring garlic is harvested 125-130 days later. Accordingly, the winter harvest period is in late July, and spring garlic in early August.
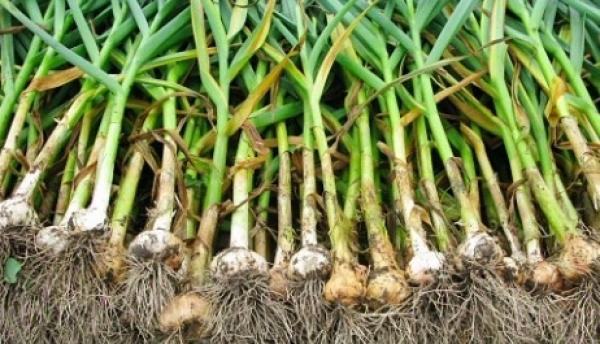
Harvesting should be done in dry weather after sunset or early in the morning. It's recommended not to delay harvesting, as this will reduce the risk of crop loss. Garlic should be dug up with a shovel, spread outdoors under cover, and left to dry.
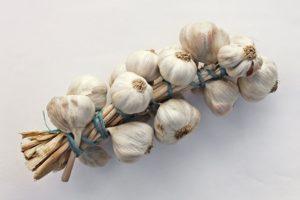
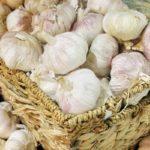
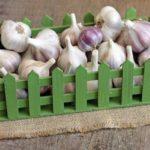
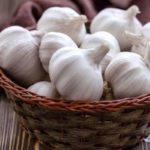
Storage and use
The harvested garlic should be inspected, and any spoiled or damaged specimens should be sorted out. The selected harvest is placed in wooden or cardboard boxes, containers, baskets, or bags. The container containing the harvest is kept in a dark place with a temperature of 2-5°C and an atmospheric humidity of 70-80%. Ideal locations include a cellar, basement, or refrigerator.
During storage, you should periodically check the condition of the garlic to detect any signs of spoilage. Rotten garlic emits a pungent, unpleasant odor. Remove spoiled bulbs to prevent the rot from spreading.
Garlic has many different uses. Common uses include:
- fresh consumption;
- adding to various dishes;
- grinding to create a seasoning.
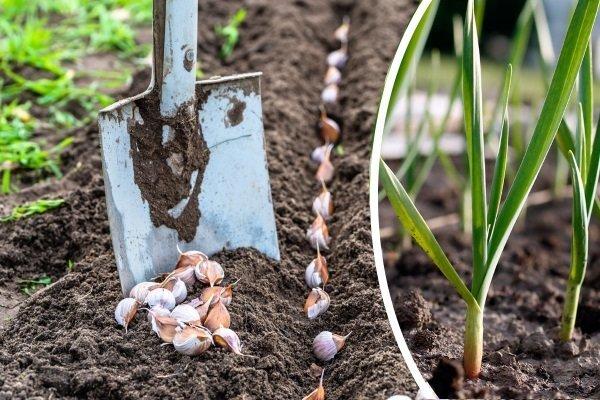
Technology of planting garlic heads
Garlic should be planted according to standard technology. By following the instructions step by step, you'll be able to take into account all the nuances and create favorable conditions for the plant's active development.
We're deciding on a date
First, you need to choose the garlic variety to plant and, depending on the variety, determine the right time of year to plant. The exact date is determined based on ambient temperature and soil warming.
Planting in frozen ground or a short period before severe cold weather leads to the suppression of planting material.
Choosing the best place
To plant garlic, choose a sunny site where spring meltwater doesn't stagnate. If possible, place the beds on a slightly elevated site. Garlic prefers fertile soil, so when tilling the soil, add 40 g of superphosphate and 10 g of potassium chloride per square meter. Organic matter, including well-rotted compost, can also be used to fertilize the soil.
What vegetables and crops can be precursors to garlic?
When growing garlic, it's important to follow crop rotation guidelines. As with other crops, garlic shouldn't be planted in the same spot for several years in a row, as the soil can harbor pests and disease. Failure to properly rotate garlic results in reduced yields and poor flavor.
After harvesting the previous crop, the soil should be sprinkled with mustard or treated with special protective preparations.
Suitable preceding crops include cucumbers, legumes, cabbage, cauliflower, and green manure. Garlic should not be planted after onions and potatoes. Neighboring plants should also be considered. Garlic thrives next to beets and tomatoes, while the presence of beans and peas can slow its growth.
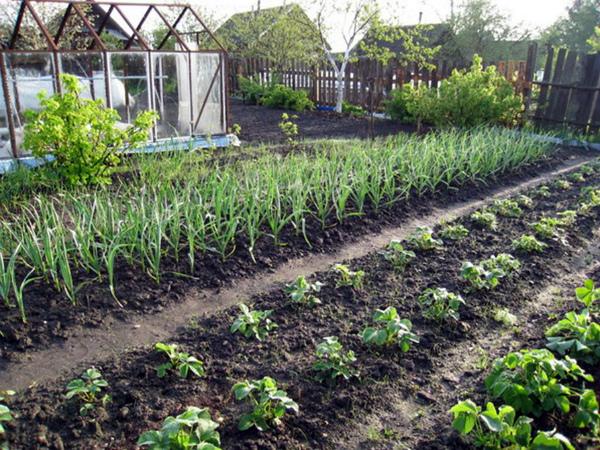
We prepare the soil and form the beds
Preparing the soil is essential for proper growth and development. Garlic thrives in fertile, nutrient-rich soil.
Soil disinfection
Harmful microorganisms periodically accumulate in the soil, so disinfection is necessary before planting. This procedure can be performed in one of the following ways:
- Steam treatment. This method is the simplest and involves scalding the soil with boiling water and temporarily covering it with plastic wrap.
- Watering with a copper sulfate solution. To prepare the solution, dissolve one tablespoon of the solution in 10 liters of water. Watering should be done immediately after the previous harvest.
- Disinfection with potassium permanganate. A solution of potassium permanganate is often used to disinfect planting material and is also used to water beds before sowing.
Take a look Also
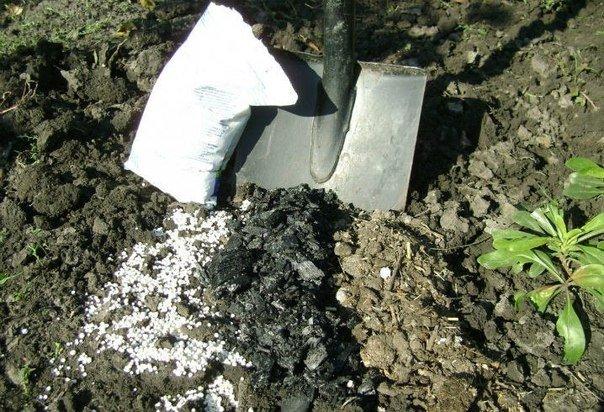
What fertilizers should be applied before planting garlic?
The presence of nutrients in the soil promotes intensive garlic growth, especially in the early stages. To prevent disease, treat the beds with a 1% copper sulfate solution 1-2 weeks before planting. Prepare the solution by mixing a tablespoon of the solution with 10 liters of water, then water the entire area and cover with plastic wrap. Fertilize the beds with urea and water them the day before planting.
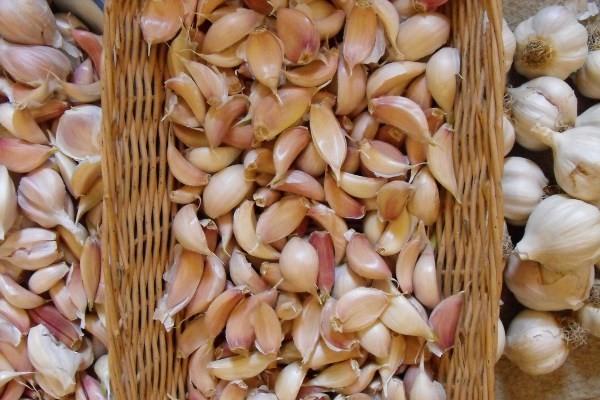
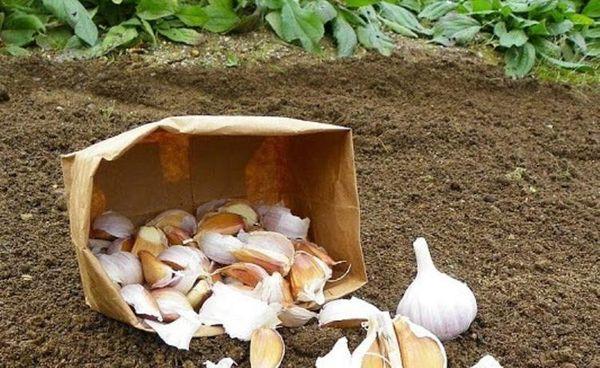
Requirements for seed material
The seedlings are carefully inspected to select specimens free of damage, dents, or signs of rot. The sorted heads should be separated into individual cloves, with the largest ones reserved for planting. Small cloves can be used for eating rather than sowing. When using non-bolting varieties, select only the cloves from the outer tier.
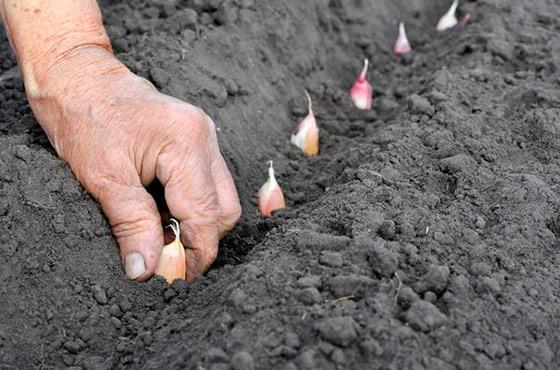
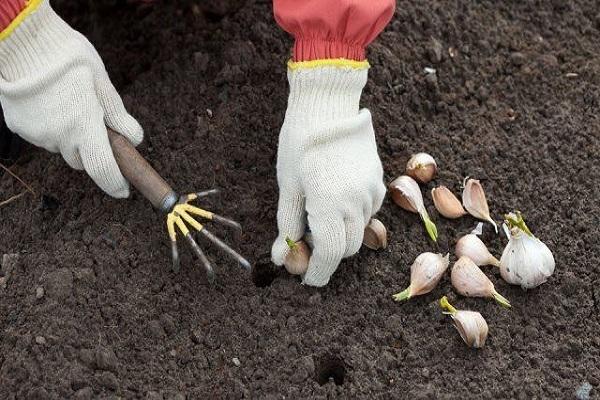
Processing of cloves and correct planting
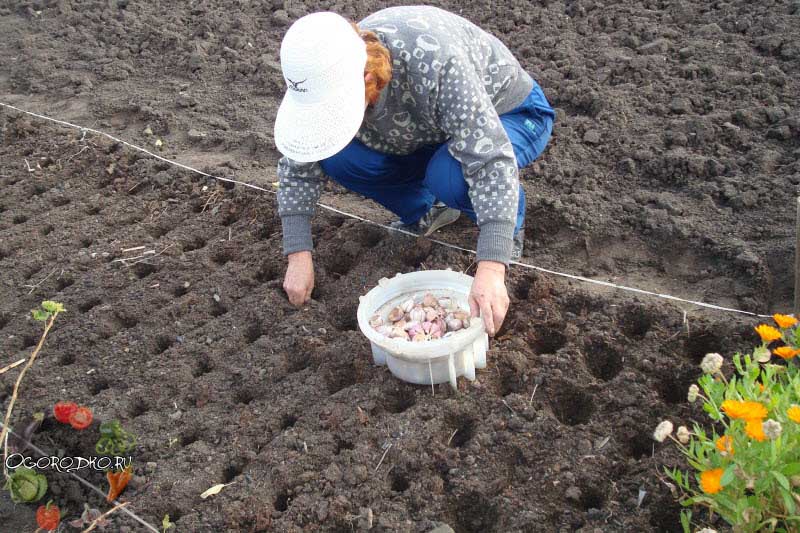
Once you've selected suitable cloves, you need to prepare them for planting. Soak the seeds for 24 hours in a solution of copper sulfate or potassium permanganate. While preparing the cloves, you can cultivate the soil. When planting, it's important to properly space the cloves and choose a planting pattern.
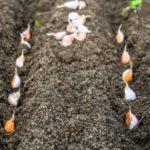
How far apart should garlic be planted?
In the prepared garden bed, mark the location for planting the garlic by digging holes in the soil 10 cm apart. It is recommended to plant the cloves at a depth of 3-15 cm, depending on the variety chosen and the planting time. Leave 20-25 cm between rows.
Planting schemes for crops
Depending on the available space in your plot and your specific needs, you can choose one of the common garlic planting patterns. When planting according to a specific pattern, you'll need to consider the relevant standards.
two-tier
When planting in a two-tiered pattern, place two cloves in each hole at different depths. The first is left at a depth of 13-14 cm, and the second at 6-7 cm. Garlic should be sown leaving 15 cm between rows and cloves.
Another popular option is a two-tiered staggered planting. With this method, the cloves are planted at different depths in separate holes. In odd rows, the cloves are planted 6 cm deep, and in even rows, 13 cm deep.
Under the shovel
To speed up the planting process, it's recommended to use a spade-and-shovel method. To do this, dig a hole with a spade and place the seed in the bottom. Then, simply backfill the hole with soil and water. Leave 15-20 cm between seedlings and between rows.
According to Mittlider
The Mittlider planting scheme allows you to harvest a large crop from a minimum area. Sowing requires compliance with the following nuances:
- the beds for the crop are made narrow, no more than 45 cm wide, and are prepared immediately before planting;
- the width of the passages between the beds is left at 90-100 cm and they are never dug up;
- the bed must be strictly horizontal, with a flat surface and framed by sides on each side;
- The bed must be constantly exposed to sunlight.
![When can you harvest garlic in [year] according to the lunar calendar, timing and storage rules](https://harvesthub.decorexpro.com/wp-content/uploads/2019/04/chesnok-2-300x188.jpg)
According to Kizima
Kizima's sowing method involves covering the beds with newspaper or paper immediately after sowing. Garlic will grow through the material, so mulching with more than a couple of layers is not necessary. The edges of the beds are mulched or covered before planting. Following this method will reduce the ripening time by 3-4 weeks.
Mechanized landing
On an industrial scale or to simplify sowing, gardeners resort to mechanized methods. Using specialized equipment, they can mark out beds and prepare them for planting.
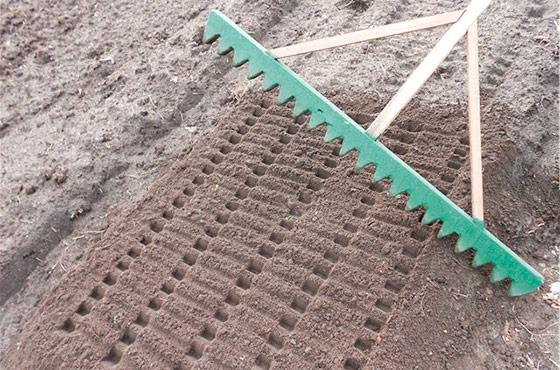
We use a marker
A planting marker is a device made of wood or metal used to mark out beds for garlic planting. This device has the following advantages:
- planting material can be sown at the same depth;
- the holes are marked with maximum precision;
- the duration and labor intensity of planting work is reduced.
Gardeners most often use serrated markers, which resemble rakes. The distance between the markers, attached to the bar, is determined based on the chosen planting pattern and the desired planting depth.
Garlic planters
A planter is used to form furrows and place tines or seeds into the holes. Using a planter makes seeding easier and faster. This device is only suitable for use in soft, loose soil.
The most common variation is the four-row planter, which allows for planting in several rows at once. Lowering the tines into the formed furrows ensures precise planting. A garlic planter can be built from household items or purchased from a specialty store. The device can be manual or automated. A manual planter is sufficient for use in a garden plot.
Related posts:
 The best varieties and types of early and winter garlic with descriptions and names
 How to properly grow and care for spring garlic in open ground and when to tie it into knots
 Garlic harvesting dates in the Urals in 2025, cultivation and care
 When can spring garlic be harvested in 2025? Harvesting from the garden and storage
 Garlic cultivation technology in open ground, planting times, and care guidelines for a good harvest
 How to properly dry winter garlic after digging and where to store it at home
 Winter garlic cultivation technology, large varieties and cultivation rules
 When to dig up garlic in the Moscow region in 2025