- Landing rules
- Preparation of planting material
- Soil preparation
- Planting seeds
- Planting in a greenhouse
- Preparing the greenhouse
- Landing
- Mulching the soil
- Tying and pinching
- Vertical growing
- Horizontal cultivation
- Rules for watering melons
- Use of fertilizers
- Manual pollination and formation of melons
- Harvesting a delicious harvest
- Conclusion
Most gardeners grow melons in greenhouses, as these conditions provide the best conditions for a high-quality harvest. Outdoor melon yields are significantly lower, especially in northern regions. Before planting, it's important to learn how to properly grow this type of pumpkin.
Landing rules
Before you begin growing melons in a polycarbonate greenhouse, you need to familiarize yourself with the basic rules and features of planting seeds.
Preparation of planting material
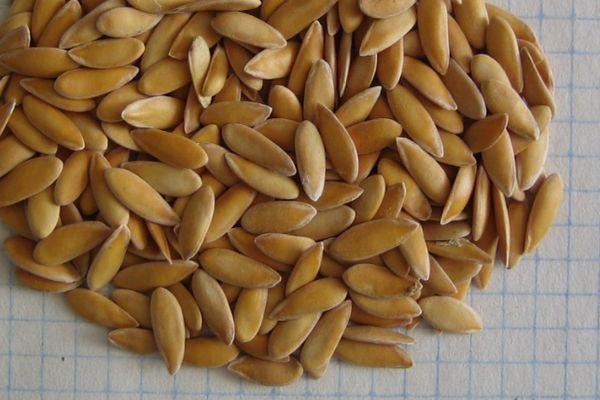
Pre-sowing seed preparation is recommended in advance to ensure strong and healthy seedlings. There are three main methods of seed pre-treatment:
- Soaking in potassium permanganate. A potassium permanganate solution is considered an ideal disinfectant for virtually any seed. When soaking seeds, all the grains are placed in a shallow container with a weak potassium permanganate solution for 25 minutes.
- Boric acid treatment. Instead of manganese, some vegetable growers use a solution made of zinc and boric acid. To disinfect the seeds, they will need to be soaked in the solution for about 10-15 hours.
- Heat treatment. Heat treatment of seeds is also often used. To do this, the seeds are placed in a container of water heated to 20 degrees Celsius for 24 hours.
Soil preparation
When planning and creating a melon planting plan, don't forget about soil preparation. Pumpkins thrive in fertile soil, so it's best to prepare the soil mixture in advance for planting the seeds. For growing seedlings, choose soils with low acidity, as this increases yield. Light soils that allow moisture and air to pass through better are also preferred.
To increase yields, soil with sand is mixed with mineral and organic fertilizers. To reduce acidity, lime or wood ash can be added to the soil.
Planting seeds
Once the preparatory work is complete, you can begin planting the seeds. They are sown in the first half of spring, ready to be transplanted into the greenhouse by summer.
To plant, make holes in the soil about 1-2 cm deep. Then, plant one seed in each hole and cover them with soil. Place the containers with the planted melons on a well-lit windowsill to speed up the emergence of the first shoots.
Planting in a greenhouse
Having chosen a melon variety and grown seedlings, gardeners begin to think about transplanting the seedlings into a greenhouse.
Preparing the greenhouse
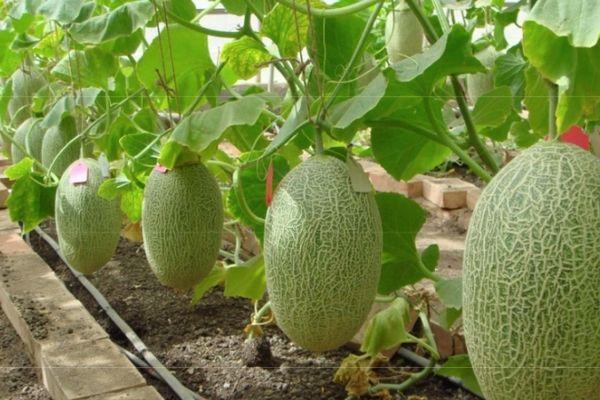
Melon yield depends largely on the growing location. Therefore, experienced gardeners recommend preparing a greenhouse for planting seedlings in advance. Growing this plant requires a greenhouse over two meters tall, as training the melon in a greenhouse requires tying it to supports and growing it vertically.
You should also consider indoor lighting, as melons require light. It's recommended to install fluorescent lamps along the rows in advance. Humidity levels should also be monitored. In conditions of high humidity, bushes often become sick and die from fungal diseases.
It's important to prepare the soil in the greenhouse in advance for planting the seedlings. The soil should be dug to a depth of 15-20 cm and fertilized with organic fertilizer such as compost. Some gardeners add mineral fertilizers to the plot to increase yields.
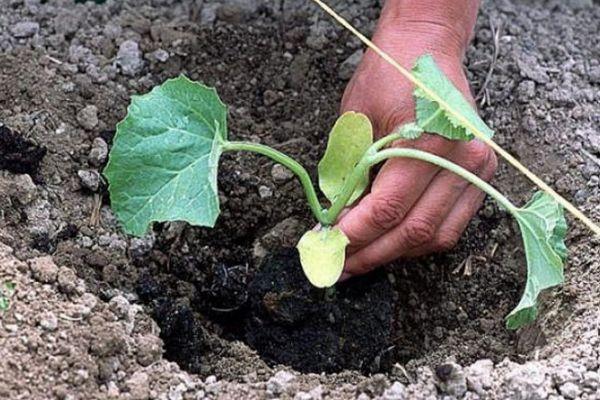
Landing
When planting melon seedlings, dig shallow holes about 70-80 cm apart. Sprouted seedlings are placed vertically in each hole. They are then covered with soil and watered with warm water.
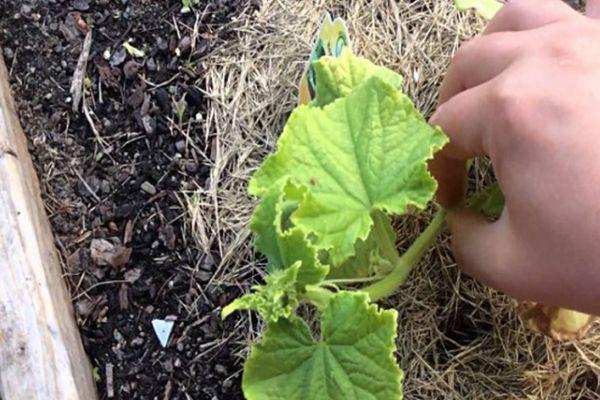
Mulching the soil
When tending melons in polycarbonate greenhouses, many vegetable growers mulch the soil. Mulching is often done in greenhouses that are poorly protected from night frosts. Failure to do so can result in delayed fruit set and poor ripening.
Before you begin mulching, it is recommended that you familiarize yourself with the specifics of this procedure.
For mulching, use a special stone mulch that reliably protects each plant. First, small stones are placed on the soil surface near each bush. Then, several glass bottles of water are placed on top of them. These are placed near the plants to warm the soil and prevent the young seedlings from freezing. Gardeners also recommend covering the seedlings with plastic film at night for additional protection.
If the greenhouse is reliably protected from temperature fluctuations, then you can completely avoid mulching the soil and using film.
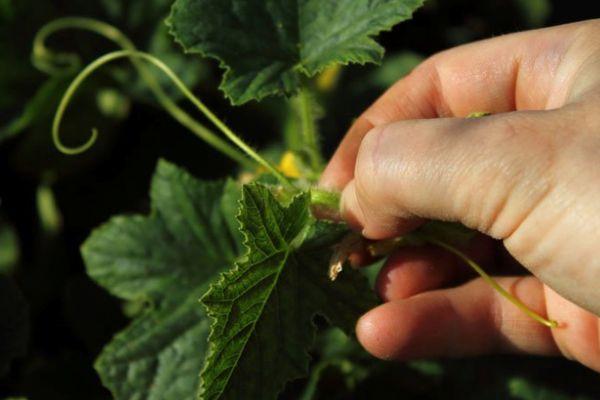
Tying and pinching
The first pinch should be done before transplanting the seedlings into the greenhouse, when the first true leaves have appeared. In this case, only the main stem and side shoots are left. Further pinching depends on the chosen growing method.
Vertical growing
Most often, seedlings in greenhouses are tied up and grown vertically to save space. To tie the bushes down, supports are installed near each seedling to which the stems will be attached. This prevents the bushes from spreading and creeping across the soil surface.
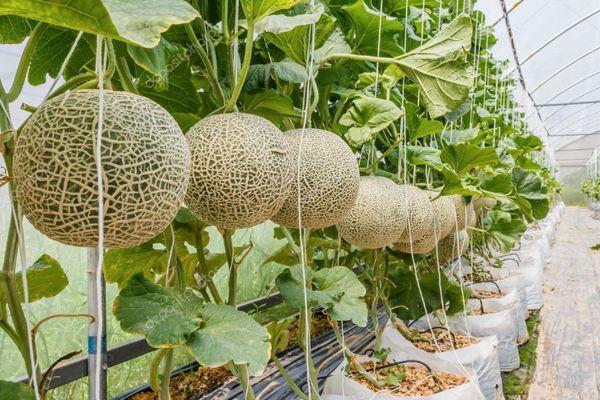
With this growing method, the bushes form into a single stem, and therefore all side shoots are pinched off. Experienced gardeners recommend removing excess shoots when the seedlings reach two and a half meters in height. The procedure is repeated again in 15-20 days.
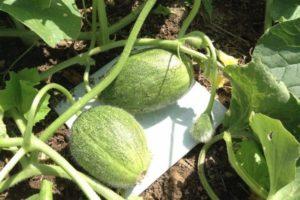
Horizontal cultivation
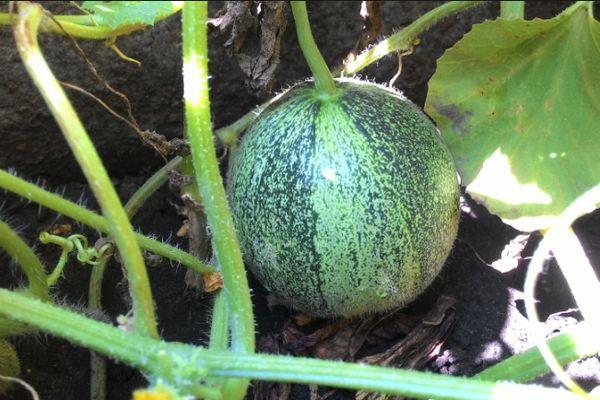
When using the horizontal growing method, gardeners skip staking the seedlings and allow them to spread out on the ground. In this case, the bushes are formed into two stems, which form after the first pinching. The next pruning is done after the first buds appear on the bushes.
Rules for watering melons
When growing pumpkins, some people rarely water the plants, as they cope well with drought. However, you shouldn't completely abandon watering melons, as insufficient moisture can significantly reduce yield. Gardeners recommend moistening the soil twice a week. Use water heated to 30-35 degrees Celsius (95-95 degrees Fahrenheit). Avoid using cold water, as it will damage the roots, causing the plants to dry out.
During fruit set, the soil should be watered twice as often, as the bushes absorb more moisture during this period. Watering should also be increased during hot summer days, when high temperatures cause the soil to dry out more quickly.
When watering pumpkin seedlings, be careful not to let water drip onto the surface of the leaves. If water frequently splashes onto the above-ground parts of the bushes, the plant will develop root rot and die.
Melons are more susceptible to fungal diseases and experience poor growth in high-humidity conditions. Therefore, it's not recommended to place water barrels inside the greenhouse to avoid increasing humidity.
Use of fertilizers
Many gardeners who haven't grown pumpkins before wonder why their ovaries are turning yellow. This problem is often caused by insufficient micronutrients in the soil. To make the soil more fertile, regular fertilization is recommended.
When growing a plant for the first time, it's necessary to add fertilizer after the first leaves appear. For this purpose, use a combination of organic and mineral fertilizers. The next time, apply fertilizer to the soil no sooner than 10-15 days later.
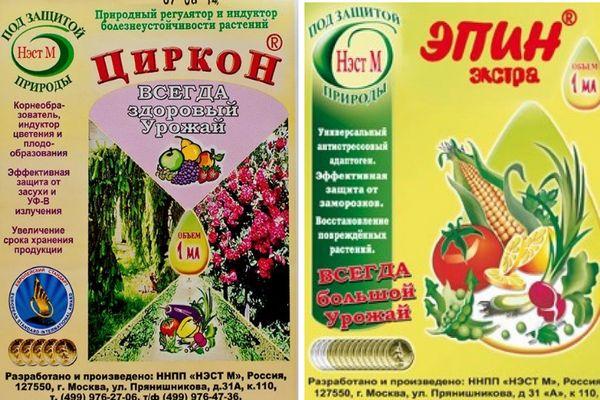
To protect seedlings from pests during cultivation, solutions made from ash or potassium sulfate are added to the soil. Products such as Epin and Zircon are also used for this purpose. For increased effectiveness, these products should be used alternately.
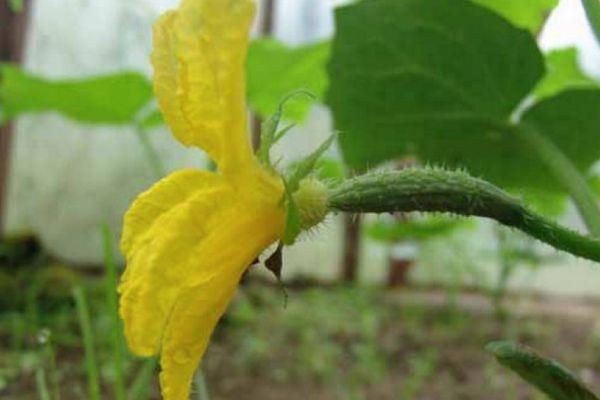
Manual pollination and formation of melons
Pollinating melons in a greenhouse requires manual intervention, as there are no insects indoors to pollinate the plants. To do this yourself, you'll need to use special products to stimulate fruit formation. These include "Ovary" and "Bud," which are available at most grocery stores.
Regularly spraying the bushes with these preparations promotes pollen release even in unfavorable conditions. To pollinate the seedlings, apply pollen to the female flower with a brush. This procedure should be performed only early in the morning.
Melon training in the greenhouse begins when the seedlings reach 30-35 cm in height. Two main shoots are left on each plant, from which auxiliary stems are removed. During training, all shoots located at the bottom of the plant are removed. The upper stems are left on, as they are the strongest. Excess stems are removed at least once a month.
Harvesting a delicious harvest
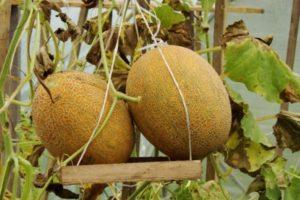
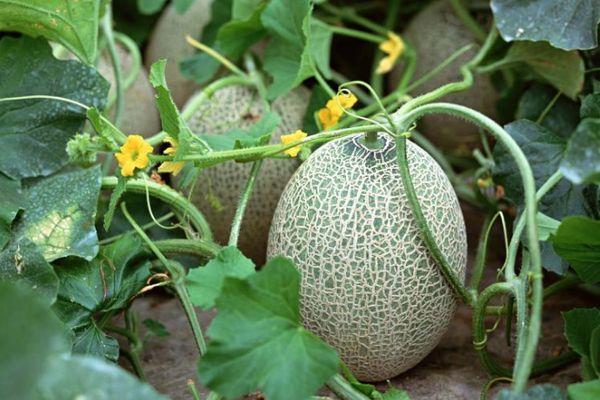
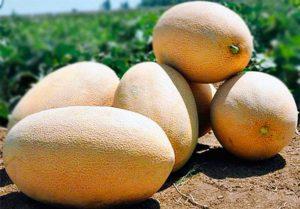
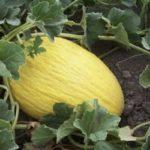
Ripe melons can be harvested in late summer and early fall. Gardeners advise against delaying harvesting, as frosts begin in many regions in the fall, which can damage the crop. Therefore, it's important to prepare a pumpkin harvest calendar in advance to ensure you're harvesting before the cold weather sets in.
During harvest, all ripe melons are carefully separated from their stems. To determine ripeness, examine the peel. If there are stripes on the surface that form a net-like pattern, the melon is fully ripe.
The harvested crop is cleared of soil and transferred to the cellar for further storage and ripening.
Conclusion
Some gardeners prefer to grow melons in greenhouses. Before doing so, it's important to familiarize yourself with the basic rules for planting seeds and growing pumpkins in greenhouses.
Related posts:
 How to grow melons outdoors, planting dates, watering, and care
 Golden recipes for preparing pickled melon for the winter and storing the prepared products
 Growing Kolkhoznitsa melon in open ground: benefits and how to choose
 Rules for growing and caring for melons in Siberia in open ground
 How to treat melons against pests and diseases, and can infected fruits be eaten?
 Why melons aren't setting fruit and what to do about it. Methods for hand pollination.
 Why are my melon leaves turning yellow in open ground? How to treat and what to do.
 Description and cultivation technology of the Ethiopian melon variety
To get a better harvest, I recommend using a plant growth bioactivator, the best of the whole list is BioGrowI like this product, the results are impressive.