- How to choose the right variety of beans for your home
- Asparagus beans
- Ornamental climbing bean varieties
- Is it possible to create conditions suitable for beans at home?
- Seed preparation and sowing
- Preparing the soil for planting seeds
- Planting stages
- Stage 1
- Stage 2
- Stage 3 - landing
- Caring for beans at home
- Optimal lighting conditions
- What and how to feed beans?
- Diseases and pests of beans
- Harvesting the first harvest
- Conclusion
How can you grow tasty, large beans indoors while protecting the room from the scorching sun? To answer this question, you'll need to study the step-by-step instructions for every stage of planting and provide the plants with the right conditions for development and the growth of beautiful, dense foliage. The work isn't difficult, and this easy-to-grow plant won't require much time or effort, but each step must be performed promptly and responsibly.
How to choose the right variety of beans for your home
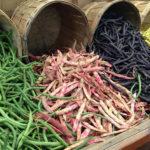
Before planting, you'll need to decide what bean plants you need in your apartment. If you're looking for a bountiful harvest of delicious beans, you'll need to plant bush-type seeds. If you're looking to create a shaded room, a climbing bean will do the trick. ornamental beans.
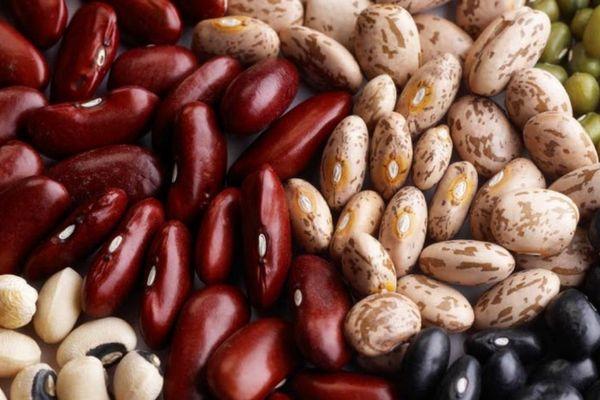
For growing plants at home, it is better to use hybrid self-pollinating varieties.
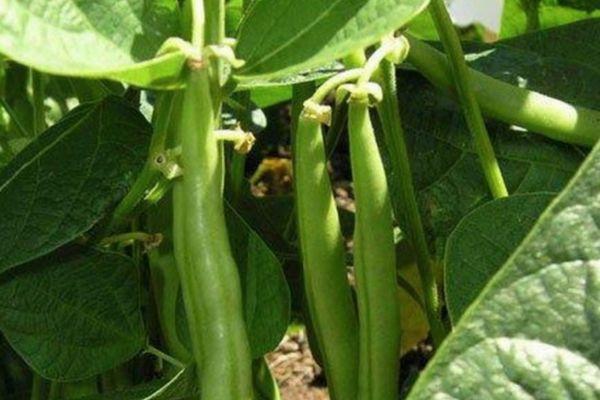
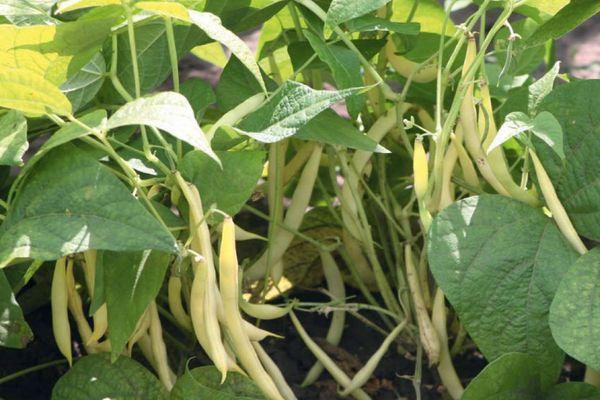
Asparagus beans
These plants have a short growing season, accelerated bean maturation, and minimal bush size. Early varieties of this plant species are successfully grown on windowsills or balconies in simple boxes or flower pots, requiring little care. It's preferable to plant seeds of varieties that are resistant to pests and diseases.
These varieties include:
- The butter king is a plant with large, tubular pods. Harvest time is 60 days after planting. They can be eaten fresh, canned, or frozen.
- Caramel – plants are resistant to legume diseases. Large, sweet beans mature in 2 months.
- Saxa 615 is a compact hybrid plant, ideal for indoor planting. The tubular pods offer a wealth of nutritional and mineral benefits, and the pulp is free of woody, coarse fibers.
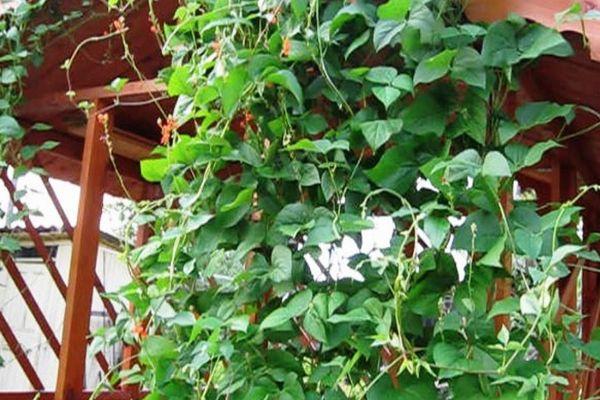
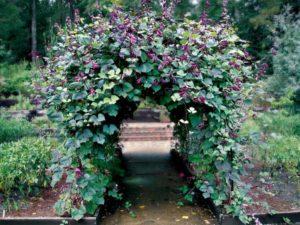
Ornamental climbing bean varieties
Varieties of this species produce climbing vines with large foliage and large pods. The seeds are inedible, but they can be successfully collected and planted the following season. Those who prioritize beauty primarily pay attention to this climbing vine variety, which quickly fills the entire space of balcony windows.
Among these plants, it is recommended to plant several popular varieties:
- Speckled;
- Rumba;
- Violetta.
A special feature of this plant is that when the window is covered with beautiful foliage, further growth of the vine can be stopped by simply pinching off the top pair of leaves; this treatment accelerates the ripening of the beans.
Important! When planting beans indoors for the first time, once you've decided on the plant type, be sure to purchase several hybrid varieties and plant them in separate containers. This will make it easy to identify your favorite bean variety.
Is it possible to create conditions suitable for beans at home?
When growing plants on a windowsill, a trellis or support for bush beans should be installed before planting. To ensure the seedlings maintain their growth, supplemental lighting is required. A minimum of 12 hours of daylight is required. This will require installing a fluorescent light fixture on the balcony.
Otherwise, the rules for planting and caring for plants are the same. The main stage of work is the period of flower bud formation; a caring owner can easily grow shade-providing plants and a harvest of delicious beans.
Growing beautiful vines with large bean pods will require attention to the level of lighting, air humidity and a responsible attitude towards your crops.
Seed preparation and sowing
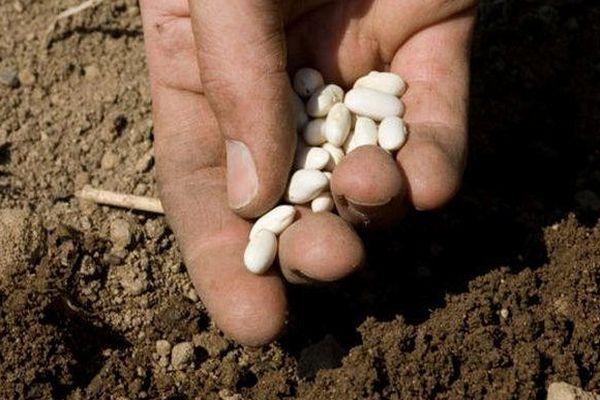
Before preparing seeds for planting, pay attention to their quality. Criteria for selecting high-quality seeds:
- Dry beans, those with mechanical damage or signs of pest or disease infestation, are not recommended for planting. It's best to discard such seeds, as germination is minimal and the plant will lag behind in growth. The best choice is large, plump seeds with a glossy, smooth outer shell.
- To determine the quality of planting material, it is recommended to soak it in salted water. Dry seeds will float.
Defective beans are discarded, and good ones are pre-soaked. The sprouting process requires several simple steps:
- Clean water is poured into the container, any growth stimulator and manganese are added.
- After mixing the solution, soak a natural fiber cloth, distribute the planting material evenly, and fold the cloth like an envelope. The key is to block the air flow.
- The tissue with the embryos is placed in a saucer with a thin layer of solution.
- For 24 hours, the saucer is placed in a dark room at room temperature.
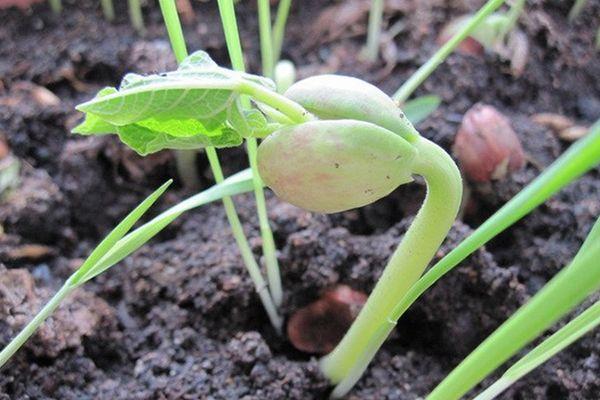
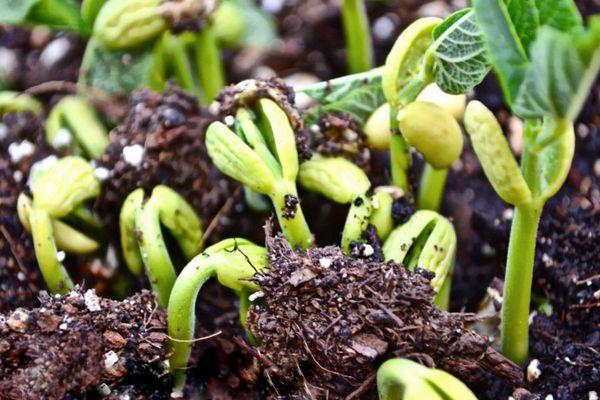
As soon as the beans begin to sprout en masse, it is time to plant the seeds in planting containers.
Beans do not tolerate freezing temperatures; they are a very heat-loving plant. Therefore, if you plan to plant beans on an unheated balcony, begin when warm weather sets in, with a minimum air temperature of 10-15 degrees Celsius. Mature bean plants can withstand short-term spring frosts down to -3 degrees Celsius. WITH.
 The optimal time for planting on an unglazed balcony is late May. On a windowsill in a heated room, the plant can be grown year-round, but additional lighting will be required in winter.
Preparing the soil for planting seeds
The accelerated vegetative growth period of legumes eliminates the need to plant seeds in common seedling boxes and waste time pricking out young seedlings. Therefore, the soil for the seedlings is poured directly into planting pots or other containers.
For best growth, purchase ready-made nutrient soil from a gardening store or mix equal parts rotted manure and turf soil, preferably from a forest or shelterbelt. In the south, the best soil is under acacia trees. Add 40 g of superphosphate and 100-150 g of wood ash to the solution. If the soil is highly acidic, it should be adjusted to a pH of 6-6.5 using quicklime or dolomite flour.

Such soil will allow for one additional soil feeding at the stage of the beginning of fruiting of the bushes or during the rapid growth of the climbing species.
Planting stages
Growing and caring for plants is simple, but in the early stages of development, the germination and development of legume bushes depends on the correct planting process. Determining the right time to plant seeds is easy: the plants need a minimum temperature of 25°C. C, under these conditions the beans will quickly germinate and begin to develop before the onset of intense heat.
Below is a detailed step-by-step instruction for planting plants.
Stage 1
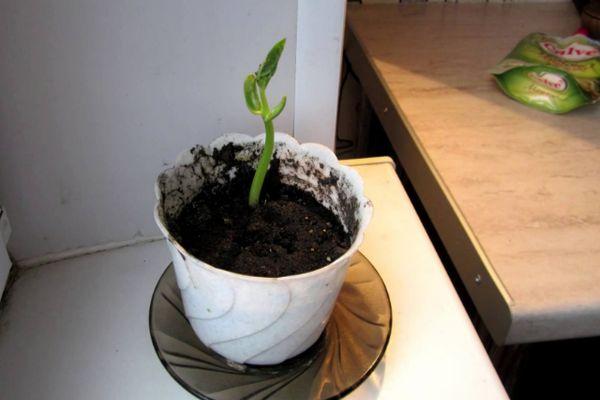
For each seedling, you'll need to prepare flower pots with a minimum capacity of 3 liters. Place a few expanded clay granules or broken bricks at the bottom to provide additional drainage.
The height and diameter of planting containers should be at least 200 mm. In these conditions, the legumes' root system will have ample space to develop, and the plants will receive sufficient nutrition. In a cramped pot, the first shoots will appear later, and the plant will lag significantly behind its neighbors.
Stage 2
The prepared soil should be heat-treated to kill pests and diseases. This is best done in the oven, although many gardeners recommend using a microwave. After the soil has cooled, fill the pots, compact it, and water with warm water.
Everything is ready for the main stage.
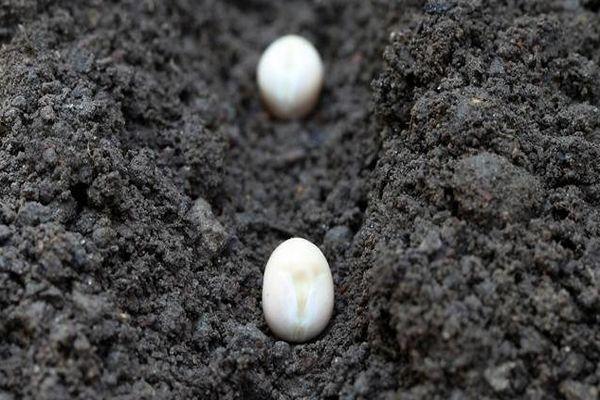
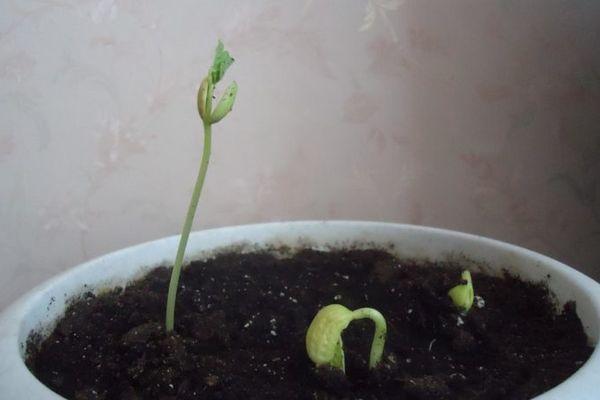
Stage 3 - landing
Make a small hole in the pot, up to 50 mm deep. Water the soil again and place the seeds. It's essential to place some of the bean sprouts (future roots) downwards and at a slight angle. If the seeds are of poor quality, you can plant a few seeds in one pot and then transplant the weaker plant to another. Leave at least 100-150 mm between seedlings.
The seeds are covered with a layer of loose, nutritious soil and topped with a layer of peat moss to create a mulch. Each seedling is covered with glass or plastic to create a constant microclimate for the plants. Once the seedlings emerge, the covering material is removed.
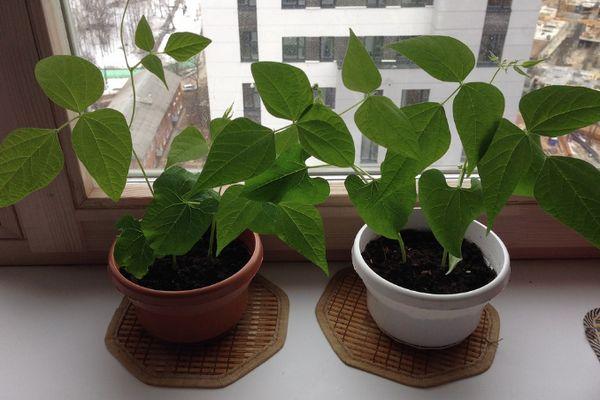
Caring for beans at home
This easy-to-care-for garden plant requires little effort. The key is to water it regularly, loosen the soil regularly, and monitor the health of each plant. At the first sign of trouble, provide immediate assistance. Only such care will allow you to harvest a bountiful crop of beans on your windowsill and decorate your balcony with vines bearing large pods and beautiful flowers.
Let's take a closer look at the rules for carrying out other operations to care for bean bushes growing at home.
Optimal lighting conditions
For normal development, plants will need to be provided with lighting so that daylight hours last:
- for young developing plants - 14-16 hours;
- grown bushes, from the moment of flowering - 12-hour day.
Under these conditions, plants are able to stop growing for a short period. It's important to remember that sunlight isn't just for stems and foliage; the rays warm the soil, creating optimal conditions for plant development.
What and how to feed beans?
An annual plant won't require additional nutrition if the planting soil is properly prepared. If the beans begin to lag in development or the foliage begins to turn yellow, it's time to add nitrogen fertilizer. Spring is the time to apply organic or nitrogen-based mineral fertilizer. In summer and early fall, potassium and phosphorus should be added to the soil.
Applying manure indoors is not recommended. The best option is to purchase a ready-made, balanced solution. After diluting the solution according to the instructions, water the moistened soil in the pots. Once the moisture has been absorbed, water with warm water.
For vines, in addition to root feeding, foliar feeding will be necessary. You can mix your own solution for this, but it's better to purchase a commercial, balanced solution and spray it onto all parts of the plant and the soil in the pot.
Diseases and pests of beans
Plants are relatively free of pests and diseases indoors, as long as windows are covered with mosquito nets and the seeds and soil are disinfected during preparation. However, there are times when gray mold develops near the roots of bean plants, or when overwatering causes a fungal disease called blackleg. Beans can also harbor the larvae of various pests, such as aphids and leaf rollers.
In such cases, the bushes should be immediately treated with contact fungicide and insecticide solutions. However, when purchasing, pay attention to the volume of the solution. For treating several bushes, don't purchase a solution that requires 10 or 5 liters of solution.
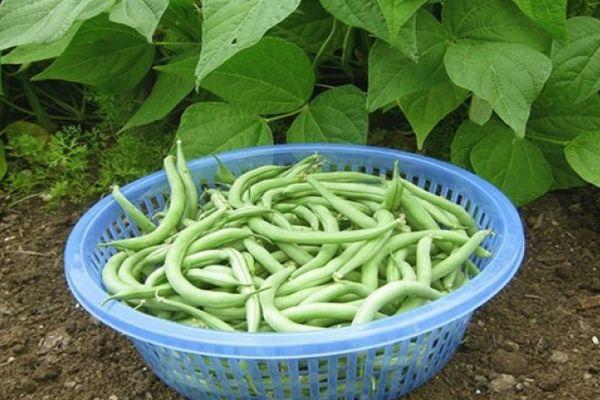
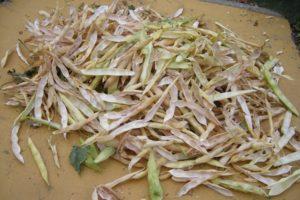
Harvesting the first harvest
Harvesting is only possible when planting bush and branched beans. If ornamental varieties are planted, the pods are for decoration. It is recommended not to delay harvesting. By unloading the first set of beans, optimal conditions are created for the growth of the second tier of beans and the development of the entire plant. It is best to cut the pods with scissors or pruning shears to avoid accidentally pulling out the entire plant when picking the beans.
Conclusion
Growing beans at home is easy. All you need is a few fluorescent lamps, flower pots at least 200 mm high, knowledge of planting and care instructions, and, most importantly, kind hands and careful, loving care. Only then can any gardener decorate their balcony or window with a curtain of beautiful, vibrant vines. flowers and beautiful bean pods.
Related posts:
 Description of the 90 best varieties of beans for open ground with names
 How and where beans grow, planting and care rules in open ground
 Planting seedlings and seeds, growing and caring for asparagus beans in open ground
 What is a bean—a vegetable or not, what does the plant look like, description, and family
 Health benefits and harms of white beans, varieties and cultivation
 The health benefits of beans for women and men, harm and contraindications
 Description and properties of the 50 best varieties of asparagus beans, benefits and harms
 Recipes for making pickled green beans for the winter at home