- Meteor Potato: Description and Characteristics of the Variety
- Pros and cons of potatoes
- Specifics of growing potatoes
- Selecting and preparing a planting site
- Seed material
- Landing rules
- Tips for caring for the crop
- Watering and fertilizing the soil
- Loosening and weeding
- Hilling
- Diseases and pests
- Harvesting and storage rules
- Reviews from experienced gardeners and summer residents
The Meteor potato variety was developed at the All-Russian Research Institute of Vegetable Crops, named after the renowned Soviet breeder A.G. Lorkh. The Meteor variety is considered versatile—it's tasty, known for its high yield, and capable of withstanding drought.
In 2013, the Meteor potato variety was added to the Rosreestr. It gained popularity not only because it is an early variety, but also because it thrives in a variety of climates and is easy to care for.
Meteor Potato: Description and Characteristics of the Variety
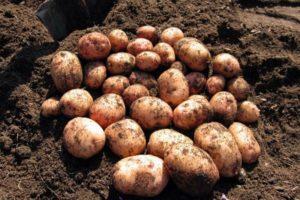
The growing season is complete 70 days after the first shoots emerge. However, tubers can be harvested on the 45th day. The yield of this crop depends on the climate in which it is grown. In different regions of the country, it ranges from 21 to 40 tons per hectare. This potato variety has a high marketability, ranging from 88% to 98%. It has a high shelf life of 95%.
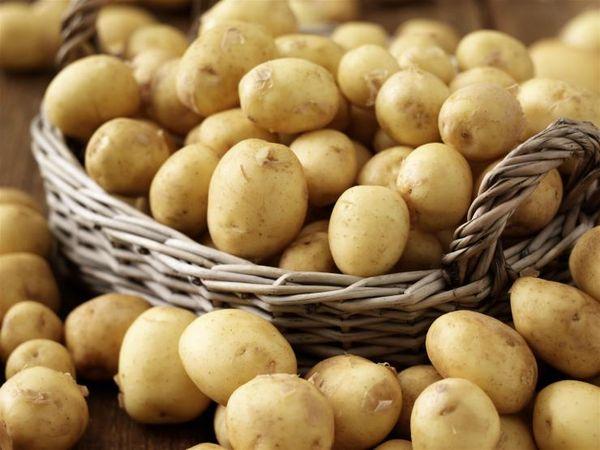
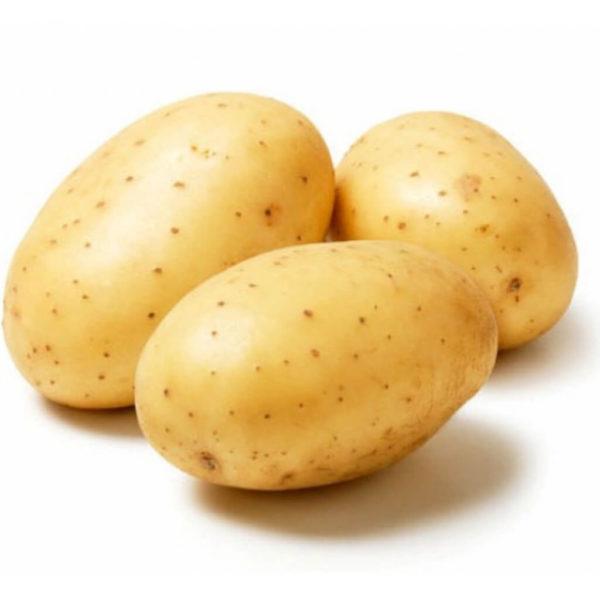
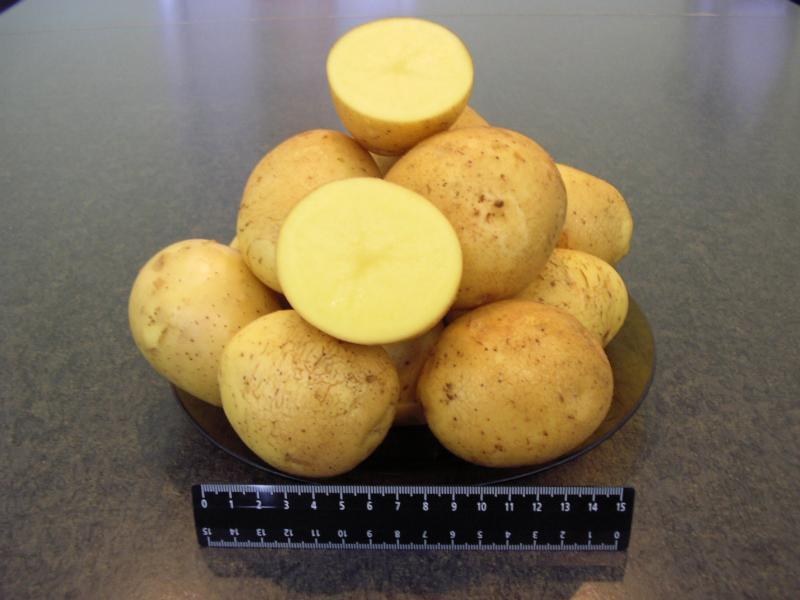
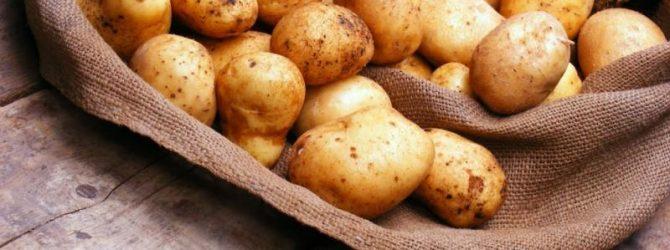
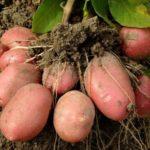
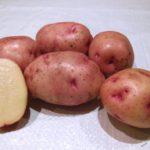
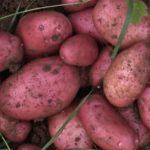
The Meteor potato is an early variety. The tubers have thin, cream-colored skin. The eyes are no larger than medium in size. The roots ripen at medium to shallow depths. The tubers have excellent flavor. The starch content is 10-16%. The flesh is light-colored. A single plant can contain 10-12 potatoes. The average fruit weight is 100 to 150 mg.The tops are well developed, the dark green leaves are mostly large and medium sized..
Pros and cons of potatoes
Meteor potatoes are known for the following positive qualities:
- It has excellent flavor. When cooked, it cooks well without darkening.
- Meteor potatoes are well preserved when vacuum-packed.
- It grows well in almost all regions of the Russian Federation. This variety is highly resistant to drought.
- Resistance to diseases and pests is present, which allows for the use of insecticides to be limited, which has a positive effect on the yield and taste of potatoes.
Cons:
- Potatoes can produce a harvest in various conditions, but there are cases where they grow tasteless.
- Large potatoes may have some holes inside, but this is rare.
Specifics of growing potatoes
To achieve a good yield and grow delicious Meteor potatoes, it is necessary to follow the planting and growing rules.
Selecting and preparing a planting site
The best soil for growing root vegetables is loamy. Site preparation begins several weeks before planting. It's best to choose a site where beans, cucumbers, onions, or cabbage have previously been grown.
Potatoes thrive in good light. The area should be free of high fences, house walls, or trees that cast shadows on the plants.
Before planting potatoes, the following fertilizers must be added to the soil:
- Urea in the amount of 1 kilogram per hundred square meters.
- Nitrophoska - 5 kilograms for the same area.
- Nitroammophoska at 3 kilograms per hundred square meters.
- Three kilograms of ammonium nitrate will be required for this area.
Seed material
For planting, it's recommended to select medium-sized tubers without signs of pest infestation. They are placed in boxes and provided with warmth and moisture for germination. This should be done for a month before planting. Before planting, the tubers must be soaked in a special solution. To prepare it, you will need:
- Take boric acid, manganese, and copper in equal parts. 0.5 grams of each is sufficient.
- This composition is dissolved in one and a half liters of water.
The planting material must be kept in this liquid for three hours.
Landing rules
This variety is planted from late April to early May. During this time, the soil begins to warm up, reaching 8-10 degrees Celsius. Before planting potatoes, clear the area of debris. It is recommended to till the soil with organic fertilizer. Manure or peat can be used for this purpose.
The planting hole should be 20 centimeters deep. Plants in a single bed should be spaced 35 centimeters apart. The distance between beds should be 60 centimeters.

Add 250 grams of wood ash to each hole. Top this with a 2-3 cm layer of loose soil. This is necessary to prevent the plant's roots from being burned. Then, add 1 tablespoon of mineral fertilizer to each hole. Now plant the potatoes and cover them with soil. Plant them to a depth of 6 cm. Once the seedlings emerge, fertilize them with a urea solution—30 grams per 30 liters of water. Apply 0.5 liters of the mixture to each hole.
Tips for caring for the crop
Caring for the Meteor potato variety is not very difficult - you just need to follow
Basic rules of cultivation.
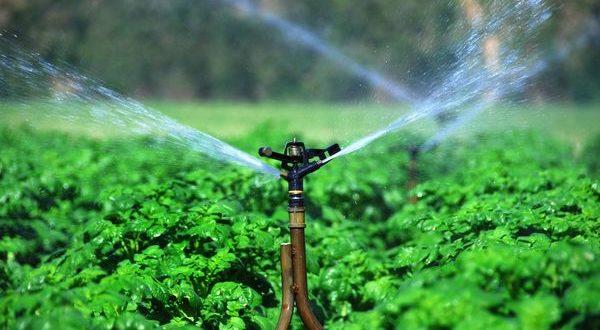
Watering and fertilizing the soil
In cases where the plant's growth is too slow, it may be beneficial to apply a few additional fertilizers. It's important to remember that using only organic fertilizers will not provide the plant with sufficient nutrients for full development. On the other hand, using only mineral fertilizers will gradually stunt the potato plants and lead to soil burnout.
Therefore, a comprehensive approach to plant feeding is more effective.
During potato growth, you'll need to fertilize the plants twice. The first time should be before flowering, when buds begin to form. To do this, prepare a special mixture:
- You will need 20 grams of ash and 30 grams of potassium sulfate.
- Dissolve in 15 liters of water.
- For each bush you need to use 1 liter of this composition.
The plant is fed a second time during flowering. This is done to accelerate root development. To do this, use the following mixture:
- Prepare 250 grams of manure, which should have a slurry-like consistency. Add 2 tablespoons of superphosphate.
- The mixture is dissolved in 10 liters of water.
Each potato plant requires 1 liter of this mixture. After this, there's no need to add fertilizer to the soil. Overfeeding will reduce not only the yield but also the taste.
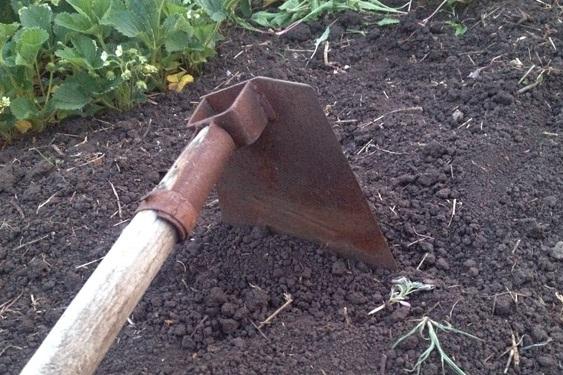
Loosening and weeding
The first loosening and weeding is done a week after planting. Subsequent weeding is carried out as weeds grow. Regular loosening is important—it allows carbon and nutrients to reach the plant roots.

Hilling
If Meteor potatoes are grown in cold climates, there is a risk of late frosts. In this case, it is recommended to hill the plants to protect them from low temperatures.
Diseases and pests
This variety has high resistance to diseases:
- It is highly resistant to cancer, dry rot, ring rot, golden potato nematode and rhizoctonia.
- Its resistance to scab, late blight and alternaria is average.
Potatoes of this variety are resistant to aphids and Colorado potato beetles. As a preventative measure, insecticide spraying can be used to protect the plant. However, this is not necessary, as the plant has its own natural defenses.

Harvesting and storage rules
There are no special requirements for harvesting. The tubers can be dug up 45 days after planting, but the later you do this, the tastier and larger they will be. This variety stores well. However, proper storage guidelines are necessary. Best results are achieved at a storage temperature of 4°C (4°F). It can be slightly higher, but not exceeding 7°C (44°F).
The optimal humidity level during storage is 85%. It's important to keep the potatoes away from direct sunlight during this period.
Reviews from experienced gardeners and summer residents
Natalia, 42 years old:
I've been planting them for two years. Although the potatoes can be dug up for eating after 45 days, the tubers are small. After 70 days, they become significantly larger.
Sergey, 45 years old:
The Meteor variety lives up to its name. It ripens the earliest of all the potato varieties I know.
Related posts:
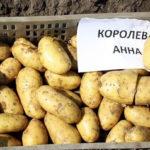 Characteristics and description of the Queen Anna potato variety, planting and care
 Instructions for use and composition of the herbicide Meteor, dosage and analogues
 Description of the best potato varieties of domestic and foreign selection
 Description and characteristics of the Rodrigo potato variety, cultivation and care
 Description and characteristics of the Zhukovsky potato variety, planting and care
 Description and characteristics of the Rocco potato variety, cultivation and care
 Description and characteristics of the Colombo potato variety, planting rules and care
 The best grape varieties for growing in the Urals, planting and care rules in summer