- Benefits of sprouting potatoes before planting
- How to select good tubers for planting potatoes
- How to stimulate potato sprouts?
- Making cuts
- Processing sprouted potatoes before planting
- Use of specialized fertilizers
- Methods for sprouting potatoes
- Soaking potato tubers in a fertilizer solution
- Warming up tubers
- Pre-planting wilting
- In polyethylene
- Outdoors
- Potato dressing
- In pots
- Combined method
- In plastic bottles or glass jars
- In sawdust
- Methods for planting sprouted potatoes
- Into the trench
- In the comb
- Under the shovel
- Into the straw
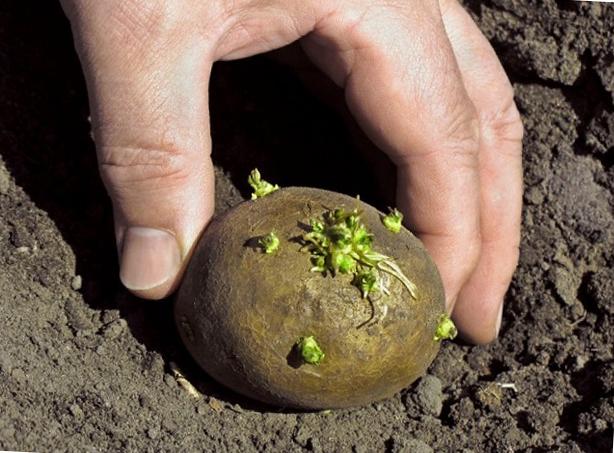
Potatoes are one of the most popular vegetables in gardens. To increase yields, farmers use many methods, including sprouting potato tubers before planting. This process is performed in various ways: in the light and in the dark, in pots, glass bottles, and bags. After reviewing the information, gardeners can decide which method is most suitable.
Benefits of sprouting potatoes before planting
The benefits of sprouting potatoes are as follows:
- The sprouts begin to emerge earlier, and therefore the potatoes will yield a harvest earlier than tubers planted in the ground without sprouting.
- It's immediately obvious which fruits are produced by weak, thin sprouts. By rejecting substandard ones, gardeners save planting space and time, which would otherwise be wasted on caring for poor-quality seed.
- The contamination of the soil by fungal diseases is prevented because the tubers are carefully examined before germination, and any rotten or pest-eaten ones are removed.
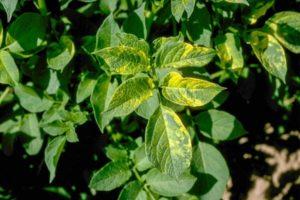
Please note! If the sprout tips are black, do not plant these root vegetables in the ground: they are contaminated with pathogenic microflora and can contaminate the soil.
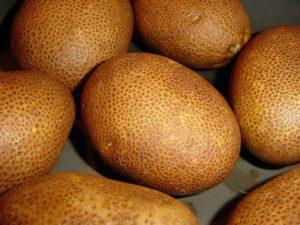
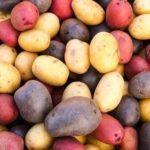
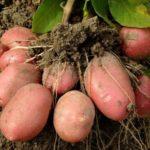
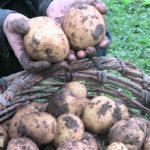
How to select good tubers for planting potatoes
Medium-sized vegetables are chosen for planting: those that are too small will not produce quality fruit, while those that are too large will use up their reserves, preventing root development. Furthermore, planting large tubers is a waste of seed.
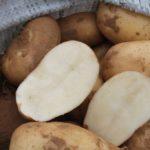
For this reason, experienced gardeners recommend cutting large root vegetables into pieces so that each division has 3-4 eyes.
This procedure should be carried out a few days before planting: this will allow the cuts to dry and prevent infection. They can also be sprinkled with wood ash or dipped in a potassium permanganate solution.
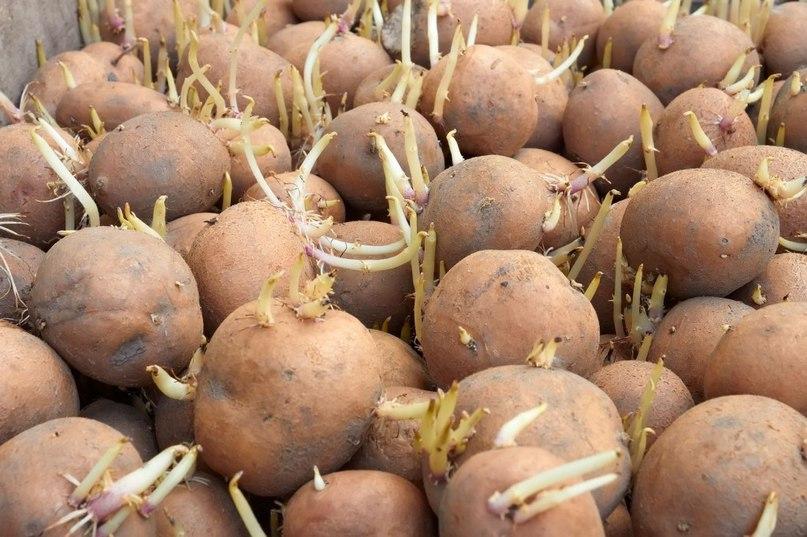
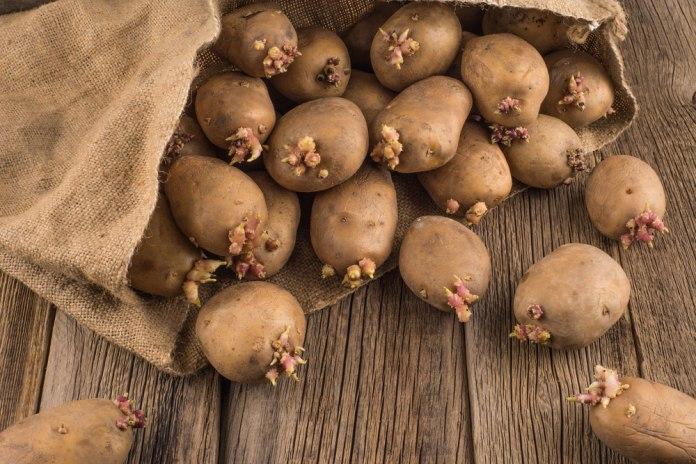
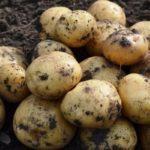
Potatoes selected for planting should be free of blemishes, dents, or scratches. Sprouts formed by the fruits during storage in the basement are removed; they are weakened and will not produce a good harvest. Thick, firmly attached sprouts form in the presence of light.
How to stimulate potato sprouts?
To speed up the potato harvest, sprout them 30-40 days before planting. However, there are methods that can stimulate sprout formation, making the tubers ready for planting earlier. Furthermore, using specialized fertilizers will not only promote faster potato growth but also help them resist various diseases.

Making cuts
Making cuts in the tubers will increase the flow of nutrients to the sprouts, causing them to develop faster. There are three ways to do this:
- Cut the potatoes crosswise, leaving a 1 cm deep bridge.
- Make a circular cut to a depth of 3 millimeters.
- Insert wooden toothpicks between the eyes.
After this, the tubers are kept in a bright, cool room to allow sprouts to form.
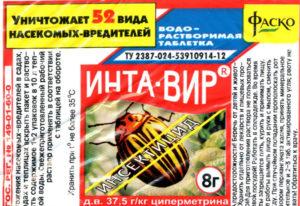
Processing sprouted potatoes before planting
To protect the future harvest from pests, chemicals are used. They are diluted with water according to the instructions, then the tubers are immediately sprayed with the prepared solution. After treatment, the seeds are left to dry for 2-3 hours and then planted in prepared holes. Young tubers will not have time to absorb the chemical, as it decomposes after 40 days.

Use of specialized fertilizers
Fertilizing will help increase yields. Before sprouting, soak the tubers in a weak solution of potassium permanganate for 30 minutes. Then, spray them with potassium humate or Epin once a week. Fertilizers improve photosynthesis and normalize metabolism, which are essential for the development and fruiting of the vegetable.
Methods for sprouting potatoes
Through experience, gardeners have identified several effective methods for sprouting tubers.
Soaking potato tubers in a fertilizer solution
The chemical industry produces a wide range of products that promote root growth. Root crops, for example, can be placed in a fertilizer solution consisting of the following components:
- 10 grams of boric acid;
- 60 grams of superphosphate;
- 5 grams of potassium permanganate;
- 40 grams of urea.
The substances are dissolved in a bucket of water, the root vegetables are dipped into the substance for 15 minutes, and dried.
Warming up tubers
Sometimes gardeners are unable to prepare potatoes for planting in advance. In this case, the vegetable requires rapid awakening, which means placing it in a warm environment. To achieve this, the seed trays are placed in a room with an air temperature of 10-15°C for 2-3 days. Under these conditions, the roots will acclimate to the light and warmth. The trays are then moved to a room with a temperature of 20-22°C for a week.
Pre-planting wilting
If a gardener is late preparing the seeds or is late getting them out of the cellar for germination, they can use the method of wilting the tubers. To do this, spread plastic wrap in a warm room and lay the root vegetables on it in a single layer. The vegetables should be kept in this condition for at least two weeks.

In polyethylene
Germination is carried out as follows:
- 10-15 holes are made in plastic bags to allow air access;
- tubers are placed in them (up to 10 pieces in each bag);
- the bags are tied, placed on the windowsill or hung from the window;
- Every day they need to be turned over to the sunlight with different sides.
Take a look Also
Potatoes take 25-30 days to sprout. The advantage of this method is that the potatoes are easy to transport to the garden bed.
Outdoors
Sprouting vegetables this way is easy: it's used when there's no room for preparing root vegetables. Choose a location that receives plenty of sun but is protected from drafts. First, lay a 10-centimeter layer of straw on the ground, then layer the root vegetables on top in 2-3 layers. This procedure is performed 3 weeks before planting the vegetables in the garden.
Potato dressing
Treating tubers with insecticides protects them from being eaten by mole crickets and wireworms. Fungicides protect potatoes from pathogens that can destroy the entire crop. Copper sulfate, superphosphate, and micronutrients can boost the immunity and resistance of root crops. Each product comes with detailed instructions for use.
Advice! When using chemicals, wear protective equipment: gloves, a respirator or gauze, and goggles.
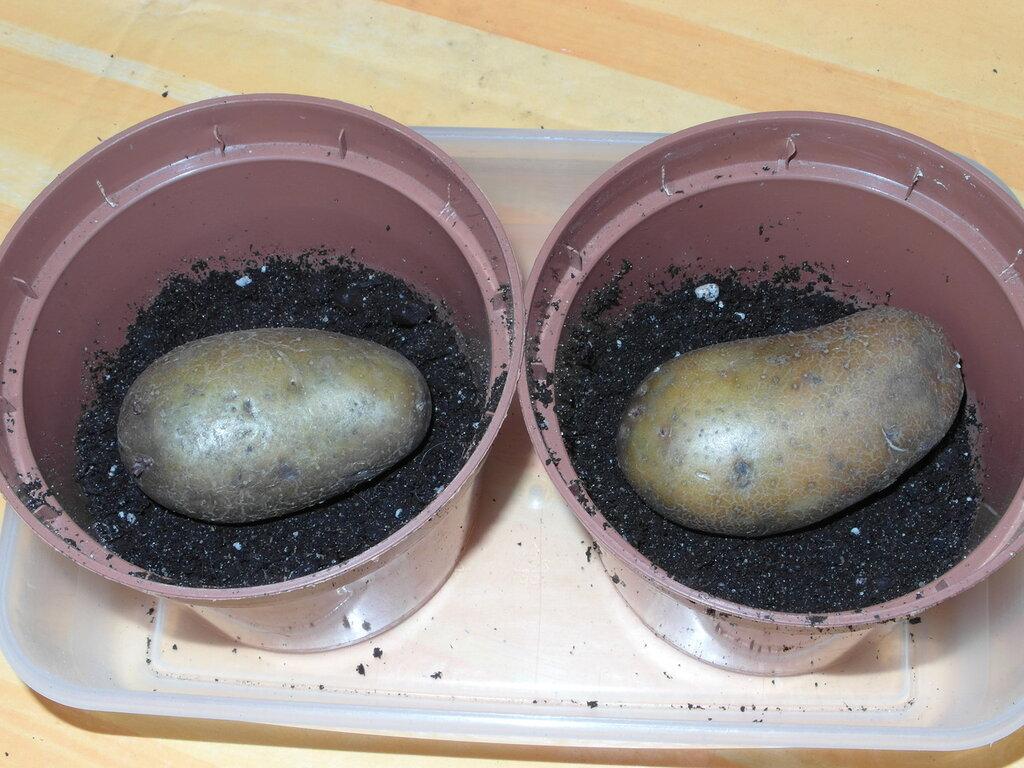
In pots
This method is suitable for summer residents who live in apartments during the winter. Pots don't take up much space on a heated balcony, look aesthetically pleasing, and are easy to transport to the garden. First, the potatoes are placed in a container with damp sawdust for 6-7 days, then transferred to pots filled with nutrient-rich soil. The soil is misted with water as needed.
Combined method
First, the root vegetables are germinated for a month in the light. During this time, thick sprouts form. The fruits are then placed in boxes filled with moist substrate. The substrate is moistened with a nutrient solution prepared by diluting the following ingredients in 10 liters of water:
- 30 grams of potassium chloride;
- 60 grams of superphosphate.
Initially, the air temperature is maintained at 20-22°C, then reduced to 12-14°C. This is done to prevent the roots and shoots from overgrowing.
In plastic bottles or glass jars
This is another convenient option for sprouting potatoes for apartment dwellers. A month before planting the vegetables outdoors, take plastic bottles or jugs with the tops cut off and place the roots in them. Place the containers in a warm, bright room and cover them with cheesecloth. After a month, strong, short sprouts will emerge from the eyes, and the roots will be ready for planting.

In sawdust
To perform this procedure, wet sawdust is placed in a box, with the potatoes selected for planting placed on top. Another layer can then be made of wood shavings and root vegetables. Straw or peat can be used instead of sawdust. The main requirement is that the substrate must be kept moist at all times. The room temperature is maintained at a minimum of 12-15°C.
Methods for planting sprouted potatoes
There are several ways to plant sprouted root crops in the ground, the most common of which are: planting in a trench, under a shovel, in a ridge, in straw.
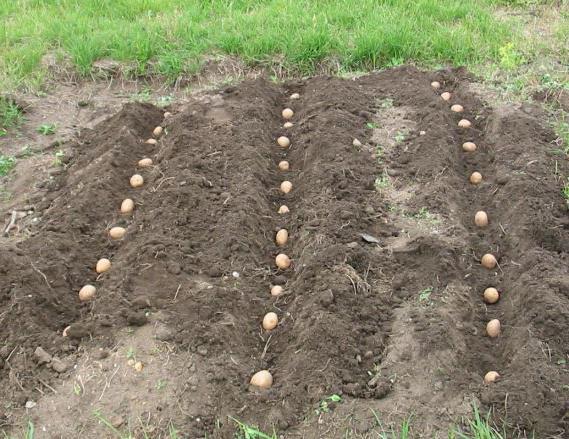
Into the trench
Experts recommend this method for gardeners with sandy soil. Its disadvantage is that it dries out quickly. Trenches are prepared in the fall: they are dug 25-30 centimeters deep, spaced 70-100 centimeters apart. They are then filled with damp hay, manure, and ash.
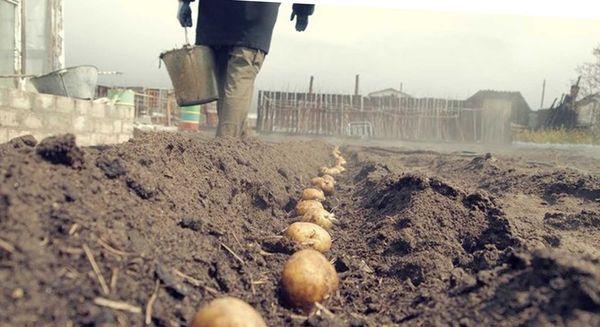
In the spring, when the soil warms up, seedlings are placed in the trenches and covered with soil. As the tops grow, they are hilled at least twice. Furrows can also be made in the spring, but then rotted compost is used. The advantages of this method are that the organic fertilizer warms the seeds, retains moisture, and nourishes the roots.
Important! When preparing the trench in the spring, use only well-rotted compost as fertilizer.
In the comb
This method is recommended for areas with heavy, clayey soil, as well as for areas with high groundwater levels. Using a tractor or walk-behind tractor, create ridges 15 centimeters high, spaced 70-80 centimeters apart. Potatoes are planted on top of these ridges, spaced 30 centimeters apart. Further care consists of hilling, watering, and fertilizing.
Under the shovel
In the fall, the soil is dug over and fertilized. In the spring, the soil is loosened with a rake, then holes are dug 7-9 centimeters deep. In addition to the tubers, these holes can be filled with compost, eggshells, ash, and onion skins to repel pests. If the threat of frost persists, cover the plantings with plastic film.
Into the straw
In the fall, the future planting area is covered with a layer of straw. By spring, it has rotted, and the root vegetables are planted in this compost and covered with fresh straw. This method has many advantages:
- in warmth the tubers develop faster;
- vegetables grow clean because they do not come into contact with the ground;
- no additional feeding required;
- potatoes give a big harvest;
- since straw serves as both fertilizer and mulch, there is no need to weed the area;
- After harvesting, the straw left over for the winter forms nutritious compost in the spring.
Sprouting potatoes is a necessary agricultural practice that promotes early harvest maturity and prevents diseases. By performing the necessary procedure in the spring and caring for the plant in the summer, gardeners will enjoy a tasty and healthy vegetable all winter long.
Related posts:
 Description of the best potato varieties of domestic and foreign selection
 Description and treatment of potato diseases, methods of control using folk and chemical means
 Why potatoes aren't growing well in the garden, and what to do to ensure a bountiful harvest
 Description of the best potato varieties for 2025, selection for regions
 Description and characteristics of the Rodrigo potato variety, cultivation and care
 Description and characteristics of the Gulliver potato variety, planting and care
 Description and characteristics of the Zekura potato variety, planting and care rules
 Description and characteristics of the Udacha potato variety, cultivation and care