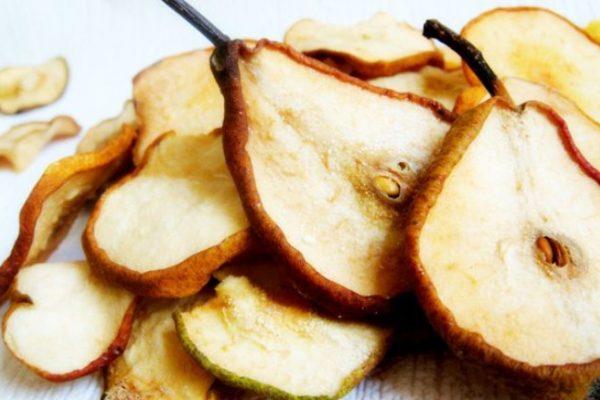
Preserving food for the winter is a necessary step in preparing for the cold season for every homemaker. This is especially important for those with their own garden. Some produce is frozen, others canned, others made into jam or compote, and still others dried. To ensure the harvest lasts all winter, you need to approach the preserving process responsibly. How to properly dry pears is discussed below.
Peculiarities of drying pears for the winter
There are a few simple rules that, if followed, will give you a delicious result.
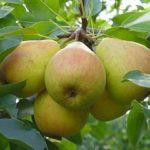
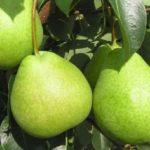
- Summer pear varieties are best for drying. Late-ripening fruits and those with an astringent taste are not recommended.
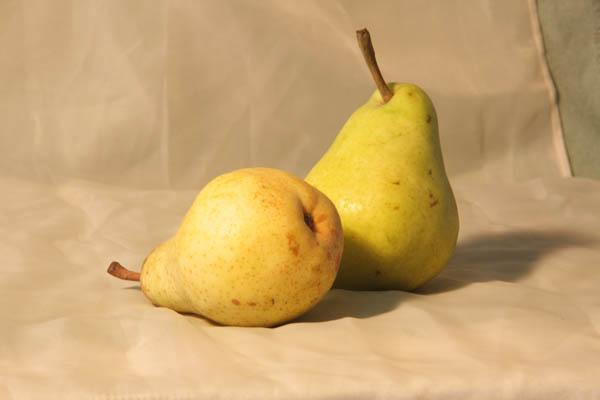
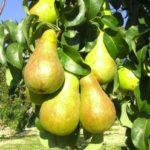
- Choose whole, slightly underripe fruit. It should be firm, elastic, and not too juicy.
- Small or medium-sized fruits are suitable. It's best to have as few seeds as possible.
- Do not try to dry overripe, rotten, or wormy pears.
- If the fruit meets all the requirements but has minor damage, simply remove it in preparation for drying.
Preparing fruits for drying
First, select unripe pears and rinse them with water. Dry the washed pears, then remove the stems and stalks. Place the pears in boiling water and simmer for about 10 minutes. If you want a little sweetness, add a little sugar.
After the specified time has passed, drain the water and let the fruit cool. At this point, sort through them again: remove any spoiled areas, and discard any unsuitable for drying. Next, cut the pears: small ones into 2 or 4 pieces, and large ones into 1-1.5 cm pieces. Remove the seeds.
However, this procedure isn't suitable for all pear varieties. If you decide to dry wild pears, you should first pick them from the ground and let them sit until the skin darkens. After that, they should also be washed and sliced. Skip the blanching and seeding steps. Many people prefer to dry whole pears.
Methods for drying pears at home
There are various options for drying pears. When choosing one, consider factors such as your home environment (for example, drying fruit outside may not be suitable for everyone), your kitchen equipment, and the ease of the process for you.
In the oven
This method is suitable for almost everyone, as few home cooks don't have an oven. Place the prepared fruit in a single layer on a parchment-lined baking sheet. Dry the fruit at a temperature no higher than 60 degrees Celsius (140 degrees Fahrenheit). After two hours of this process, increase the oven temperature to 80 degrees Celsius (176 degrees Fahrenheit). Once the pieces have shrunk in size, reduce the temperature to 55 degrees Celsius (131 degrees Fahrenheit) and simmer until done. This is easily verified: if the pears don't release juice when pressed, they're ready.
Remember to periodically change the position of the fruit and turn it over to ensure even drying. The drying process will take 12-15 hours if you're using sliced pears, and up to 24 hours if you're drying whole pears.
There are no special oven specifications: either an electric or gas stovetop will do. The main thing is that the temperature can be adjusted. It's best to place the baking sheet on the middle rack. The downside of this drying method is the loss of some vitamins during the cooking process.
In the microwave
This is probably the fastest way to dry pears. But you need to monitor everything carefully to do it right. In the microwave, there's a high risk of getting charcoal instead of dried fruit.
Place the prepared pears on a parchment-lined flat plate. As before, arrange them in a single layer. Set the microwave to 200 watts and dehydrate for 2.5 minutes. If time is short, continue the process, checking the pears every 30 seconds.
This way, one serving is prepared in no more than 5 minutes. Don't leave the dried fruit preparation process unsupervised to avoid throwing out spoiled fruit.
In an electric dryer
Place the fruit in a single layer on trays, leaving some space between each piece. Set the appliance temperature to 70 degrees Celsius.
Periodically change the positions of the trays to ensure even drying of the fruit.
On average, it takes 12 hours to dry pears using an electric dehydrator. The exact time depends on the specific model, whether you're drying the pears whole or not, and the size of the pieces (if the pears are sliced). There's no need to turn the pears over with this method.
Air drying
If you have the space and time, you can air-dry the pears. This process is time-consuming, but it will preserve the maximum amount of vitamins in the fruit. You'll need a thick thread (ideally nylon). Simply thread it through the fruit pieces and hang them in a convenient location, like a garland.
Make sure the fruits do not touch each other.
The room where the pears will be dried this way should be dry and ventilated. Sunlight is ideal. The drying time will take at least a week. The exact drying time depends on the thickness of the slices—the thicker the slices, the longer. When the pears have changed color slightly and spring back when pressed, you can harvest them.
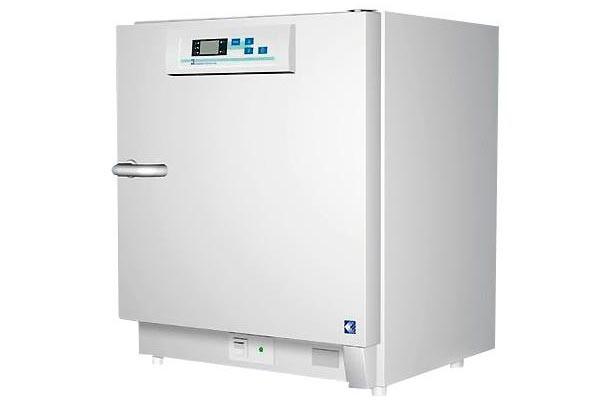
In the drying cabinet
This drying method is virtually identical to drying pears in an electric dehydrator. However, there's no need to turn the fruit over or handle it until it's completely dry. Unlike an electric dehydrator, where air is primarily supplied from below, the drying oven uses vertical airflow, allowing for even drying of all trays.
The drying time of fruits directly depends on the size of the fruits, but generally takes from 10 to 15 hours.
In the sun
Homeowners can dry pears naturally. Place the prepared fruit on a tray and place it in a location that receives maximum sunlight throughout the day. Cover the fruit with a thin cloth at night and bring it indoors if possible. Some people also cover the fruit with cheesecloth during the day to protect it from dirt and insects. Be sure to turn the pieces throughout the day.
Take a look Also
Once you notice the pears have dried out, move them to a dry, well-ventilated area and continue drying there for a few more days. On average, this will take another 3 days.
Storing dried fruits
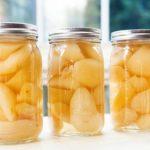
Drying fruit isn't enough; it also requires proper storage. A dry, dark place is ideal. Place dried fruit in natural fabric bags or a glass jar, making sure to seal it with an airtight lid. The shelf life should be no more than 1 year. Avoid storing dried fruit near heating devices or radiators, as this may spoil it. And be sure to periodically check the pieces for mold, gnats, and other troubles.
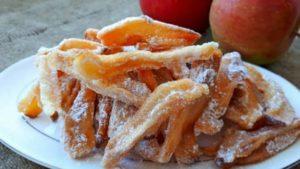
As you can see, there's nothing complicated about preserving pears for the winter this way. With just a little effort, you'll have delicious, healthy fruit on your table. You can make compotes with them, add them to desserts, or enjoy them on their own.

Related posts:
 Description and full characteristics of the Yakovlev Memory pear variety, planting and care
 The best ways to store pears at home during the winter
 Description and full characteristics of the August Dew pear variety, planting and care
 Description and characteristics of 14 varieties of the Bere pear variety, planting and care
 13 Best Severianka Pear Jam Recipes for the Winter
 27 Best Homemade Pear Jam Recipes for the Winter
 10 simple step-by-step recipes for preparing pears in syrup for the winter
 Description and full characteristics of the Lada pear variety, care and cultivation