- The Importance of Properly Selected Soil
- Advantages and disadvantages of homemade soil mixture
- Soil components
- Peat
- Leaf soil
- Sand
- Perlite
- Humus
- Invalid components
- Checking acidity levels
- Litmus paper
- Alyamovsky's device
- Meter
- Chemical laboratory
- Vinegar/hydrochloric acid
- Grape juice
- Chalk
- Identification using wild herbs
- Soil disinfection
- How to prepare a soil mixture for tomato seedlings yourself
- Sowing seeds for seedlings and further care
To ensure a successful harvest, it's important to grow high-quality planting material. Therefore, a soil mixture is needed that will provide the seeds with all the necessary nutrients for growth and development. Gardeners need to consider several nuances when preparing the soil for tomato seedlings.
The Importance of Properly Selected Soil
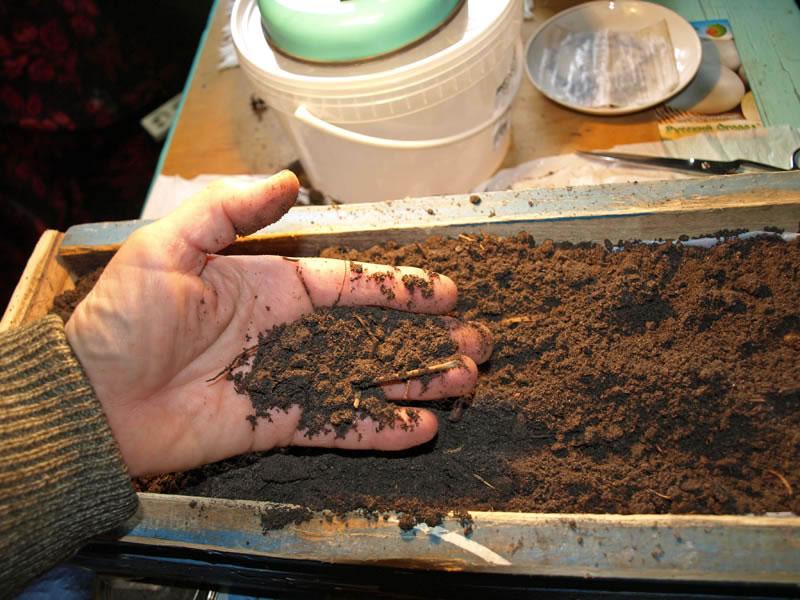
The success of growing seedlings depends on the correct soil selection. Preparing the soil is simple. Just gather the ingredients, measure out the required amounts, and mix them. Ready-made soil can be purchased at the store, but it can also be made at home. The difficulty lies in selecting the right ingredients. Sometimes, finding the right ones is difficult. The advantage of preparing your own soil is that you add the ingredients yourself, ensuring the quality.
The importance of properly selected soil:
- future harvest;
- high resistance to diseases;
- strong and powerful bushes;
- developed root system and much more.
In homemade soil, made correctly, plants feel better, develop on time and receive the necessary amount of nutrients.
Advantages and disadvantages of homemade soil mixture
Self-preparation of the mixture has its positive and negative aspects, after which the gardener decides whether to combine the soil himself or entrust this task to specialists.
Pros:
- relatively low price;
- high quality soil;
- one hundred percent correspondence of components to reality.
Cons:
- preparation and searching for ingredients takes a lot of time;
- risk of using contaminated land;
- the need to strictly adhere to the recipe.
After weighing the pros and cons, the gardener makes a decision: buy a ready-made mixture or mix the soil himself.
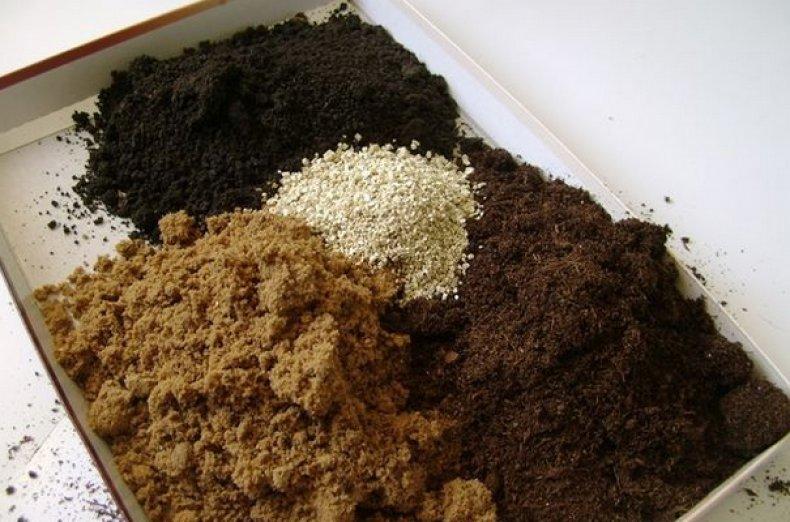
Soil components
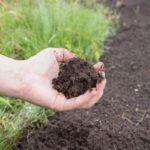
Properly prepared soil is used for growing seedlings. For preparation, it's necessary to select the right ingredients.
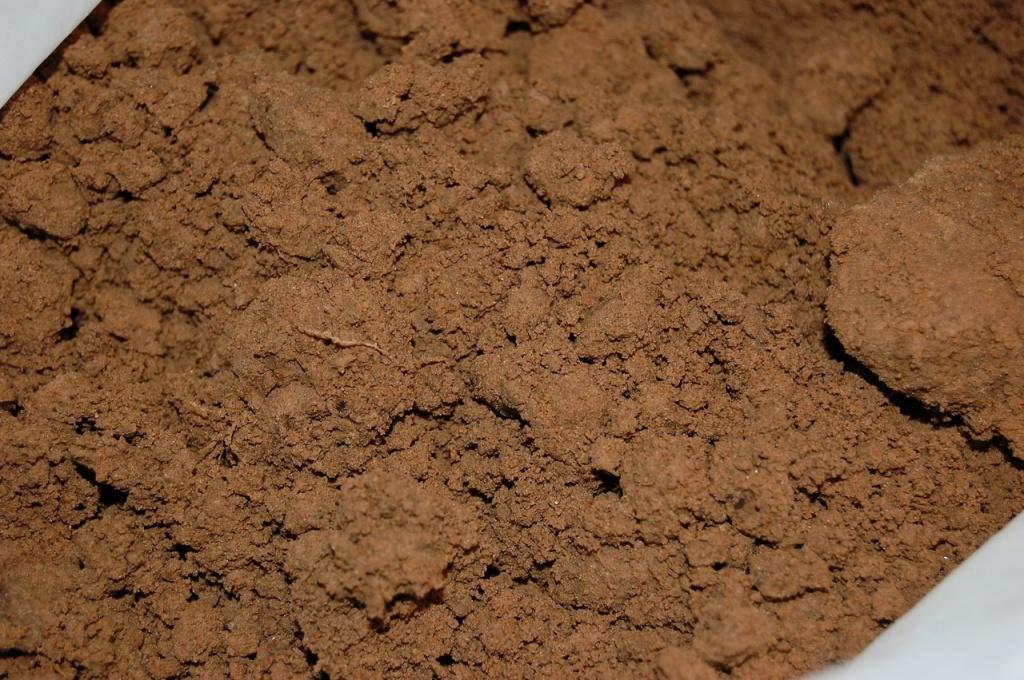
Peat
An essential component of seedling soil. Young plants require well-drained and permeable soil. Peat can provide this quality.To reduce the acidity level, dolomite flour, lime or chalk are added to the composition.
Peat is known for its ability to absorb moisture from the air. For this reason, it is used in greenhouses. Before adding peat to seedling soil, it is sifted to prevent lumps.
Advantages of using the component:
- improving the structure of the soil, increasing the permeability of moisture and air;
- the composition is enriched with nutrients necessary for the proper development of plants;
- natural antiseptic rids the soil of harmful bacteria and viruses;
- helps to increase acidity levels when needed.
Peat use should be adjusted to the soil's acidity. The higher the acidity, the less peat should be used. Otherwise, neutralization is mandatory.
Leaf soil
The component is loose but contains a small amount of nutrients. Therefore, it is added to loosen the soil for seedlings. Leaf mold is not used as a base; it is always diluted with other components. Harvesting is done in the fall, collecting the component in a forest belt.
It's best not to use soil collected from oak, willow, maple, pine, or chestnut trees. The high tannin content interferes with the normal development of tomato seedlings.
You can make this soil yourself. To do this, collect birch or linden leaves and lay them in layers, layering them with fertile soil. This type of soil takes a long time to prepare, but its use is widespread.

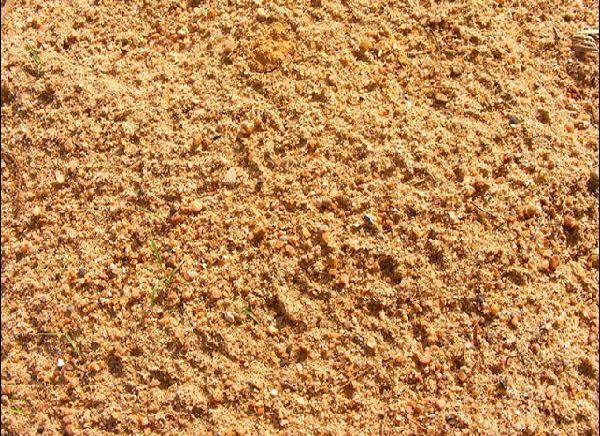
Sand
River sand is used to prepare soil for tomato seedlings. It's important to note that it shouldn't contain clay.
Why is this component added:
- helps to retain heat;
- loosens the soil;
- retains moisture.
Before using river sand, it is thoroughly washed and disinfected by heating it over a fire.
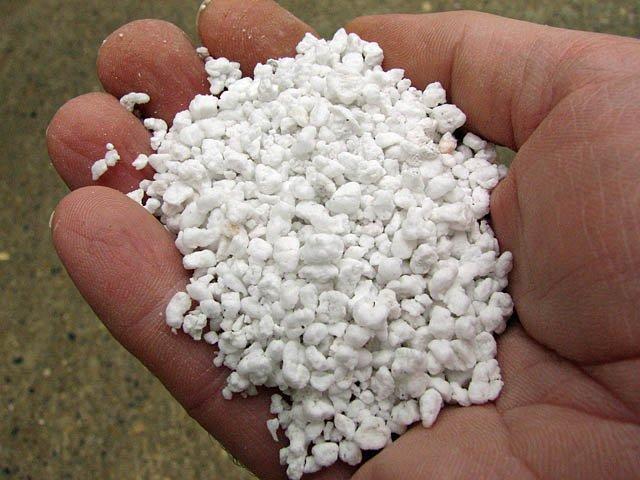
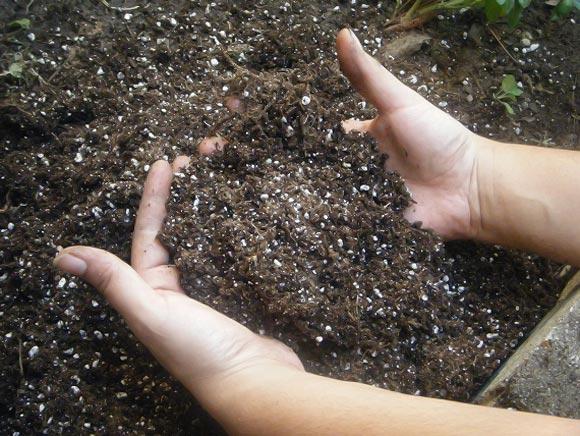
Perlite
This component is added to the top layer of soil. It is essential for reflecting ultraviolet rays. It also helps retain heat, preventing overheating and overcooling of plant roots. It also ensures improved moisture permeability:
- The value of perlite is that it's pure. It contains no microorganisms that could harm young plants.
- The weak root system of tomatoes takes root better when using it.
- After numerous waterings, perlite does not become monolithic, so it is often used to prepare soil for seedlings.
Proper use of all components included in the soil for seedlings will help to obtain healthy plants and subsequently a high fruit yield.
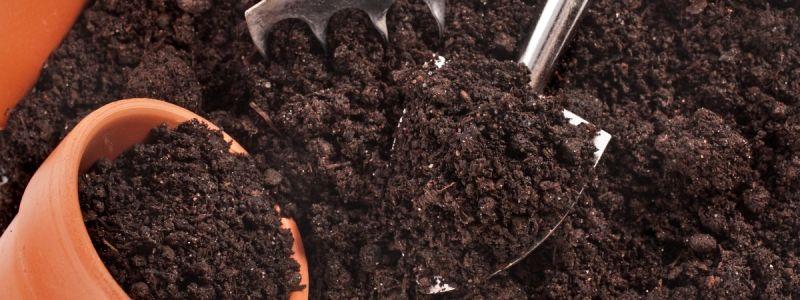
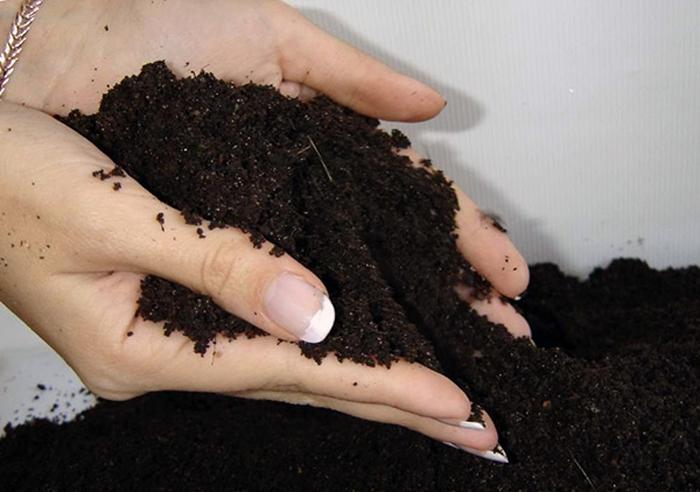
Humus
An essential component of the mixture, it contains the nutrients plants need for proper growth and development. It's essential to use fully rotted manure. Fresh manure can burn fragile tomato roots. In some cases, slurry is used. After moistening, when the soil dries out slightly, water with diluted fresh manure. This ensures the plants receive the necessary amount of nutrients.
Invalid components
It's undesirable to use any clay additives, as they weigh down the soil and prevent air and moisture from penetrating. Unbroken organic fertilizers should not be used in seedling mixes. This concentrates the heat, triggering decomposition. This causes the temperature in the planting container to rise, damaging the plant's root system.
Avoid allowing tea leaves, coffee, and sea sand to get into the planting soil.
Do not use soil collected near the highway. It quickly accumulates heavy metals, and using it for seedlings is strictly prohibited.
Checking acidity levels
The pH of the prepared soil plays a significant role in tomato production. It must be optimal. Otherwise, the plants will suffer from diseases and grow improperly. This will affect flowering, fruit set, and fruiting.
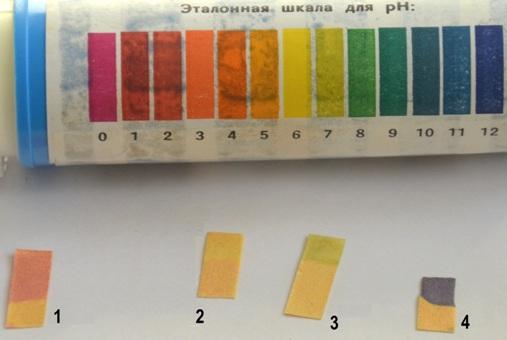
Litmus paper
To test acidity this way, purchase litmus paper and distilled water. Take a soil sample from different locations, wrap it in several layers of gauze or bandage, and then drop it into a jar of water and shake well.
The final step is to lower the strip into the container for a few seconds, then determine the result using the insert.
The same must be done with the remaining samples; the one that has the required acidity level will be used in preparing the soil mixture.
Alyamovsky's device
It's a set of reagents. You only need to determine the acidity in an aqueous or saline solution. This shouldn't be difficult.By following the instructions and the correct sequence of steps, the gardener will obtain an accurate result. The test is carried out in the same way as using litmus paper..
Meter
The gardener purchases a special instrument. It is used to measure other parameters as well. A significant drawback is the high cost of the device.
Chemical laboratory
This method provides the most accurate results, as the testing is done in a laboratory. However, a significant drawback of this method is that multiple samples are taken to accurately confirm the result. Consequently, it is the most expensive method.
Vinegar/hydrochloric acid
Folk methods for determining soil acidity. Their results are unreliable, but if you don't have the resources for chemical analysis, they can provide some insight. Prepare a strong solution of vinegar or hydrochloric acid and pour it over the soil. If the solution reacts and bubbles appear on the surface, the pH is appropriate. If there is no reaction, the acidity needs to be increased.
Grape juice
A neutral soil test will show the following reaction: Add a small amount of soil to a glass of grape juice and monitor the liquid. It should change color, and bubbles should form on its surface for a long time.
Chalk
A whole experiment is being conducted. You will need:
- 2 tablespoons of soil;
- 1 tablespoon of chalk;
- 5 tablespoons of water at room temperature;
- rubber finger cot.
Pour all the ingredients into the bottle, stir, and place a finger cot on the neck. Monitor the cot's condition. If it quickly straightens, the acidity is high; if it only half straightens, the acidity is weak; if it remains unchanged, the acidity is neutral.
Identification using wild herbs
To understand the acidity of the area, you need to take a close look at what weeds are growing around it.
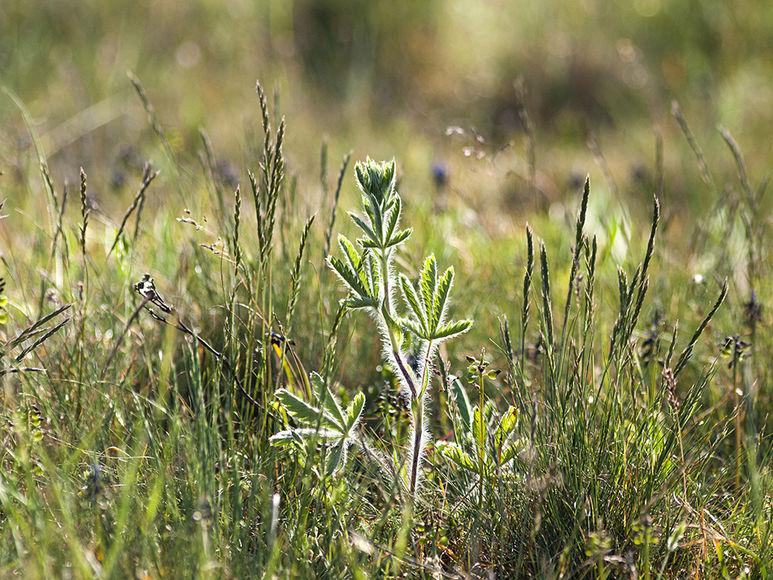
If the acidity is high or neutral, the following will grow throughout the area:
- heather;
- plantain;
- veronica;
- couch grass;
- pickle.
Low soil acidity to your liking:
- pine;
- larkspur;
- ash;
- and other plants.
Don't judge a plot based on one or two randomly planted weeds. Instead, you need to draw conclusions based on the number of weeds present.
Soil disinfection
Several methods for soil disinfection are known. A gardener chooses the method that suits them best. The soil should be treated using the following methods:
- Potassium permanganate solution. Make a 3% solution and water the prepared containers. It helps eliminate bacteria and viruses that enter the soil with the soil.
- Steaming. Heat the water and place a fine-mesh sieve over it. Stir occasionally while holding the sieve over the boiling water. This kills parasites and harmful bacteria.
- Freezing. The soil is placed in a room with subzero temperatures for 7-14 days, then brought into a warmer environment until completely thawed. This process is repeated several times. All bacteria are killed by the cold after thawing.
- Calcination. Temperature should be between 70-90°C; lower temperatures are not recommended. This can be done in a microwave or oven.

Gardeners practice treating seedlings with copper sulfate. To do this, water the soil for seedlings with the following solution: 1 tablespoon of the solution is diluted in 10 liters of water. Disinfection of the soil is carried out immediately before planting. This helps eliminate parasites and viruses from the soil.
How to prepare a soil mixture for tomato seedlings yourself
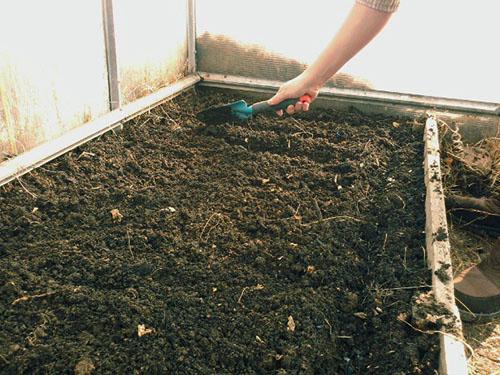
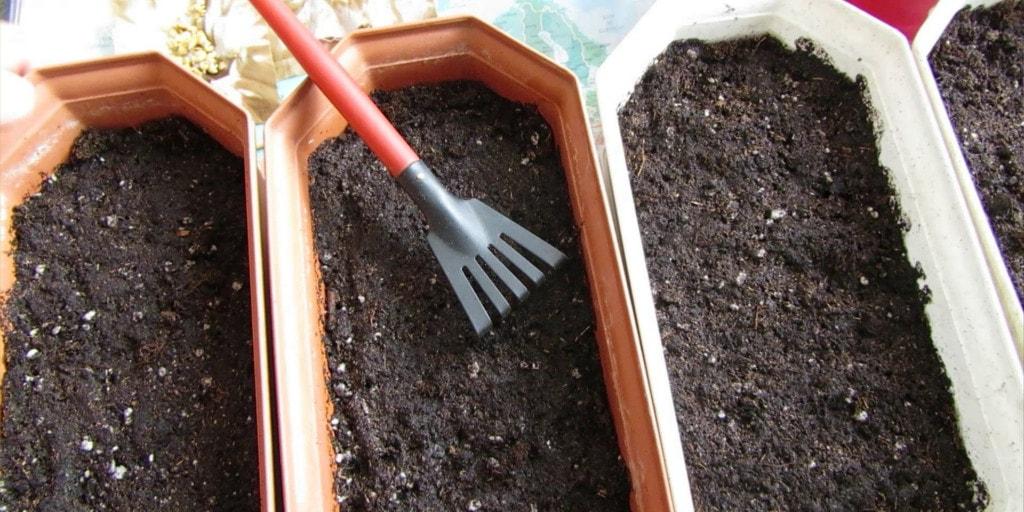
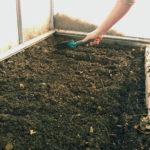
The soil mixture for seedlings should be prepared in advance; some gardeners do this in the fall. The prepared soil is stored until it's time to plant the seeds. In the spring, the prepared soil mixture is treated with fertilizer, and the seedlings are sown.
There are several methods for preparing soil for tomato seedlings:
- 1 part peat;
- 1 part river sand;
- 1 part of turf layer of soil.
The components are mixed and watered with a pre-prepared solution:
- 10 liters of water;
- 30 g superphosphate;
- 10 g urea;
- 25 g potassium sulfate.
Another way to prepare the soil:
- 1 part peat;
- 1 part turf soil;
- 1 part humus;
- 0.5 liter jar of wood ash;
- 2 matchboxes of superphosphate.
Next, mix the ingredients. The primer is ready; making it yourself isn't difficult; just follow the proportions carefully.
Sowing seeds for seedlings and further care
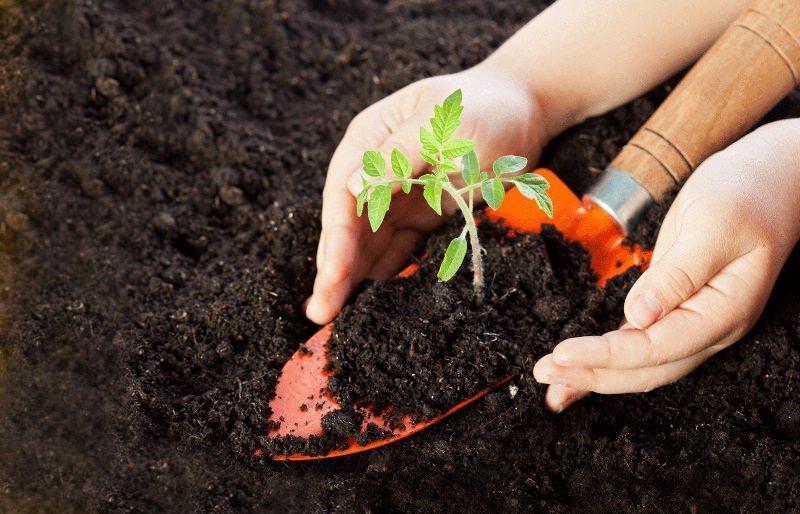
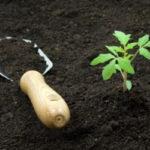
Once the soil is ready for planting, they begin growing the seedlings. The optimal time and variety of tomatoes are selected.
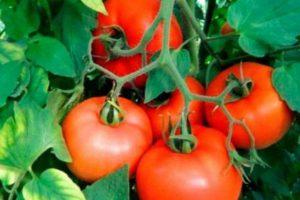
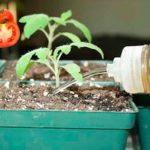
Sow the seeds, cover them with plastic, and place them in a warm place for 4-6 days. After sprouts appear, place them on a south-facing windowsill and water, loosen the soil, and feed the young seedlings. When the second true leaf appears, transplant them into individual pots. The reason for carefully preparing the soil is to maximize the yield of the plants.
Related posts:
 What is the best way to feed tomato seedlings to make them plump?
 How to prepare soil for cucumbers in a greenhouse in spring and what kind of soil they prefer
 How to prepare soil in a greenhouse for tomatoes in spring and how to treat them before planting
 The best eggplant varieties for growing in a polycarbonate greenhouse: planting and care
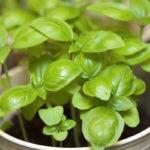 TOP 10 tips on how to properly plant and grow basil from seeds at home for seedlings
 What are green manure crops and which ones are best for the garden, when to sow and bury
 The use of peat as a fertilizer for potatoes and other crops and its differences from humus