This ornamental, leafy perennial plant of the Asparagus family is used by gardeners to beautify their surroundings. Hostas grow in one location for about 10 years, but eventually lose their attractive appearance. To rejuvenate the plant, gardeners propagate hostas—a simple and time-consuming process. There are four methods for propagating hostas in a garden.
Description of the plant and growth characteristics
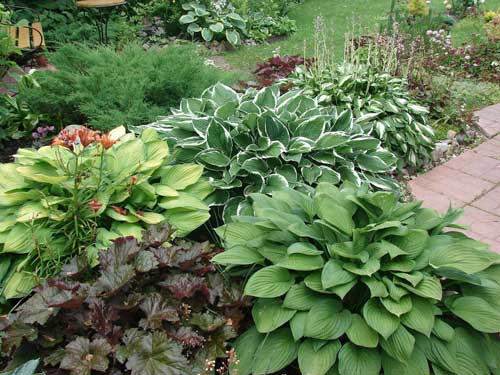
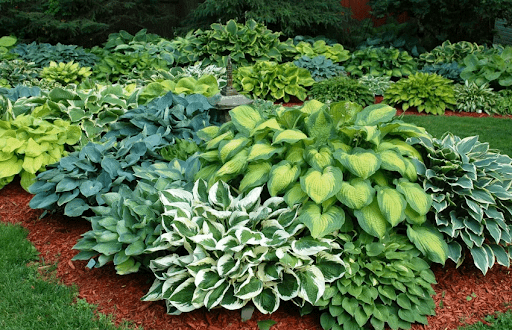
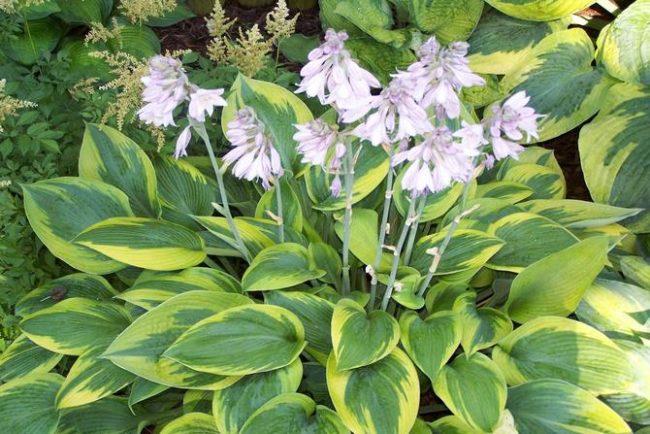
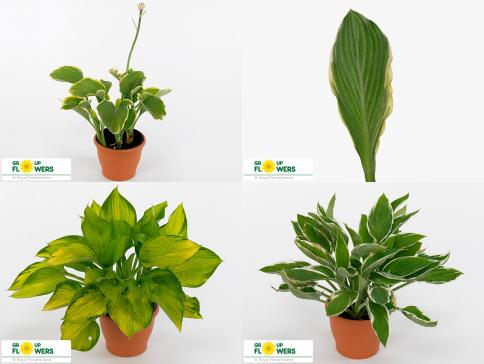
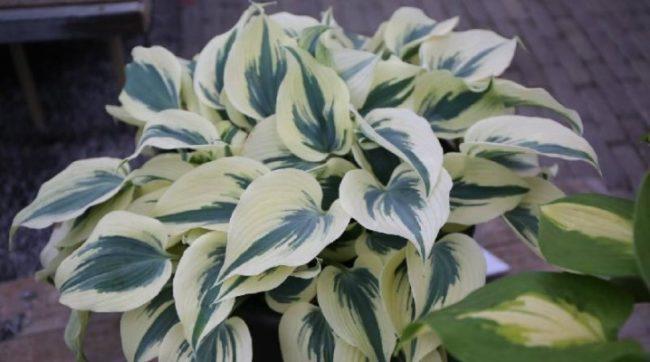
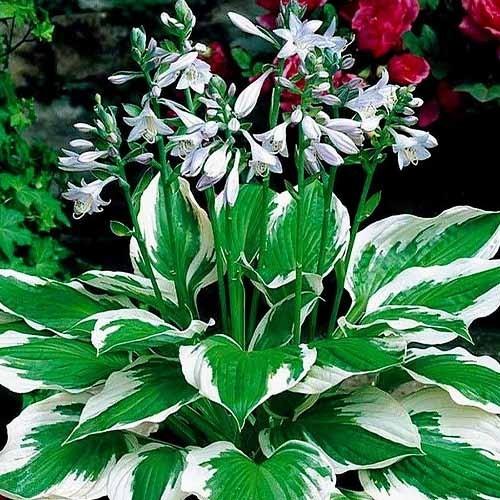
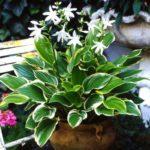
This ornamental plant is characterized by rapid growth and, within a few months, turns into entire plantations, beautifying any garden plot. The perennial's main accent is its leaves, which range in shade from green to blue. The plant is shade-tolerant, yet produces beautiful buds in purple, white, and pink. These buds are gathered in racemes and can be single or double.
The height of hosta varies depending on the variety, ranging from dwarf specimens (around 15 cm) to tall plants (up to 120 cm). This perennial reaches its peak decorative appearance in its fourth or fifth year. One of its advantages is its ease of propagation, both vegetatively and by seed.
Hosta propagation methods: timing and step-by-step instructions
The choice of propagation method depends on the hosta variety and the gardener's experience. For some varieties, rhizome division is more suitable, while for others, cuttings are considered optimal. Seed propagation is less common among amateur gardeners, as it is a relatively time-consuming process and is more suitable for breeders seeking to develop new varieties of ornamental plants.
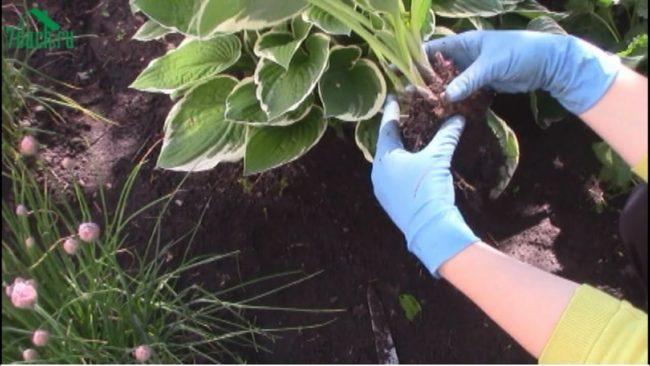
Dividing the bush
This method is the most popular among beginning gardeners due to its simplicity. To divide a plant, select a specimen that is 4-5 years old; younger plants don't take root well.
There are external signs that can be used as a guide when choosing a bush for division:
- The hosta has reached a large size.
- The center of the plant's crown has already stopped growing and is only shrinking.
- Strong and healthy daughter rosettes have formed.
There is a belief that work should be done in the spring, but experienced gardeners have identified the most suitable time for dividing hostas:
- The first days of May.
- Throughout the summer period.
- First ten days of September.

Step-by-step algorithm for dividing a hosta:
- Prepare garden tools and disinfect them with alcohol or a solution of potassium permanganate.
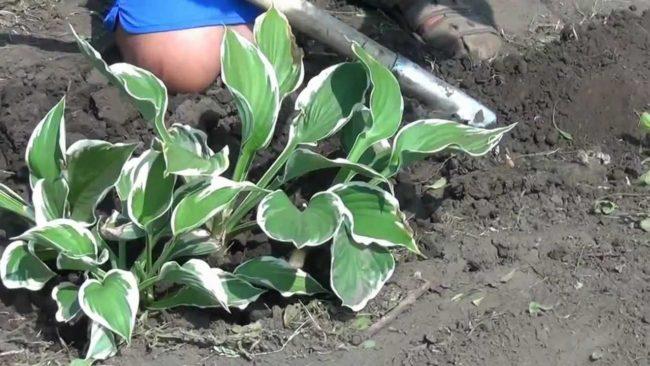
- Carefully dig around the bush from all sides.
- Using a garden fork as a lever, lift the plant.
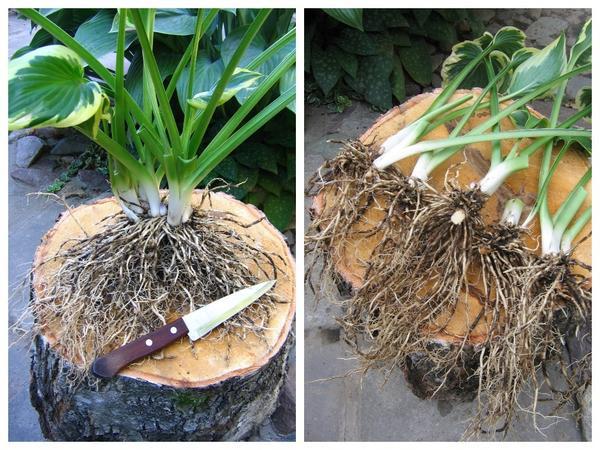
- The roots are dipped in a manganese solution, removing slugs and snails from them.
- After this, use a sharp knife to divide the bush along the growth points. Dry and rotten shoots are removed.
- Dig a hole that is larger in size than the volume of the roots.
- If the procedure is carried out in the spring, mineral fertilizers containing nitrogen, phosphorus and potassium are added to the hole.
- Place the separated part in the center of the hole and fill it with fertile soil to fill all the voids.
- After this, mulch the soil around the seedling - this procedure will prevent moisture evaporation.
Experienced gardeners recommend replanting the hosta in a location with the same soil composition as the previous location.
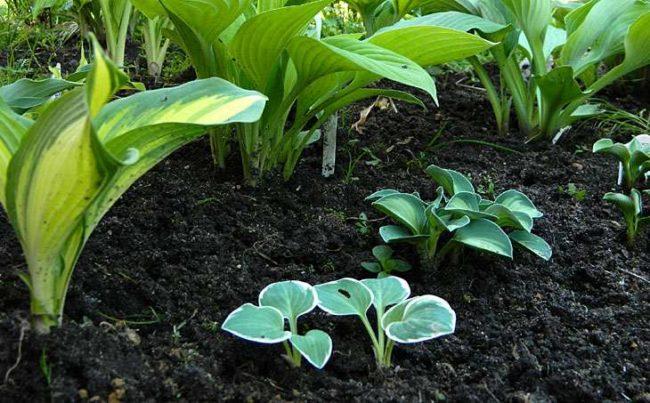
We propagate a flower using leaves
You can propagate this ornamental shrub using leaves; the method doesn't take much time and is accessible to gardeners without experience growing hostas.
Step-by-step technology:
- As soon as the plant's first shoots appear, trim the young rosettes, ensuring that each one retains a piece of the rhizome. For this, use a sharp blade treated with an antiseptic.
- All cut areas must be treated with sand or charcoal.
- The cut leaves are planted in a greenhouse or a shady place and covered for the first time with a cut plastic bottle.
- Over the course of several weeks, the leaf blades will lengthen. They need to be watered and aired for an hour or two a day.
- About a month later, after the leaves have taken root, they are dug up with a garden fork and planted in the chosen area.
Seeds
The seed method of propagation takes the longest time, so it is most often used by breeders.
In order to obtain young hosta specimens, you first need to grow seedlings at home.
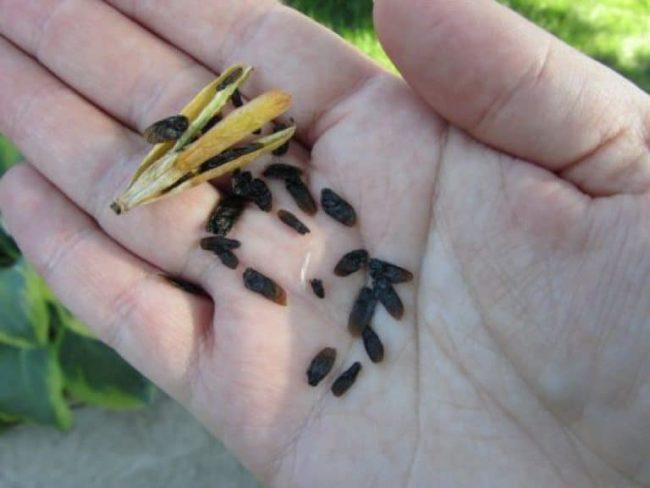
Seeds can be purchased at a gardening store or collected independently. This is done when the seed pods turn brown and split open. The collected seeds are then dried at 30-35 degrees Celsius. The seeds remain viable for up to a year.

To ensure the propagation process is successful, follow the recommendations of experienced gardeners:
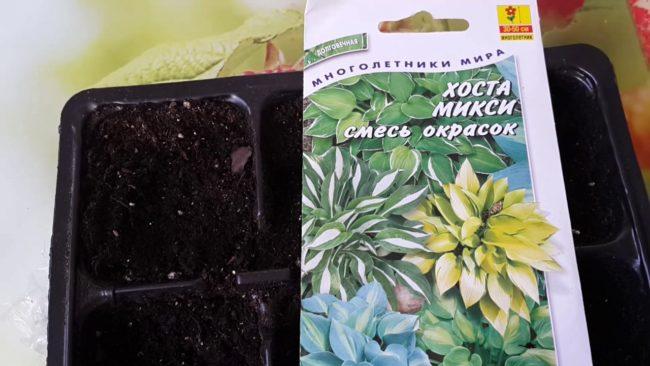
- Before planting, it's necessary to disinfect the containers and sterilize the soil, which may harbor fungal pathogens. Use a potassium permanganate solution to disinfect the soil, and rubbing alcohol to wipe the inside of the containers.
- The soil should consist of vermiculite, peat, and turf. This can be purchased at a gardening store or made at home.
- To speed up the germination of seeds, they are kept in growth stimulants (Epin or Zircon), diluting the preparations according to the instructions.
- It is recommended to keep the material in the cold for 2 months before planting.

The process of planting seeds is as follows:
- A drainage layer consisting of small stones is placed on the bottom of the disinfected container.
- Part of the prepared substrate is distributed along the drainage.
- Seeds are spread on top (approximate seeding density is 1 seed per 1 sq. cm).
- Sprinkle a 7 mm layer of soil on top and compact it slightly.
- The planted seeds are watered and covered with glass until germination, periodically opening it for ventilation and watering.
The optimal conditions for hosta seed germination are temperatures between 18 and 25 degrees Celsius and a dark location. The first shoots appear, on average, after three weeks. After the first pair of leaves has formed, transplant the seedlings into individual containers. Harden them off before transferring them to the open ground.
Cuttings
When propagating hosta from cuttings, the new plant retains all the characteristics of the parent variety, but there's no need to dig up the entire bush. This method is generally recommended in the summer—in late June or early July. The cuttings need a month to fully root.
Step-by-step instructions:
- Carefully cut a cutting with a rosette of leaves and a small part of the rhizome from the mother plant.
- The leaves on the top of each shoot are cut off by 2/3.
- Prepared cuttings are planted in open ground under film or in containers for further growing at home.
- It is important that the shoot is buried 5 cm into the ground.
- If the cuttings are rooted in open ground, it is necessary to provide them with artificial shade.
- After this, the plantings are generously watered.


The cuttings will wilt for the first few days after planting, but don't worry—this is a natural process; they will revive after a while. During the rooting period, regularly water the shoots and ventilate the plantings, removing the covering. After a month, the strengthened plants are transplanted to their permanent location.
When is it better to propagate hosta: in spring or autumn?
Experienced gardeners recommend propagating this ornamental plant in spring or fall. Due to the intense summer heat, young seedlings will have a harder time establishing roots. However, with regular watering, this can be done in June and July.
Plants planted in the spring have time to fully establish themselves in their new location before the cold weather sets in, making this option more suitable for gardeners in northern regions. Fall planting is recommended for those living in the southern regions.


Mistakes of novice gardeners
When propagating hosta for the first time, novice gardeners make several common mistakes:
- Plants that are not yet 4 years old are divided.
- Young seedlings are not provided with sufficient moisture.
- They forget to shade the transplanted plants.
- Use non-disinfected tools to separate cuttings.
If you follow all the propagation recommendations correctly, the area will be decorated with new ornamental perennials next season.
Related posts:
 When is the best time to replant hostas in the fall? Rules and mistakes.
 Descriptions of hosta species and the top 25 most beautiful varieties, growing rules
 Planting and caring for hostas in open ground, growing at home
 Caring for hosta in autumn and preparing for winter, how to prune and cover
 Growing and caring for hazelnuts in open ground, rules for planting hazelnuts
 Methods for planting and propagating cherries at home
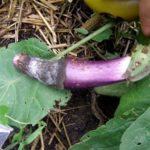 Causes and treatment of eggplant pests and diseases, how to combat them at home
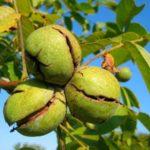 How to plant walnuts, care for them, and grow them at home