- Varieties and description of the flower
- Examples of use in landscape design
- What conditions does the plant require?
- Temperature and humidity
- Illumination
- Soil composition
- Neighborhood with other cultures
- Peculiarities of growing hosta in open ground
- Site selection and preparation
- Planting dates and patterns
- Watering
- Fertilizing bushes
- Mulching and loosening the soil
- Pruning hosta
- Preventive treatments
- Insects and other pests
- Diseases
- Wintering
- Methods of reproduction
- By dividing the bush
- Cuttings
- Seeds
- Difficulties encountered when growing hosta
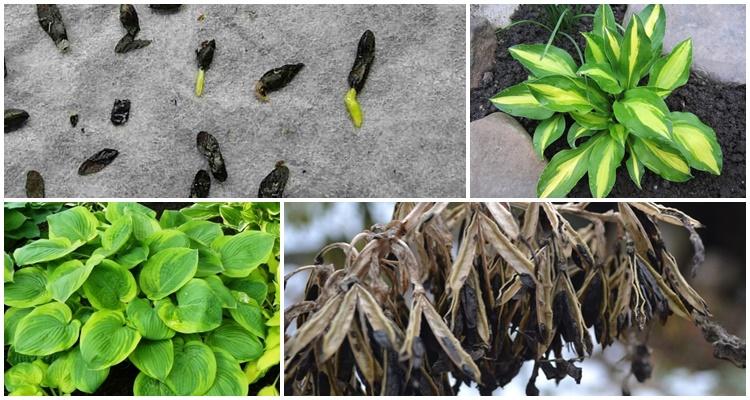
Hosta is one of the most easy-to-grow garden plants. It's an ideal plant for a shady spot. The bushes will thrive in conditions where most other plants would wither. They can be planted in open ground or in a container placed in any shady spot. Below is information on planting and caring for hosta, as well as methods for propagating the plant in your garden.
Varieties and description of the flower
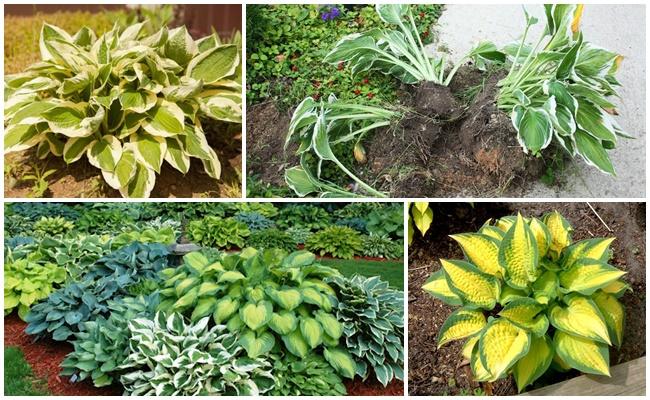
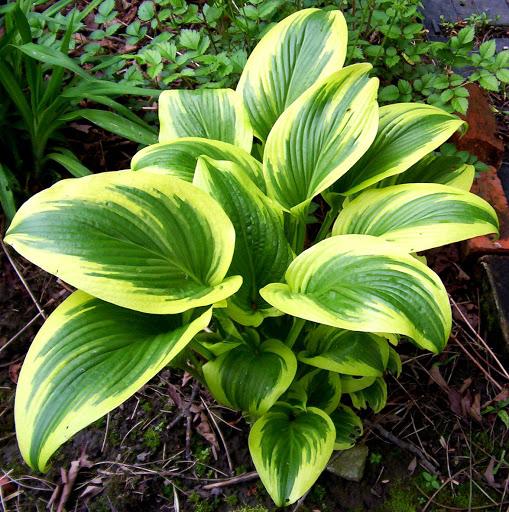
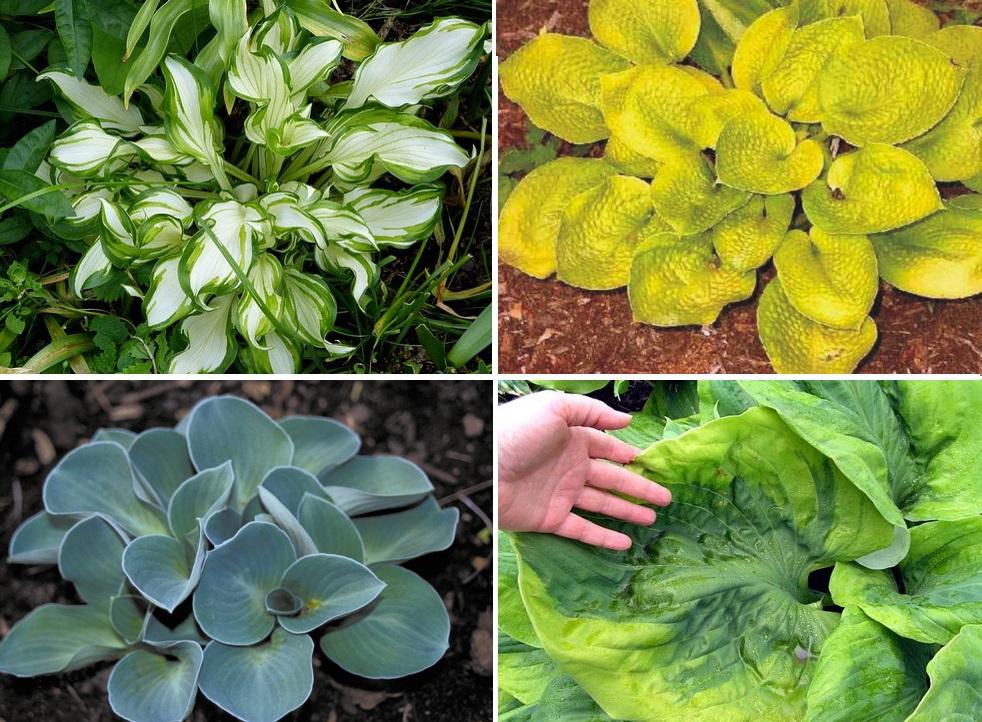
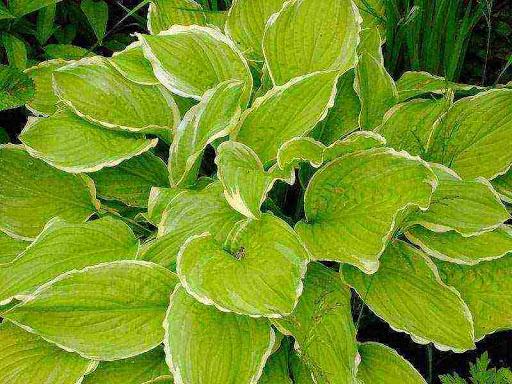
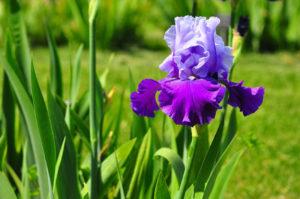
Hosta is a perennial herbaceous plant. Its old name is funkia. Its height, depending on the variety and cultivar, ranges from 10 to 150 centimeters. The crown is wide and spreading. In addition to height, the plant also varies in leaf shape. Hosta varieties include curly, plantain, wavy, inflated, lanceolate, and regal.
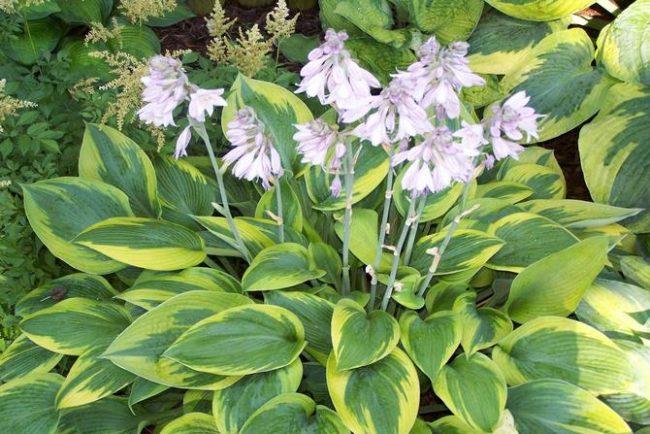
The plant's foliage color ranges from blue to yellow and green. Some varieties also have bicolored leaf blades, featuring gold or white in addition to green. A stalk with white or lilac buds emerges from the center of the bush. However, the plant is prized not for its inflorescences, but for its beautiful leaves.
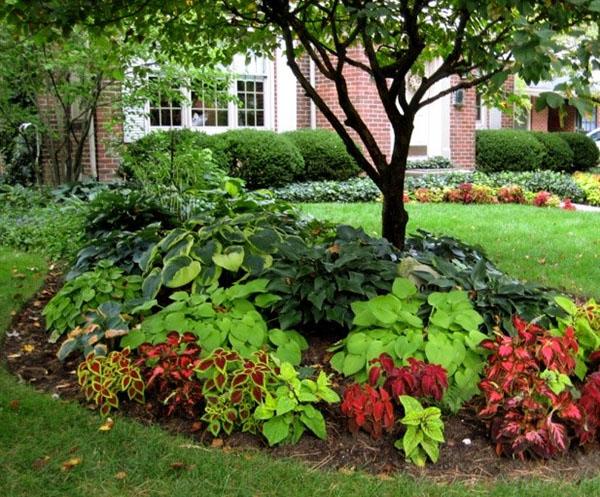
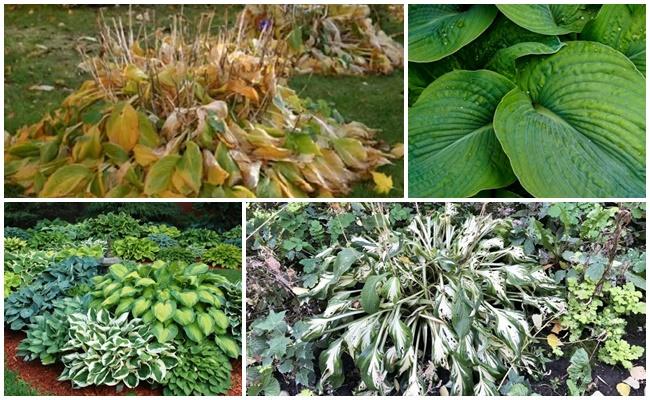
Examples of use in landscape design
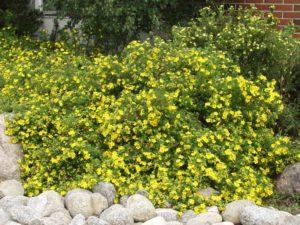
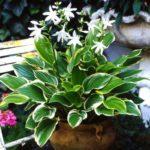
Hosta is an indispensable plant for a shady garden. Its peculiarity is that its leaves scorch when grown in a sunny spot. Hosta looks beautiful planted around tree trunks. It is used in mixed borders in combination with ferns, astilbe, hydrangea, and other shade-loving plants.
These bushes thrive when planted near ponds. Low-growing varieties are planted along paths as borders. They can also be used to decorate rockeries and alpine gardens. Potted hostas can be placed anywhere in the garden.
What conditions does the plant require?
To ensure the crop maintains its decorative appearance throughout the season, it must be planted at the right time and provided with the required growing conditions. In the Urals, planting begins in mid-May, after the threat of frost has passed. In the Moscow region, bushes are planted at the same time. In Siberia, the crop is planted in late spring.
Temperature and humidity
Hostas thrive at temperatures between 20-30°C. They should be planted in an area protected from strong winds. Otherwise, the soil will dry out quickly, which will negatively impact the plant's growth. Avoid overhead watering, as this will wash away the wax that gives the plant its decorative appeal.
Illumination
The best location for planting funkia is in partial shade. In such locations, the bushes will grow large and the leaves will be large. If the area is too sunny, the leaves will turn yellow and wilt. The area should be shaded during the hottest hours, from 11 a.m. to 4 p.m. Varieties with yellow, golden, and bronze leaves will better tolerate full sun.
Soil composition
Hostas should be planted in fertile, loamy soil. Add peat and sand to loosen the soil. Otherwise, air will be restricted from reaching the root system. If the soil is too light or sandy, add clay or compost. Groundwater at the planting site should not be too close to the surface.
Neighborhood with other cultures
Hostas prefer partial shade. Therefore, similarly shade-loving plants are planted nearby. Funkia plants thrive alongside ferns, astilbes, hydrangeas, heucheras, and coleus. These plants brighten up dark areas of the garden, delighting with vibrant colors.

Please note! Plants with similar maintenance requirements should be planted near hostas.
Peculiarities of growing hosta in open ground
Hostas can grow in the same place for many years. Therefore, careful preparation is essential. They are planted in spring or fall. When planting in the fall, the procedure should be completed a month before the onset of frost. Furthermore, to ensure the hosta looks its best, it requires proper care.
Site selection and preparation
Choose a shady spot in your garden for your hosta, protected from cold winds. Clear the area of debris and dig it up. Add nutrients if needed. If the soil is heavy, add sand or peat. Light soil can be weighted with clay. With the right substrate, your hosta will grow into large, beautiful bushes.
Planting dates and patterns
Hostas are planted after the danger of frost has passed. The latest spring planting deadline is late May. If gardeners missed planting the crop outdoors in the spring, they can do so in the fall. Planting begins in September and ends in October. The crop must be well established before the onset of frost.
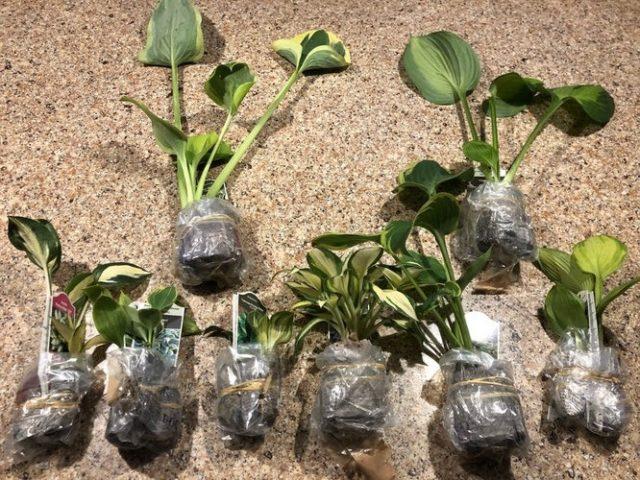
Hostas are usually planted from rhizomes. They can also be grown from seeds. These are prepared and sown in containers. At home, the seedlings are carefully tended. Once they have grown a little, they are transplanted into individual containers. Once established, the bushes are planted in the ground in the spring.
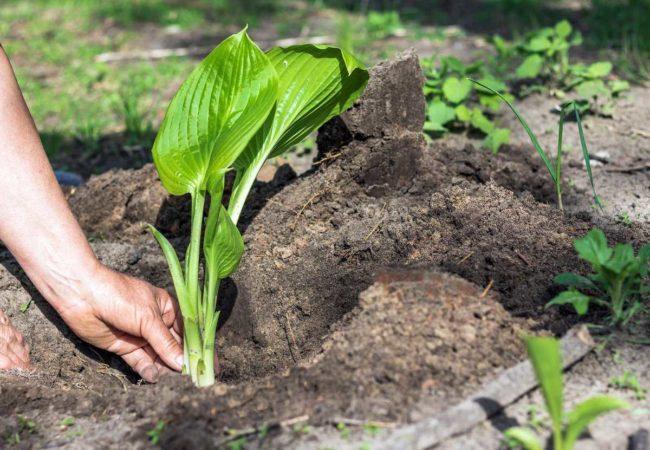
Miniature plant varieties should be planted 15-20 centimeters apart. The planting hole should be 10-15 centimeters deep. Taller plants should be planted 30-100 centimeters apart. The hole for them should be dug 25-35 centimeters deep. Plants should be planted so that the root collar is not buried.
Watering
Until the hosta takes root, water the soil every 2-3 days during hot weather. When new leaves emerge, increase the frequency of watering. This procedure is performed in the morning. Avoid allowing water to fall on the leaves. Otherwise, the leaf blades will burn. Furthermore, watering washes away the waxy coating that gives hostas their decorative appearance. Drip irrigation is the best option. Avoid watering in the evening. Wet soil at this time of day attracts slugs, which eat the plant's leaves.
Fertilizing bushes
Hostas don't require abundant or frequent fertilizing. In early spring, nitrogen is added to the soil to promote rapid growth. In July, a complex mineral fertilizer with a high content of potassium, phosphorus, and manganese is used. A third fertilizing is applied after flowering, adding potassium and phosphorus.
Important! Nutrients are added to pre-moistened soil.
Mulching and loosening the soil
To conserve moisture, the soil around the bushes is sprinkled with straw, sawdust, grass clippings, pine needles, pine cones, and tree bark. Mulch also prevents a crust from forming on the soil surface. Hard soil prevents moisture and air from reaching the root system.
If the soil is covered with mulch, loosening the soil will not be necessary. The soil under the cover will remain moist and loose. If mulch is not used, the soil around the plants should be loosened after each watering. At the same time, weeds, which carry diseases and pests, should be removed.
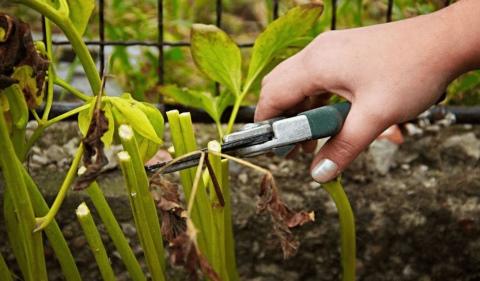
Pruning hosta
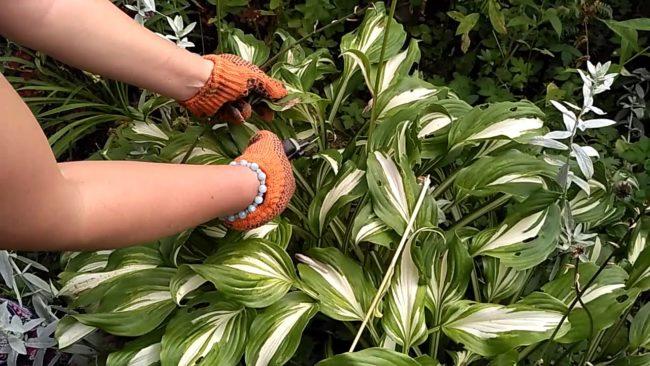
Throughout the season, plants are inspected and pruned if necessary. Diseased and sunburned leaves are removed. If a rare variety is grown in a garden, a gardener can quickly propagate it by cutting back all the foliage in early summer.
After this, dormant buds are activated, producing numerous young shoots. After the buds dry, the flower stalks are cut off. This prevents seed formation. This process expends a lot of energy on the hosta, which is necessary to prepare the plant for winter. In the fall, after the first frost, the foliage, which has lost its decorative appearance, is trimmed back.
Preventive treatments
Hosta has a strong immune system. However, if planted in contaminated soil, it can be susceptible to disease. Furthermore, hosta can become infected from excess moisture near the root system and overhead irrigation. To prevent the emergence of pathogens and pests, preventative treatments are used.
Insects and other pests
Snails and slugs can become a favorite pest of hostas. They eat the leaves, causing the plants to lose their decorative appearance. To get rid of these pests, sprinkle the soil around the plants with lime, salt, and superphosphate powder. Snails and slugs die from dehydration after contact with these substances. Gardeners also recommend sprinkling the soil with eggshells, conifer needles, and crushed clinker. Mini-fences 20 centimeters high can also be installed around the bushes.
Diseases
To prevent the growth of pathogenic microorganisms, the soil and root system of plants must be disinfected. Fungicides are used for this purpose, applied according to the package instructions.
But if the hosta is infected with a virus, prevention and treatment will not help. In this case, the bushes are dug up and destroyed. To prevent diseases and pests from appearing around the bushes, remove plant debris and till the soil in the fall.
Wintering
Funkia is a frost-hardy plant. It overwinters successfully without cover. Simply mulch the soil around the plants when frost sets in. In the spring, when warmer days arrive, rake the mulch away from the base of the plant. Otherwise, the hosta's root system may rot.
Important! Funkia will successfully overwinter if the rhizome is buried 3-5 centimeters deep.
Methods of reproduction
Hosta can be propagated on the site by dividing the bush, cuttings, and seeds.
By dividing the bush
Three to four years after planting, the funkia grows and becomes overcrowded. The plant is divided into sections, and the divisions are planted separately. This allows a gardener to grow a rare hosta variety on the property without much expense.
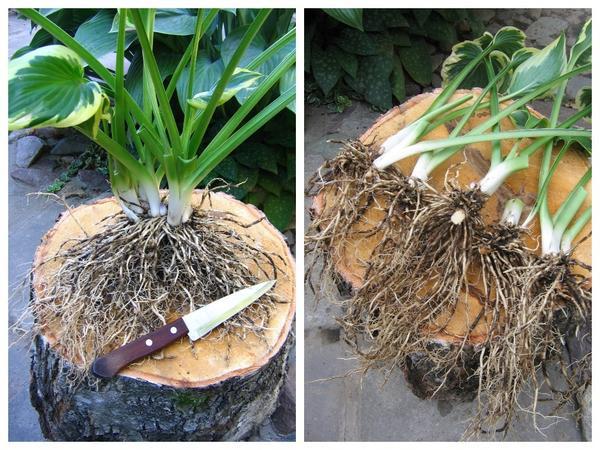
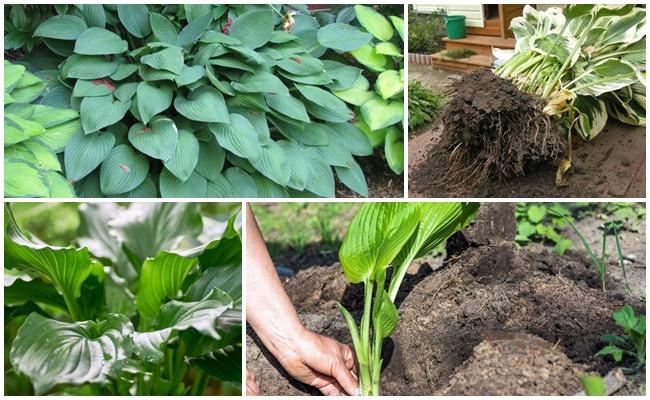
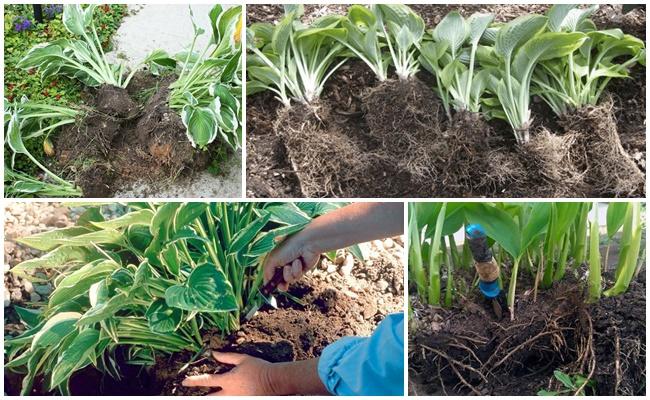
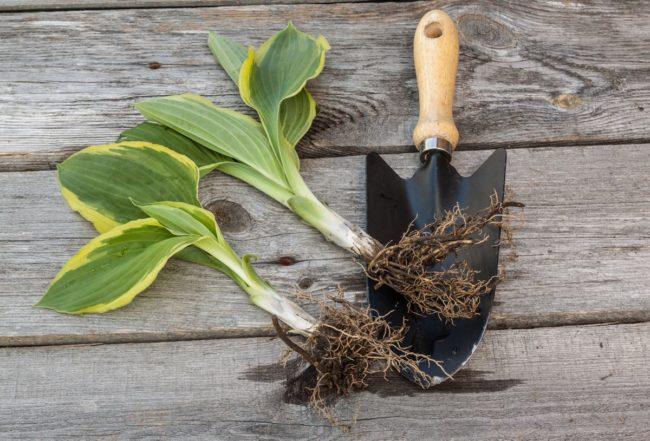
The division of the bush is done as follows:
- carefully dig around the plant from all sides;
- they lift the bush with a pitchfork and remove it from the ground;
- divided into several parts;
- the cut areas are sprinkled with charcoal for disinfection;
- The divided bushes are planted in separate holes.
If the groundwater level is close to the soil surface, the holes are placed at a slight elevation. Additionally, drainage is placed at the bottom. After planting, the soil beneath the flowers is lightly pressed down and watered thoroughly.
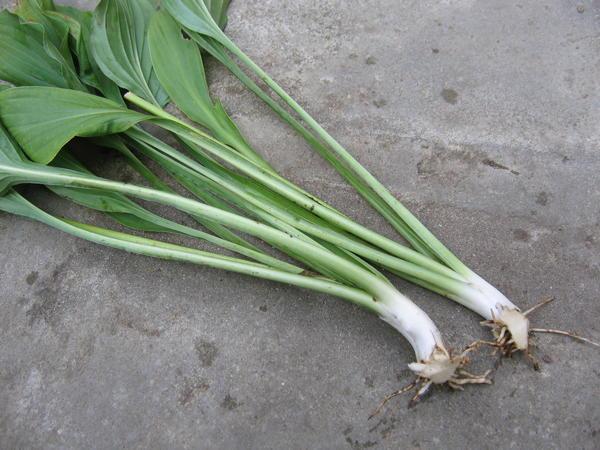
Cuttings
This method allows you to propagate hostas in your garden while preserving the root system of the mother plant. To do this, take cuttings from the bush without rhizomes, but with a piece of the heel. Lower leaves are removed to reduce moisture evaporation. The cuttings are planted in soil and covered with a glass jar. Rooting will occur in 2-4 weeks.
Seeds
This method is rarely used by gardeners due to its labor-intensive nature. Furthermore, the new plants may not retain the parental traits. For example, if the leaves were originally blue, they may turn green on young plants.
The procedure for propagation by seeds is carried out as follows:
- the seeds are stratified for 3 months;
- loose, fertile soil is poured into the container;
- seeds are placed on the surface;
- cover them with a 5-6 mm layer of substrate;
- cover with glass or film.
When seedlings emerge, the covering is removed. The grown bushes are planted in individual containers. Flowers propagated from seed become decorative in the fourth or fifth year.
Difficulties encountered when growing hosta
Inexperienced gardeners may encounter the following problems and difficulties when growing the crop:
- My hosta is growing slowly. A possible cause is that the root collar is too deep. Large hostas can be 4-7 centimeters below soil level. Medium-sized hostas should be planted 3-5 centimeters below soil level, while small hostas should be planted 2-3 centimeters below soil level.
- In the spring, it turned out that the root system had rotted. This happens when the planting site is flooded by meltwater or precipitation. To prevent this problem, line the hole with a layer of drainage material when planting.
- The leaves were scorched. Most varieties prefer shade. Hostas with golden leaves can tolerate some sun.
- A potted plant will freeze in the spring. The container's walls are thin, allowing frost to easily penetrate to the root system. This is especially true if the hosta is planted in overly loose soil. Containers containing flowers should be brought indoors for the winter.
- Slugs and snails eat the lower leaves. The plant's delicate leaves are a delicacy for pests. To prevent them from appearing, sprinkle the soil around the bushes with pine needles and eggshells.
- The center of a mature bush becomes "bald." The rhizomes eventually lift and can even freeze during snowless winters. Every 4-5 years, the bushes are dug up, divided, and replanted separately.
Hosta is an ornamental plant designed to enhance a shady garden. It requires little care. With a little effort, gardeners will enjoy bushes with striking foliage for years to come.
Related posts:
 Descriptions of hosta species and the top 25 most beautiful varieties, growing rules
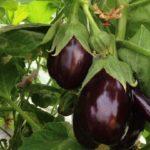 The best eggplant varieties for growing in a polycarbonate greenhouse: planting and care
 Caring for hosta in autumn and preparing for winter, how to prune and cover
 Causes and treatment of eggplant pests and diseases, how to combat them at home
 Growing Climbing Roses and the Top 10 Varieties, Planting, and Care in the Open Ground
 Carrot care guidelines for outdoor cultivation to ensure a good harvest
 Planting and care guidelines for the Multiflora chrysanthemum and the top 9 beautiful varieties
 Timing and methods of propagating chrysanthemums at home, their cultivation