- Methods and technology of propagation of clematis
- Cuttings
- Layering
- Seed method
- By vaccination
- Hilling method
- What is the best time to propagate a flower?
- Spring
- Summer
- Autumn
- How to root a cutting
- Plastic cups
- Bottles
- Water
- Soil
- Features of planting a seedling and subsequent care
- Recommendations from experienced gardeners
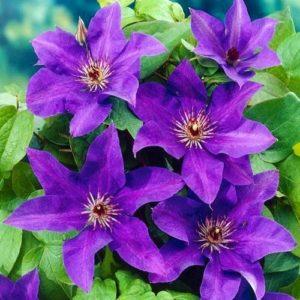
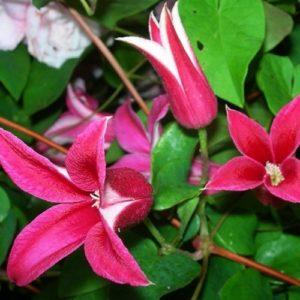
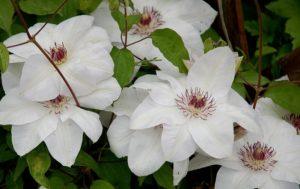
For modern gardeners, the question of how to propagate clematis and turn it into a worthy addition to an arch, gazebo, or veranda is a pressing one. This ornamental vine boasts beautiful, vibrantly colored flowers. The flowering period varies depending on the variety. Some species, given favorable climate conditions and proper care, are capable of reblooming.
Methods and technology of propagation of clematis
Growing clematis yourself isn't difficult, although it does require some skill. Beginner gardeners should first gain some theoretical knowledge and consult with experienced gardeners before attempting to cultivate their favorite varieties. Clematis can be propagated by layering, cuttings, or division of a mature plant.
Cuttings
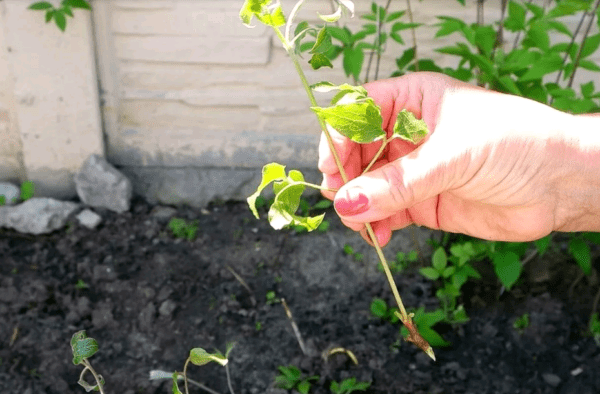
When propagating clematis by cuttings, it's crucial to correctly time the cuttings. In southern regions, this is done in May-June, while in the central and northern climates, it's done in June or early July. Before taking cuttings, the shoots are tested for readiness. To do this, bend them by hand. Clematis branches suitable for propagation will not break in this case. Another sign of readiness is the formation of buds.
When propagating from green cuttings, it's important not only to properly and promptly prepare the starting material but also to prepare the soil. To achieve this, mix black soil, peat, and river sand to achieve a slightly acidic mixture. Clematis cuttings are planted in this moist soil.
Woody branches can also be harvested for propagation, but only those with two internodes. They are carefully cut and then placed in a loose, well-drained soil mixture for rooting. It is recommended to immediately apply mineral fertilizer and add peat. When planting, one internode should be located underground and the other above the surface. Keep the soil moist at all times, avoiding overwatering. Once the clematis shoot reaches 10 cm in height, pinch the top to direct all its energy toward root growth. A year later, when the young plants have become stronger, they can be transplanted outdoors.
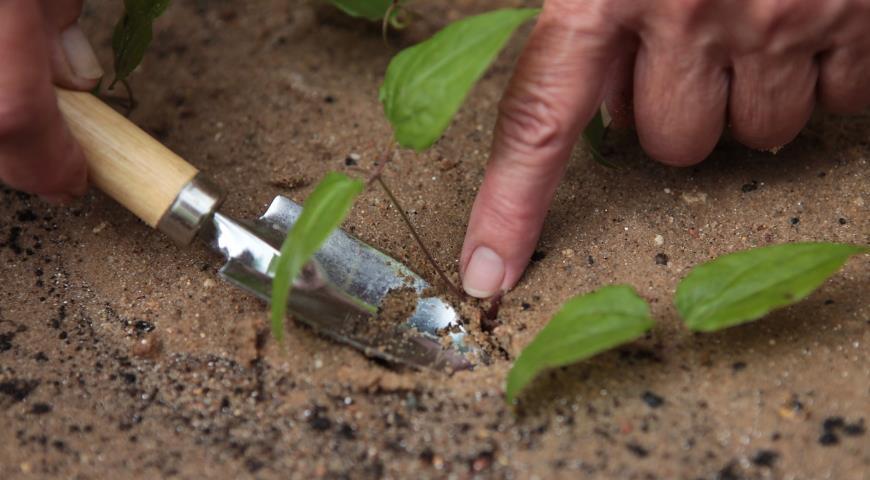
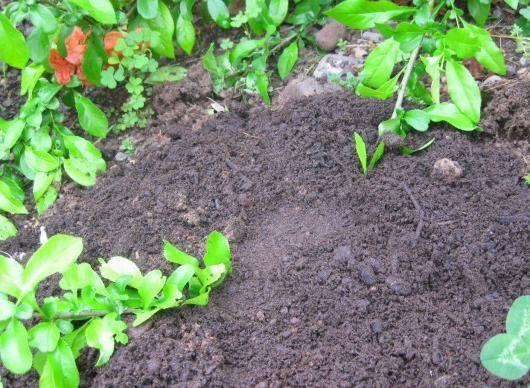
Layering
This simple yet highly effective method is accessible even to beginners. Simply bury the growing clematis shoots and moisten the soil. After a while, they will root, sprout new shoots, and become independent plants. In the spring, the shoots emerge from the cuttings, which strengthen over the summer. In the fall, the plant is separated from the parent stem and transplanted to its permanent location.
Seed method
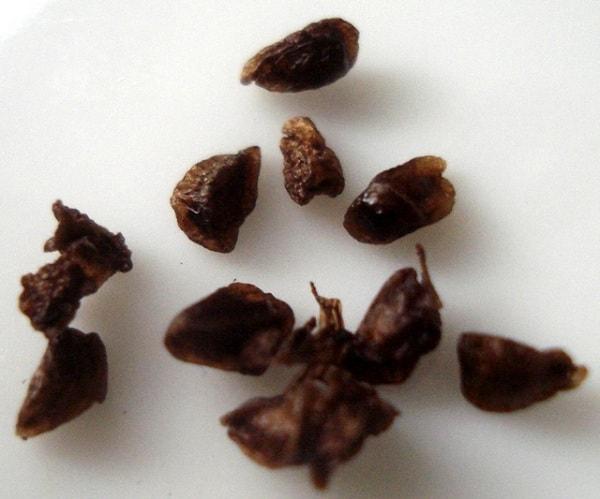
Clematis propagation by seed is primarily preferred by professionals involved in breeding and developing new varieties. Select the largest and healthiest seedlings and soak them for 7-10 days. To do this, place the seeds in a damp cloth, preventing them from drying out and periodically misting them with water. The swollen and germinated seeds are planted in prepared pots or seedling trays.
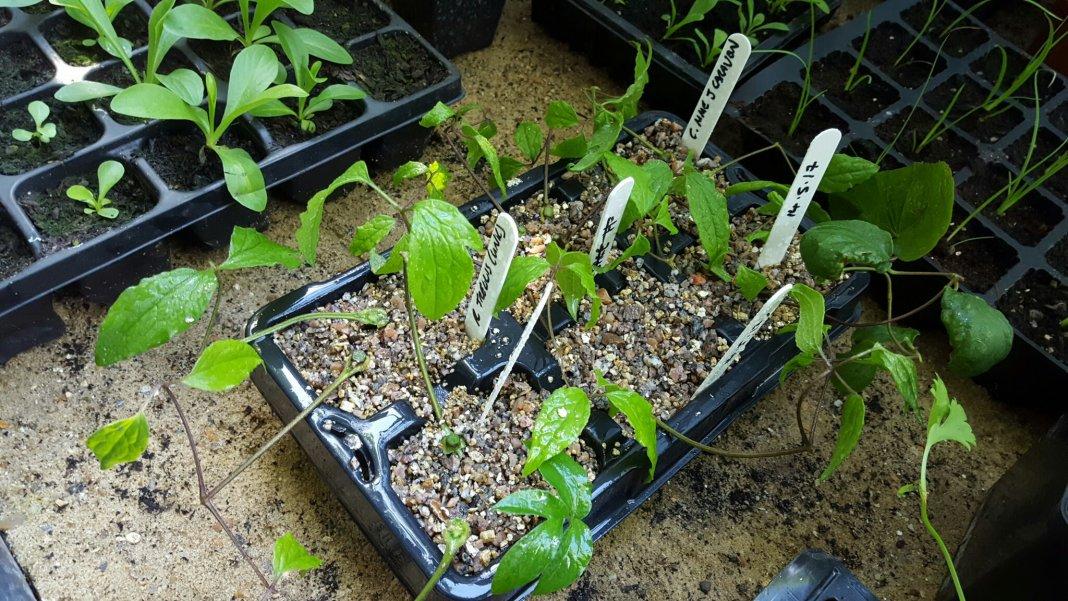
The pots are pre-filled with a mixture of sand and fertile soil. The clematis seedlings are placed in a greenhouse with a temperature of at least +30°C. As soon as the first shoots begin to emerge, remove the covering. Keep the soil slightly moist at all times. Drying out, as well as overwatering, is detrimental to the seeds. When the plants develop two true leaves, transplant them into separate containers. Growing clematis from seed indoors is entirely possible, although the process is somewhat involved and requires some skill and experience.
Some gardeners sow clematis seeds in the ground. This requires preliminary stratification. In early spring, the seeds are sown in a container at a depth of 2 cm. The soil is prepared from sand, soil, and peat, mixed in equal parts. The container is then kept at a temperature of 0 to +5°C. Store in the refrigerator for 1-3 months. Stratified seeds can be sown outdoors or left on a well-lit windowsill to germinate.
By vaccination
This method allows for the propagation of valuable varieties that are difficult to root. The optimal time for this work is June and August. Not only rootstocks of wild clematis species but also one- to two-year-old seedlings can be used as rootstock. The rootstock should have well-formed, cord-like roots and numerous buds. The scion cuttings are harvested in early spring. They should be approximately 4-6 cm long. The grafting is done using a butt or cleft graft.
In the first case, make a diagonal cut about 3 cm long from the base of the bud to the bottom of the cutting and on the root. The cuts on the root and cutting are placed next to each other and secured. The grafted clematis is placed in a greenhouse with moderate humidity and a temperature of up to +20°C. C. The scion and rootstock fuse after 30 days. The seedlings are then gradually hardened off. They are planted in their permanent location in the fall or spring.
Cleft grafting involves splitting the top of the root and inserting a scion, previously trimmed to a cone shape. The finished graft is sealed with garden pitch and wrapped in plastic film. You can also use more modern materials designed specifically for grafting, which are sold in gardening stores.
Hilling method
This method allows you to grow clematis cuttings over the summer for fall transplanting. In early summer, a frame made from a bottomless wooden box is placed over the growing shoots. It is gradually filled with soil. Only a portion of the shoot with two well-developed buds is left uncovered. The soil is kept moderately moist at all times. In the fall, the shoots are cut back to 20 cm from the ground. The area around the bush is hilled up to a height of 15 cm using a nutritious soil mixture. The clematis is then covered for the winter with a breathable material.
What is the best time to propagate a flower?
Each clematis propagation method has its own recommended timing. These timings may vary depending on the region and climate. Propagation is most often performed in spring and fall, while following certain rules and requirements. Experienced gardeners recommend sowing seeds, dividing the bush, cuttings, or layering in the fall.
Spring
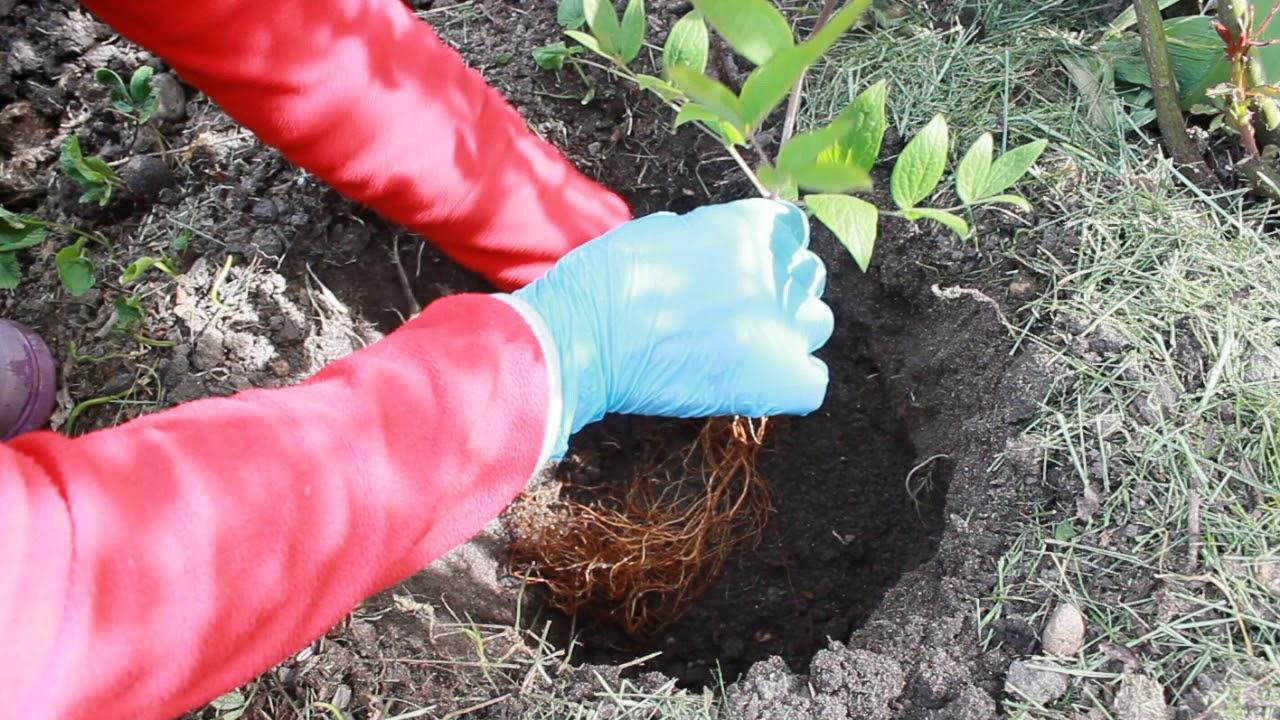
To ensure the transplanted clematis takes root well, prepare the planting hole in advance. Place a 15-cm-thick drainage layer of broken brick or crushed stone at the bottom. Prepare a nutritious soil mixture of manure, sand, and wood ash. It is recommended to immediately incorporate superphosphate into the soil.
Place the seedling in the hole so that the root collar is hidden. Next, fill the hole with the prepared soil mixture, lightly compact it, and water. It's best not to propagate clematis in the spring; it's best to do this in the fall.

Summer
Summer is a good time for propagating clematis cuttings. Depending on the region, the exact time for harvesting cuttings ranges from May to July. Experts recommend harvesting planting material during this time for the simple reason that gardeners have the opportunity to see the vine bloom firsthand and avoid purchasing seedlings with questionable characteristics.
Autumn
Autumn is the preferred time not only for replanting but also for propagating clematis. However, replanting should be done in September, not October, as is done with most other ornamental plants. If the deadline is missed, the clematis should be overwintered in a basement or utility room and planted outdoors in the spring.
In the fall, clematis is propagated by layering and dividing the clumps. Excessive moisture, close groundwater tables, and high soil acidity are detrimental to the vine. When planting, it is recommended to cover the root collar with tar rather than soil. The two lower buds should also be planted deep. The clump should have time to strengthen and establish roots before the cold weather sets in.
How to root a cutting
There are several ways to successfully root a clematis cutting and subsequently plant it in a plot.
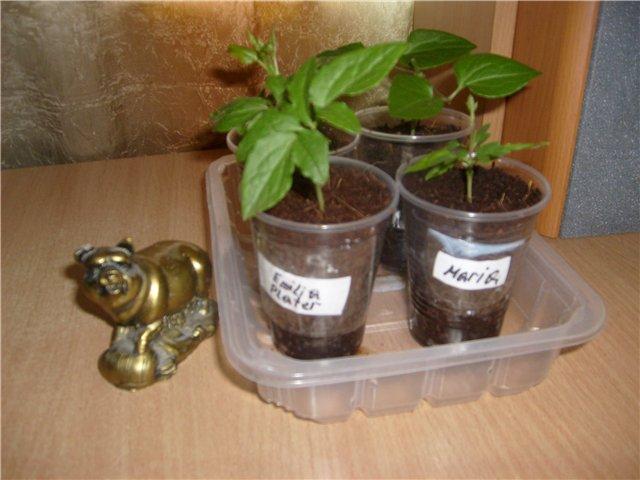
Plastic cups
The advantage of rooting cuttings in a transparent plastic cup is that you can monitor the rooting process. To do this, first make drainage holes in the bottom of the cup, then fill it with nutritious potting soil and water it. Position the cutting so that the node is half-covered with soil. Place the cup in a plastic greenhouse and wait for rooting.
Bottles
Rooting clematis cuttings in bottles is faster and saves space. To do this, cut a 2-liter plastic container in half, fill the bottom with nutritious potting mix, and place the seedling in it. Next, water the cutting and cover it with the top of the bottle. Wrap the joint with tape and tighten the cap. This greenhouse should be regularly ventilated by unscrewing the cap for 30 minutes every day. Once the cuttings have rooted, open the cap completely and make holes in the bottom for drainage.
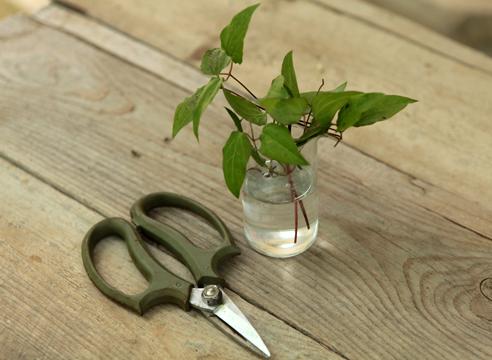
Water
This method involves using a wide-mouthed container. Water is poured into it and the clematis cuttings are inserted so that their ends are submerged 1 cm into the liquid. The container is placed in a dark place. As the water evaporates, it is refilled to the original level. The cuttings are planted in a greenhouse when the roots reach 4-5 cm in length.
Soil
Clematis cuttings are planted in a nutritious soil mixture in a small greenhouse. To do this, bury a cardboard box in the ground. The soil should be cleared of weed roots and pathogens. It's best to create two layers, adding sand and peat moss for drainage and a small amount of compost. Then, cover the entire mixture with sand. Water the resulting mixture with a weak solution of potassium permanganate. Treat the prepared cuttings with Kornevin and plant them in the soil.
Features of planting a seedling and subsequent care
Clematis is an easy-to-grow plant, but it does require some care and attention. In spring and fall, it requires pruning, which involves removing weak shoots and shaping the bush. This helps promote lush flowering. If the soil is highly acidic, dolomite flour should be added. Excess moisture is also detrimental to clematis.
In the fall, clematis requires careful preparation for the cold weather. To do this, the shoots are trimmed, bent, and covered with covering material. Once warmer weather arrives, fertilize with mineral components or organic fertilizers.
Recommendations from experienced gardeners
Experienced gardeners have long noted that clematis growth is negatively affected not only by a lack of sunlight but also by its excess. Avoid planting the plant in areas exposed to drafts. Young seedlings die in such conditions.
It's best to propagate clematis in the summer, during flowering. This way, you can see the vine's appearance, assess its strengths and weaknesses, and figure out how it will fit into your landscape design.
Related posts:
 Description of the burning clematis, planting and care in open ground, propagation
 Description and pruning group of clematis President, cultivation and care
 Description and pruning group of clematis Rouge Cardinal, cultivation and propagation
 Description of clematis varieties, planting and care, propagation methods
 Description and characteristics of Manchurian clematis, cultivation techniques
 Description and characteristics of the clematis variety Kaiser, planting and care, pruning group
 Description and characteristics of the clematis variety Comtesse de Bouchaud, planting and care instructions
 Description of the best varieties of Tangut clematis, planting, growing and care