- Why are daffodils dug up?
- Why frost is dangerous for bulbs
- Optimal timing for plant digging
- Depending on the region
- According to the lunar calendar
- Instructions for removing daffodils from the ground
- How to prepare and store bulbs before planting
- Choosing a storage location
- Division
- Disinfection
- When to plant back into the ground
- Tips from florists
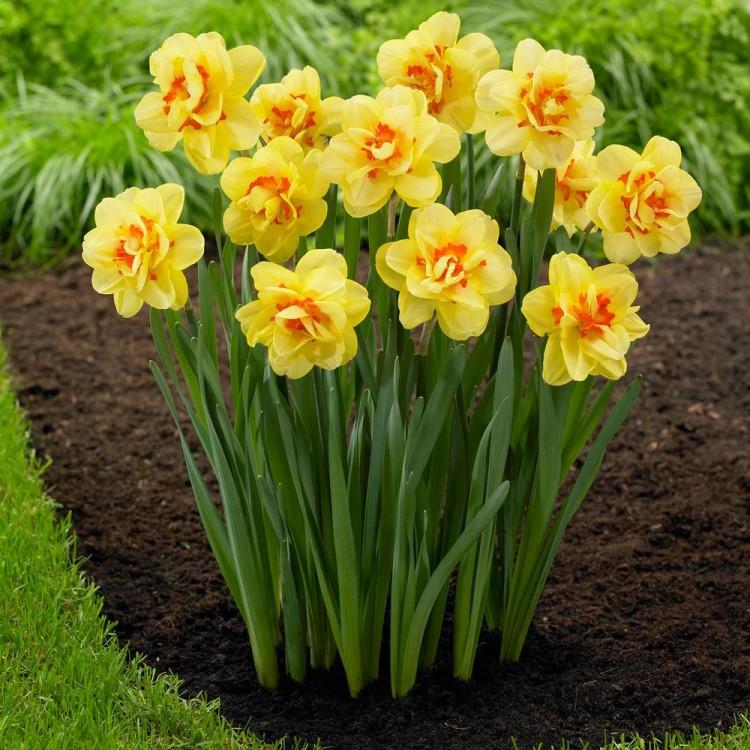
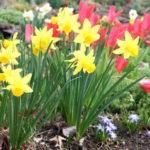
Daffodils are among the most popular primroses grown by gardeners around the world. These plants are easy to care for and require little time or effort. One of the key steps in gardening is preparing the flowers for the cold season. Whether or not daffodils need to be dug up each year depends on the variety and the climate in the growing region.
Why are daffodils dug up?
The main advantage of daffodils is that they grow in the same place for many years. However, there are times when the plants need to be dug up for the winter.
This procedure is performed in the following cases:
- When it is necessary to get rid of diseases and pests that have taken a liking to the planting site.
- To rejuvenate plants.
- In order to obtain new material for planting.
- To improve growing conditions if the initially chosen location is not suitable for daffodils.
- For using bulbs for home forcing.
The main reason gardeners dig up bulbs from the ground is to separate the nests. This procedure is recommended at least every 4-5 years. If this is not done, the bulbs begin to crowd each other, resulting in less abundant and beautiful blooms.
When a gardener has only one bulb of a favorite variety, this procedure is carried out more often, but the first time it is done is when the plant is 3 years old.
The main symptoms that indicate that the bulbs need to be dug up and replanted in another location are:
- Change in foliage color from green to yellow.
- Reduction in bud size.
- Drying and breaking off of the tips of leaf blades.
Why frost is dangerous for bulbs
Most of the developed varieties are characterized by high winter hardiness, but some specimens react negatively to frost. Due to freezing in open ground, they die or produce fewer flower buds. It is recommended to dig up such bulbs for the winter and store them in a basement.
Optimal timing for plant digging
The exact time for digging up planting material from the ground depends on the variety and the climate conditions of the growing region. All daffodil varieties are divided into three categories: early-blooming, mid-blooming, and late-blooming. Furthermore, even within the same climate region, weather conditions vary, causing the plant's growing season to end at different times.
Depending on the region
Regardless of the growing region and its climate, experienced gardeners do not recommend digging up daffodils immediately after flowering. This is done only after the leaves begin to yellow and wilt. This sign indicates that the green above-ground portion has fully supplied the bulb with the nutrients it needs to survive the winter.
Some gardeners make the mistake of cutting off leaves while they're still green, so they don't spoil the flowerbed's decorative appearance after flowering. This prevents the bulbs from receiving sufficient nutrients, leading to the plant becoming unhealthy and producing smaller buds the following season.
If we consider the specific timing of digging up planting material in the regions, then these are:
- The second ten days of June for the southern regions.
- The last days of July for Siberia and the Urals.
- Mid-July for the Moscow and Leningrad regions.
The main criterion, however, is observation of the condition of the plants.
According to the lunar calendar
Many gardeners rely on the lunar calendar to determine the exact time to dig up bulbs after flowering. The following dates are suitable for 2025:
- June - 6, 11-13, 16-18, 28, 29.
- July - from 10th to 15th.
Instructions for removing daffodils from the ground
Proper bulb digging is essential for the safe storage and health of daffodils next season. It's recommended to use a regular garden fork for this procedure; it won't damage the bulbs. If using a shovel, be extremely careful not to cut the bulb.
The instructions are as follows:
- Choose a sunny day; digging is not carried out in rainy weather.
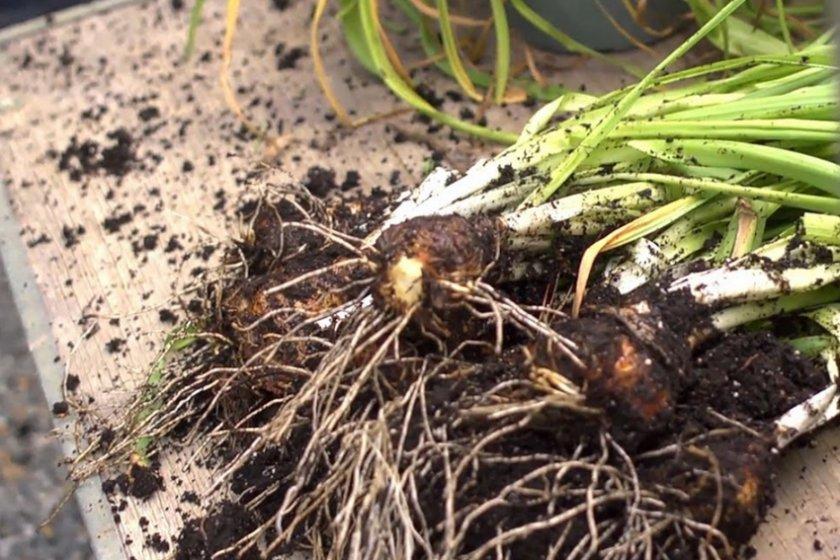
- Carefully use a pitchfork to dig up the soil around the daffodils and remove them along with the soil.
- Not only large specimens but also small bulbs are selected from the soil. They are immediately sorted, discarding any diseased or damaged ones to prevent them from contaminating the entire plant during storage.
- Trim off any leaves that haven't completely dried. Although some gardeners wash the bulbs under running water, this is not recommended. Carefully remove any remaining soil with your hands; do not tap the bulbs against each other, as this can damage the material. Do not trim the roots.
- Next, the dug-up bulbs are laid out in an even, uniform layer in a sheltered, wind-blown location. Drying takes, on average, up to three weeks. If it rains outside, bring the daffodils indoors to prevent them from absorbing moisture, which would impair proper storage.
- After this, shake off any remaining soil from the dried bulbs, and carefully remove the outer scales. It's important to remember not to strip the bulbs down to the white scales. At the same time, trim off any dry roots.
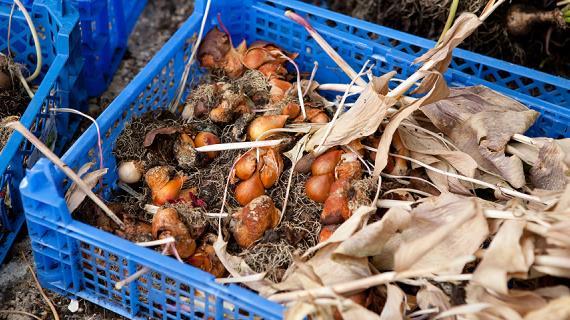
How to prepare and store bulbs before planting
To keep the planting material in good condition until spring, the bulbs must be properly prepared.
Choosing a storage location
At home, it's not recommended to store the material in the refrigerator, as the high humidity there will cause the daffodils to sprout. Cool, dry places, such as a basement or shed, are ideal. The temperature shouldn't fluctuate drastically; ideally, it's around 20 degrees Celsius.
Cardboard boxes or wooden crates are suitable for storing daffodil bulbs; plastic bags are not used, as the material will suffocate in them.
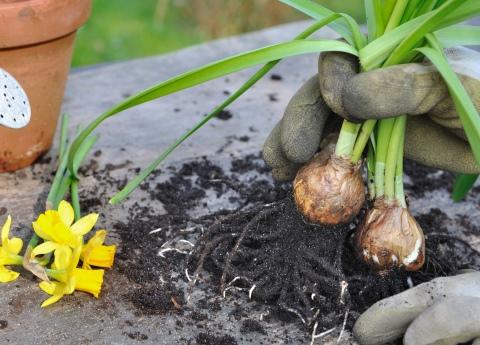
Division
First, you need to separate the offspring. If the bulblets are rounded, they will separate from the mother plant without difficulty. Flatter bulblets are not as easy to remove, so you'll need to apply some force. If small wounds appear on the mother plant during the separation process, be sure to dust them with wood ash to prevent rot.
After separating the bulblets from the mother bulb, sort the material, separating the large ones from the small ones. The smaller ones are not discarded, but stored separately and later planted for further growth. Calibrating the bulblets is not necessary, but doing so significantly simplifies subsequent planting, as bulbs of different sizes are planted at different depths.
Disinfection
After this, soak the bulbs in a weak potassium permanganate solution for half an hour and then let them dry again for several days. Next, lay the bulbs out in a single layer, ensuring each has access to air. If there are a lot of bulbs, they can be stored in two layers, with newspaper or parchment paper placed between them.
If rot or diseased spots are visible on the bulbs, they are cut out with a disinfected knife. The cuts are treated with ash, which forms a protective film. The health of future flowers depends on proper care before storage.

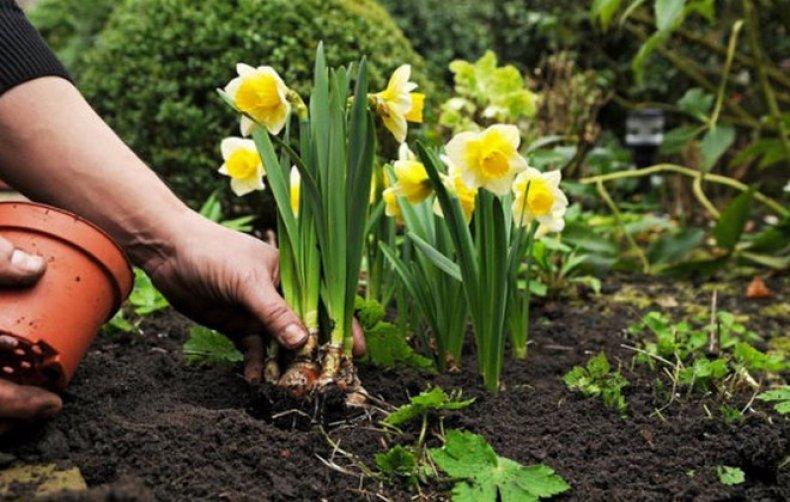
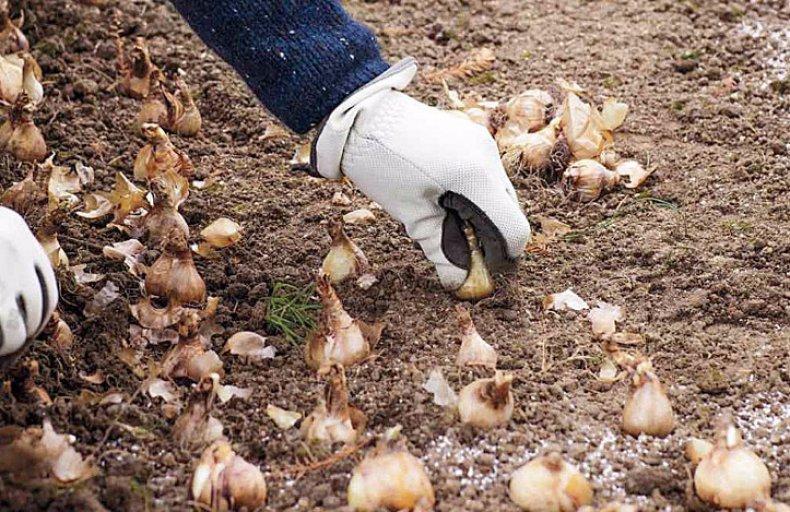
When to plant back into the ground
Typically, bulbs are planted outdoors in late August or throughout September. Planting later is not recommended, as the plants will not have time to develop roots and will not survive the cold season.
If you do this before the recommended time, the daffodils will start to grow and die in winter.
Tips from florists
Experienced gardeners give the following advice to beginners:
- Do not start digging up the bulbs until the leaf blades turn yellow.
- Do not use diseased material for storage.
- It is essential to maintain the temperature regime in the storage rooms and humidity at 70%, with periodic ventilation.
- Do not use glass, polyethylene or plastic containers for the material.
If you follow these simple rules, daffodils will delight the gardener for a long time with their decorative appearance and large buds.
Related posts:
 Description of shallot varieties, cultivation and care, when to harvest
 How to prepare and store tulip bulbs, possible difficulties
 When and how to plant tulips in the Urals in autumn and care for them outdoors
 When is the best time to plant tulips in open ground? Timeframes by region and rules.
 Planting and caring for daffodils in open ground, the best time and growing rules
 When and when can daffodils be repotted? Step-by-step instructions and care.
 When to dig up gladioli for the winter, timing and rules for storing bulbs
 When is the best time to plant tulips in the Moscow region in autumn? Timing and care instructions.