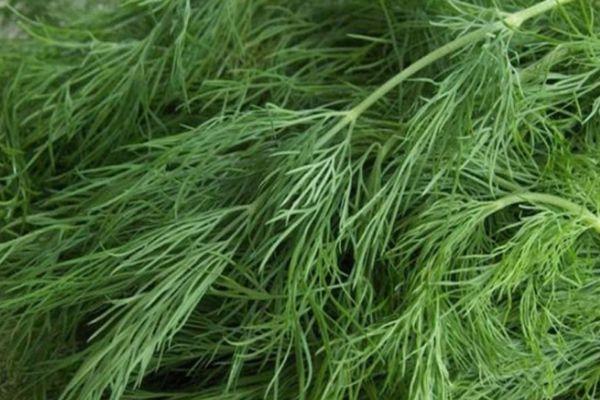
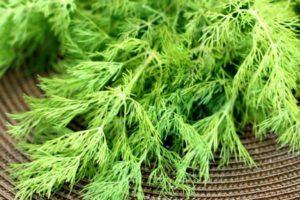
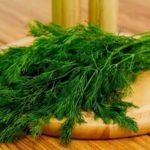
Besides houseplants, you can grow hot peppers, cucumbers, peanuts, and lemons at home. The list goes on. Herb lovers have learned to grow mint, parsley, basil, and dill. It's wonderful to eat your greens year-round without worrying about nitrates. Knowing how to grow dill on a windowsill will allow you to constantly have a fragrant addition to your dishes.
Step-by-step instructions for growing dill
To fully grasp this science, it's worth examining each step separately. The process is simple. Beginner gardeners can handle it with ease.
To grow herbs at home on a windowsill, you will need the following ingredients:
- correctly selected seeds (the variety must be unpretentious and produce a high yield);
- purchased soil for indoor plants, as well as garden soil with peat and humus;
- complex fertilizers;
- convenient containers that fit easily into your home;
- lamps for additional illumination.
Selecting a variety
The best is Gribovsky. It's easy to care for, has excellent germination, and is disease-resistant.
It's worth paying attention to bush varieties with late ripening periods. While they don't have time to fully ripen in the garden over the summer, they have proven successful indoors (Salut, Russian Size, Gourmet, Kibai, Alligator, Buyan, Amazon, and Dill).
Of the early and mid-season varieties, two grow well indoors: Grenadier and Richelieu.
Seed preparation
You need to get the seeds to germinate as quickly as possible. This requires prolonged soaking. Take a bowl of warm water and soak the seeds for 20 hours. It's best to have oxygen constantly circulating through the water. A compressor or a small aquarium can help achieve this effect.
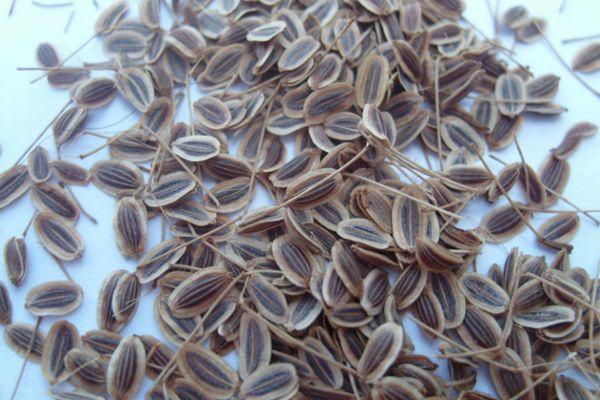
If neither is available, place the seeds in warm water and change the water every 6 hours for 2 days. Cover the container with a cloth to keep the water temperature above 20 degrees Celsius. To disinfect the planting material, you can make a weak solution of potassium permanganate.
Necessary equipment
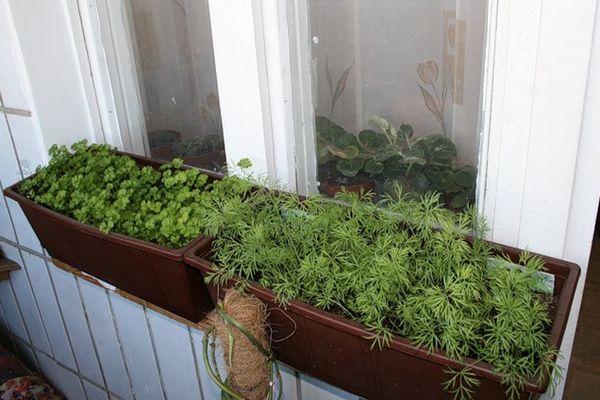
Before planting, choose a container (pot or box). It should be deep enough to accommodate the roots. Drainage holes should be made in the bottom to allow water to drain and a thin layer of broken brick or expanded clay should be laid. Then fill the container with loose, fertile soil and water.
Sowing
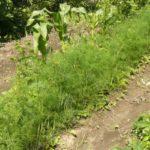
Dill is grown During the period when greenery is most scarce—from October to early spring. Some housewives want to have their own greenery in the summer, too. To achieve this, they plant seeds from March to August.
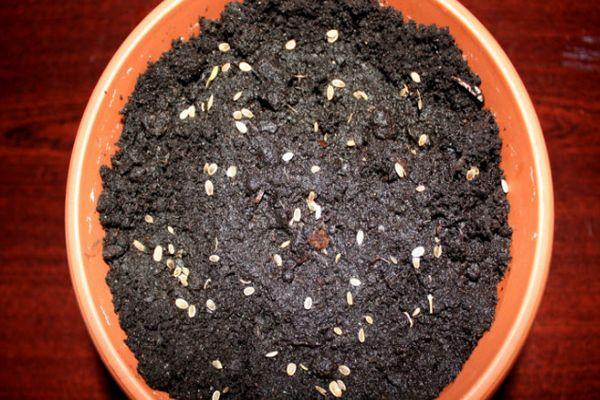
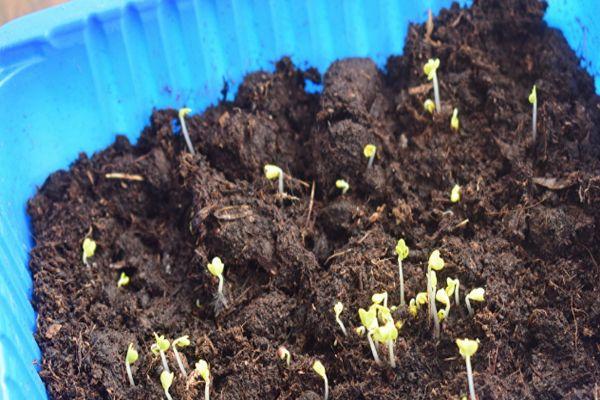
The seeds can be simply laid on the soil surface and covered with a mixture of peat and humus or a thin layer of soil. Another way to plant is to make holes about a centimeter deep. Add a little water to each hole and place the seeds. Cover with the soil from the edges of the holes.
This soil will be dry and therefore won't crust over. This will make it easier for the seeds to germinate. Be sure to cover the seeds with a plastic bag (or film). Provide a dark place for them and ensure the temperature doesn't exceed 20 degrees Celsius. Remember to remove the film regularly to prevent the soil from becoming sour.
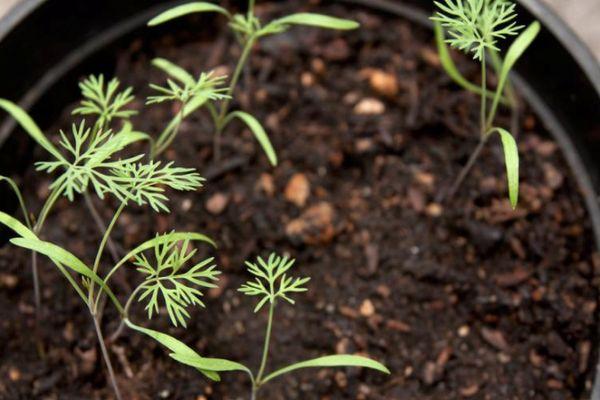
Don't expect the seeds to germinate too quickly. It should take at least 14-15 days. Then you'll be delighted to see the first tiny sprouts.
Tip! Don't plant the seeds too close together. Dill likes space.
Care
In winter, apartment conditions are far from ideal. Heating systems dry out the air, and thermometer readings often don't reach summer temperatures. To prevent lack of sun and other factors from affecting your plants, it's important to carefully create the right conditions.
Comfortable temperature
Dill tolerates cool temperatures well. To grow it indoors without problems, ensure temperatures are between 17 and 20 degrees Celsius. It's helpful to periodically place the pots on an open balcony. If the outside temperature is below freezing, it's best to avoid this.
It's best not to leave plants indoors where the temperature is below 8°C (46°F). Windowpanes can also be sources of excess cold, causing the leaves to freeze and die. On frosty days, avoid moving pots close to the glass. If necessary, shield them with thick cardboard.
Take a look Also
Air humidity
Dill doesn't thrive in either dry or humid tropical air. High humidity increases the risk of powdery mildew. Normal values range from 40 to 50%.
Watering mode
Dill dries out and turns yellow due to lack of moisture. To ensure vigorous growth, regular watering is essential. The green foliage will be more lush and juicy. On hot days, moisture evaporates faster, so watering is necessary. You can also mist the branches. Just be careful not to overwater.
The best guide is the top layer of soil. If it's noticeably dry, you can water it. Overwatering the soil is unacceptable. This is especially dangerous during the cold season. Chlorinated tap water is not suitable for watering. It must be allowed to settle. Meltwater or rainwater are best.
When to fertilize?
Any plant needs fertilizing. In the case of dill, it's not often. A slight under-fertilization is better than an over-fertilization. Count two weeks from the day of each fertilization. This schedule is optimal. Choosing a fertilizer is simple. Any comprehensive indoor plant formula will do. Liquid formulations are best.
Important! Avoid using fertilizers that contain a lot of nitrogen. Otherwise, you risk getting nitrate-laden greens.
Additional lighting
Dill needs plenty of light. The best windows are those facing south or southeast. In winter, it is especially demanding of light. Daylight hours will need to be artificially extended using special lamps. Fluorescent or phytolamps are suitable.
They are secured at a distance of 50-60 centimeters from the plant branches. The optimal daylight period is 13 to 15 hours. Adhering to these guidelines is especially important during the germination period. In dark rooms, dill sprigs grow slowly and will become weak and thin. This will affect the taste.
Pots with herbs need to be rotated regularly, so that their sides face the light. This should be done once a day. Simply turning the container 180 degrees is sufficient. Otherwise, the branches will stretch unattractively and lean to one side.
Harvesting
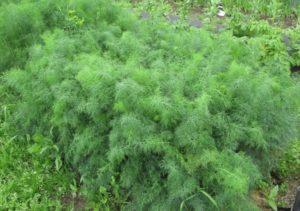
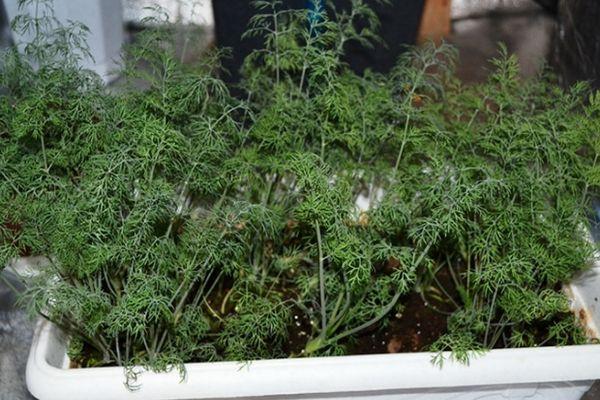
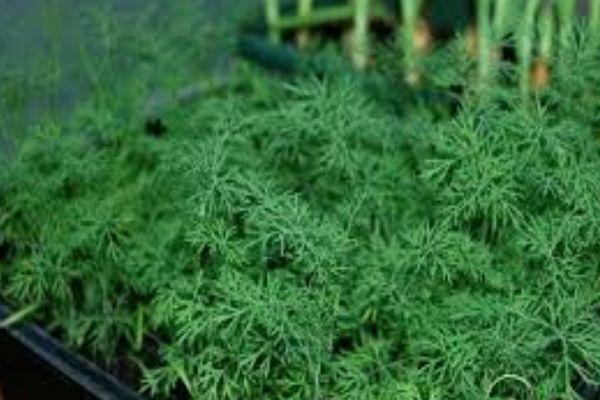
Now we can talk about how to properly harvest the long-awaited crop. It will take 6-8 weeks for the greens to fully ripen. After this, the dill is ready to eat. It's best to harvest older dill from the tops. This will give the plants additional incentive to grow.
To ensure a constant supply of fresh herbs, new seeds can be sown every two weeks. Wait until the sprigs reach 10 centimeters in length and then cut them.
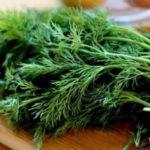
Dill is beneficial for health. It contains vitamins, phytoncides, and essential oils. Eating a little dill daily can help normalize blood pressure, improve stomach function, and alleviate sleep problems. This herb also promotes the growth and strengthening of hair and nails.
If plant dill If you grow dill in your home, you can forget about pesky bugs and gnats. They dread the smell of this plant like fire. Anyone who has tried growing dill on their own windowsill has been satisfied. It's not as difficult as it seems. By providing dill with ideal conditions, you can reap a bountiful harvest.
Related posts:
 Description of the best dill varieties for open ground and for greens, what the plant looks like
 The best recipes for preparing and storing dill for the winter at home
 Recipes for pickling fresh dill for the winter at home in jars, proportions, and storage
 How to dry dill at home for the winter
 How to keep dill fresh for the winter at home, the best ways
 How to properly plant dill in open ground and a greenhouse: secrets of agricultural technology
 How to keep dill fresh in the refrigerator and freezing methods at home
 Characteristics and description of the Alligator dill variety