- Cherry tree cuttings: advantages and disadvantages of the method
- What cuttings are suitable?
- Root shoots
- Green shoots
- Harvesting cherry shoots
- Deadlines
- How to choose planting material
- Rules for preparing cuttings
- How to properly store cuttings at home
- Rooting methods
- Landing
- At what age should I replant?
- Soil composition requirements
- Choosing a landing site
- Layout
- Depth and technology of planting in open ground
- Further care
- What other methods of reproduction exist?
- Seed
- Propagation by grafting
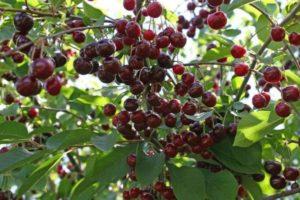
The biological characteristics of cherries and their lack of self-fertility dictate the need to plant at least two trees in a garden. Optimally, four to five trees are recommended, including varieties of common cherry, steppe cherry, and sweet cherry. Gardeners want to harvest fruit at different ripening times, but for optimal pollination, the flowering times of the varieties and their pollinators should coincide. To plant a large number of trees without breaking the bank, we recommend propagating cherries from cuttings in the summer.
Cherry tree cuttings: advantages and disadvantages of the method
Cuttings are the process of rooting small sections of shoots with three or four buds. To grow trees of your favorite varieties with compatible pollination times, you should propagate existing plants from neighbors or friends. Cherry shoots generally root well. The advantages of this method include:
- preservation of the properties of a variety from the mother plant;
- ease of execution;
- rapid growth, fruiting begins in the third year;
- cheap, high-quality planting material.
The disadvantages of cuttings include:
- the survival rate of cuttings does not exceed 50 percent;
- the need for daily watering of plantings using micro-sprinklers.
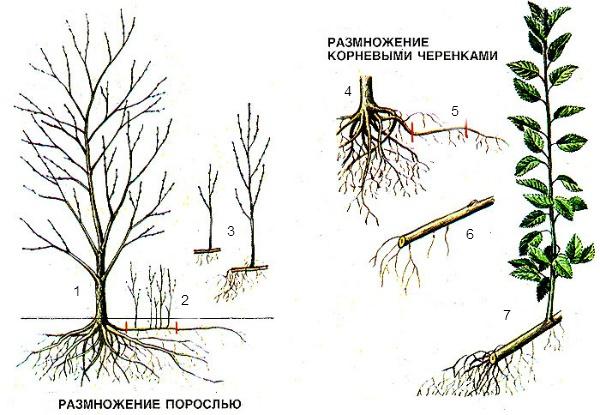
In addition to cuttings of vegetative shoots, cherries are propagated by root cuttings and suckers.
Please note! Of all planted cuttings, no more than half are accepted.
What cuttings are suitable?
For propagation and rooting, cuttings from the tips of last year's shoots or this year's shoots, 4-5 mm in diameter, are suitable. The lignification process should just begin. In addition to cuttings taken from shoots, root suckers can be used. Don't confuse them with suckers, which are small cherry bushes.
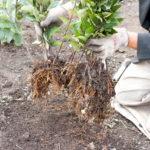
Root shoots
These are root sections 12-15 centimeters long, with a growth bud. The advantage of this type of planting material is that it doesn't need to be rooted—the plants already have a root—the only task is to grow a straight, strong central shoot. These cuttings produce own-rooted seedlings of the desired diameter—more than 7 millimeters. Preparing root cuttings is labor-intensive: to propagate several varieties, you need to locate and excavate the root systems of a large number of trees.
Green shoots
These shoots exhibit the strongest growth. Their upper parts remain green and continue to grow, hence their name, "green." The surface of the growing branches at the base already has patches of burgundy bark. These cuttings are much easier to propagate than root cuttings.
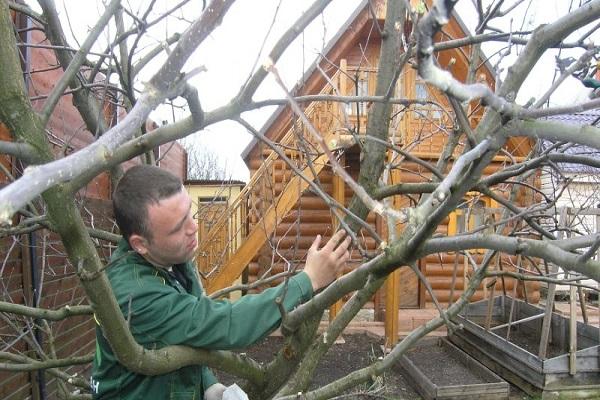
Many gardeners ask whether it's possible to take cuttings from shoots growing around the mother tree, as the shoots on the plant itself bear fruit. The answer is no, as there's no guarantee that the mother plant wasn't grafted.
Harvesting cherry shoots
When preparing planting material, maintain strict order. Don't cut branches from different trees at the same time. Don't start cutting from one variety until you've finished cutting from the next. Tie the shoots into bundles and label them with the variety.
Deadlines
It's best to propagate cherry varieties during the summer. Therefore, cuttings are taken from late spring to early fall. In spring, the best time is late May, after flowering. In this case, cuttings are taken from the upper part of the previous year's shoot, preferably without ovaries. In summer, it's best to take cuttings from the current year's shoots. In fall, cuttings are collected after the leaves have fallen, in late October.
How to choose planting material
When choosing ready-made cherry tree seedlings, you can determine how they were grown. Take a seedling and carefully examine the root system. Fibrous roots indicate vegetative propagation from cuttings, while taproot roots indicate seed propagation. If there's a slight bend in the central shoot just above the root collar, the seedling was grafted.
Rules for preparing cuttings
Before cutting the mother plant, water it generously 1-2 days beforehand to saturate the tissues. When taking cuttings in the fall, this procedure is performed after a moisture-replenishing watering. When taking cuttings in the summer, soak them in clean water for 1.5-2 hours, then treat the lower ends with a rooting stimulant solution such as Kornevin or Kornestim, and plant them in the seedling section.
In autumn, the cut material is processed within one hour and put away for storage.
The shoot cuttings are 9-12 centimeters long. Leave 3-4 buds on each cutting. Make a straight cut 5 millimeters below the bud. Roots will form at this node. Make an oblique cut above the top bud, in the same direction as the bud. Shorten the leaves by 1/3. If planting immediately is not possible, spray the cut shoots with water and wrap them in plastic wrap or place them in a plastic bag.
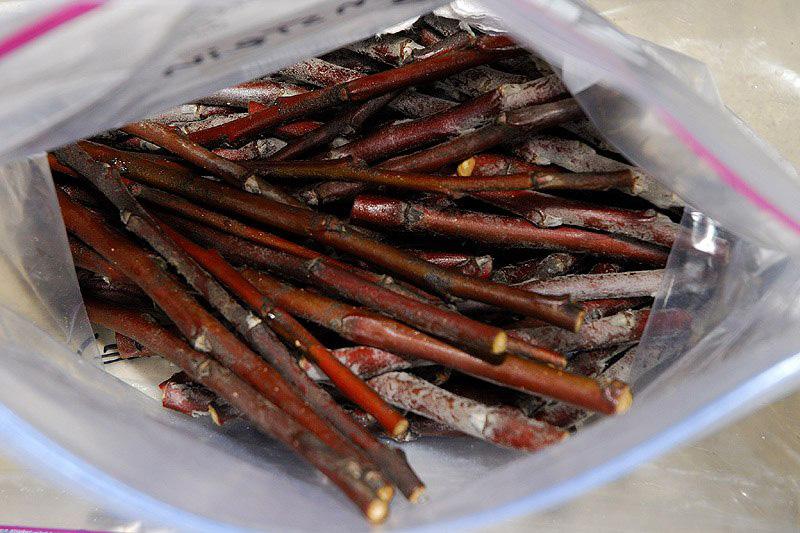
Important! Freshly cut cuttings quickly lose moisture, which significantly reduces their chances of rooting.
How to properly store cuttings at home
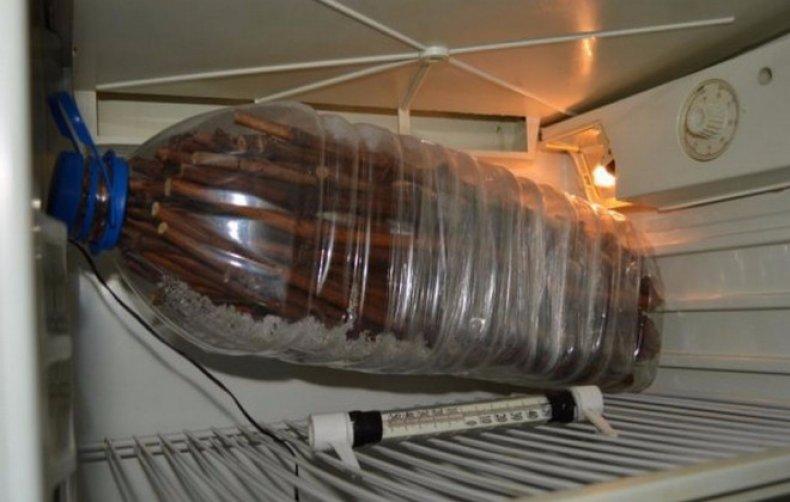
Cuttings taken in the fall—at the end of the growing season, when the shoots have completed their development and entered dormancy—are stored for winter. Processing of the material intended for storage involves the following:
- the shoots are kept in water at room temperature for 1 day;
- treated in 3% ferrous sulfate for 30 minutes.
The resulting mixture is then packaged in bags and stored in the refrigerator, on the vegetable shelf. In this form, the plant material is stored at a temperature of 1-3 degrees Celsius until February.
Rooting methods
During the summer, rooting takes place in a nursery or in open ground. Cherry cuttings can be rooted in soil or water. The soil contains more nutrients and allows for greater aeration, so rooting in soil produces better results.
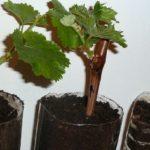
Let's take a closer look at the rules for planting cuttings in a nursery, which can be organized in the summer in a summer cottage or garden plot, and in the winter - in a container in an apartment or on a heated loggia or balcony.
Landing
Cherry seedling cultivation techniques require greenhouse conditions with 100% humidity around the cuttings. This should be planned in advance, and plastic film or glass jars should be prepared to create the microclimate.
At what age should I replant?
When seedlings are planted in June, they already have rooted by September. However, not all young plants begin to grow vigorously. Many experience growth retardation, so the seedlings are left in the nursery until the following year. At two years of age, they are best suited for permanent planting. For the winter, they are covered with vegetable tops.
Cuttings planted in February from last year's shoots develop faster; they are transplanted into open ground in May, and by September they are ready for planting in a permanent location.
Soil composition requirements
Rooting occurs best in light soil. For a nursery, use 1 part garden soil mixed with 1 part peat and 2 parts coarse river sand. You can add 20 grams of superphosphate and 30 grams of potassium sulfate per 1 kilogram of soil to the substrate. Mix all ingredients thoroughly.
Choosing a landing site
Placing the nursery in full sun can cause damage to young seedlings from sunburn and heat. Therefore, it's best to set up the nursery in partial shade, although access to light is essential for future seedlings. The location should be protected from winds. Ideally, choose a slightly shaded area near a south-facing wall of the house.
Layout
Young plants thrive with ample air and soil nutrients. Therefore, they should be planted in rows 15 x 15 centimeters apart. The more space the bushes have, the taller and more spreading the branches will be.
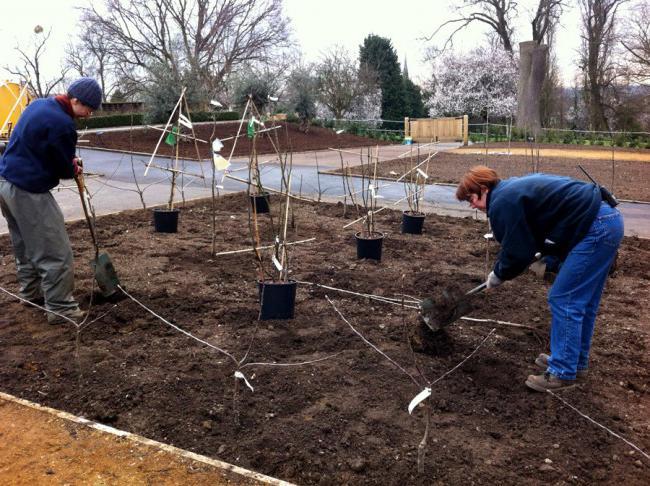
Depth and technology of planting in open ground
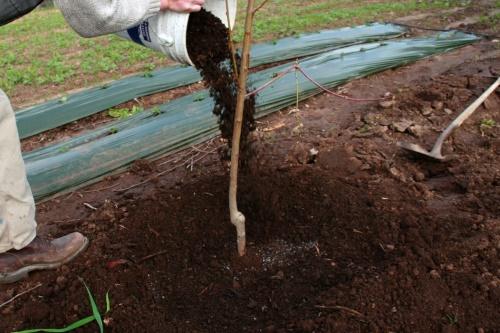
The cuttings are planted at a depth of 3 centimeters. The node with the bottom bud should be completely submerged in the soil, halfway covering the internode. The soil is compacted, pressing the wood as tightly as possible, and watered immediately. After the water has been absorbed, the bed is mulched with peat to a depth of 4-5 centimeters.

Further care
To ensure faster fruiting of cherry trees in your garden, you should encourage the seedlings to grow faster and more vigorously. This requires regular spraying with a combination of fertilizers and growth stimulants. Effective sprays include potassium humate, Reasil, urea, Isabion, Novofert, and Nutrisol.
Treatments are carried out at intervals of 14 days, 3-4 times per season, alternating preparations.
In the nursery, watering is done every other day, with at least 10 liters of water per square meter of the nursery, or a daily shower of fine mist. For the first 3-4 weeks, the cuttings are kept under a plastic canopy, which is opened daily for ventilation.
What other methods of reproduction exist?
Vegetative propagation, in addition to cuttings, includes grafting and root sucker pruning. Generative propagation is achieved by sowing seeds in the soil.
Seed
Propagating cherries by seed does not ensure the preservation of the parent plant's properties. Stratified seeds are sown in April, at a depth of 3-4 centimeters. Stratification is the process of treating seeds with low, positive temperatures. To achieve this, seeds mixed with damp sand are refrigerated for 30-60 days.
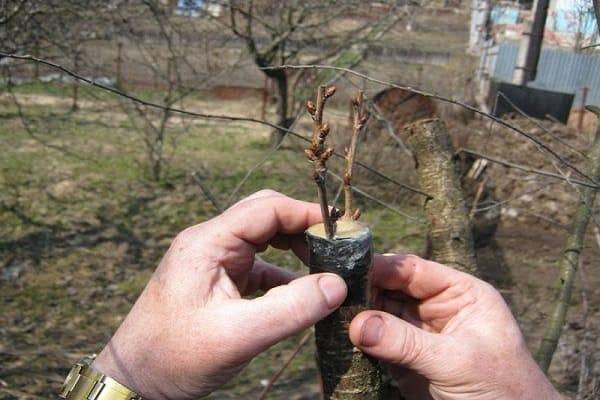
Propagation by grafting
This method is common in commercial nurseries. Plant development and fruiting occur more quickly than with seed, many varieties can be propagated, and the yield of seedlings is higher than with cuttings.
Take note of our recommendations for growing cherries from cuttings and try growing the varieties you want this summer!
Related posts:
 How to propagate grapes in summer using green cuttings at home
 Methods for planting and propagating cherries at home
 Description and pollinators of the Vladimirskaya cherry variety, planting and care
 How to propagate an apple tree using cuttings in summer and without grafting, rooting methods
 Description and cultivation of the best varieties of felt cherry, planting and care
 Description and varieties of cherry variety Shpanka, planting and care
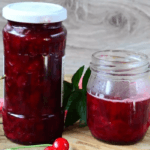 13 Best Cherry Jam Recipes for Winter
 Rules and methods for grafting plums in summer, tips for beginners