- Is this even possible?
- Advantages and disadvantages of the method
- How to choose a seed for growing
- Preparation and stratification
- How to plant in autumn
- Deadlines
- How to prepare a plot and a garden bed
- Planting diagram
- Thinning in spring
- Aftercare
- Loosening and weeding
- Watering
- Top dressing
- Transplantation to a new location in open ground
- Preparing for winter
- Grafting a cherry tree grown from a seed
- Deadlines
- What can be grafted onto cherry rootstock?
- Methods of grafting
- Copulation
- Improved copulation
- On the bark
- Into the cleft
- Into a half-split
- Into the corner cutout
- In the side cutout
- By bridge
- Aftercare
- Tips and recommendations
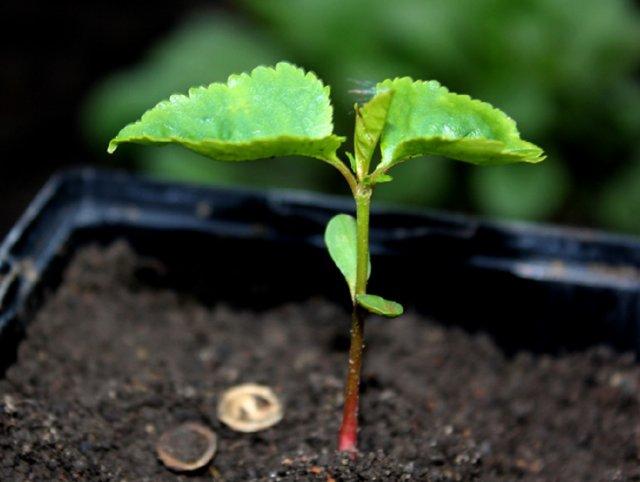
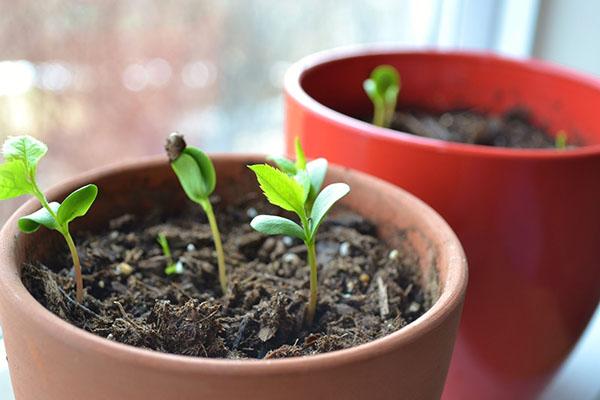
Many gardeners are interested in the pressing question of how to grow cherries from seeds at home. To achieve good results, it's important to familiarize yourself with the key recommendations of experienced gardeners. It's important to choose the right planting material, prepare it for planting outdoors, and provide proper care. Grafting will help you achieve a high-quality and productive plant.
Is this even possible?
To grow cherries from a regular seed and produce high-quality fruit, it's essential to strictly follow the proper technique. This will give your cherries a number of advantages:
- The tree is resistant to climatic conditions.
- This type of seedling is characterized by increased resistance to frost.
- The plant is less likely to encounter diseases that are typical for stone fruit crops.
- It is possible to obtain a lot of planting material, which can be used as rootstock or for planting in a plot.
However, the first harvest won't be immediate. Growing from seed requires at least six years.
Advantages and disadvantages of the method
Growing a tree from a seed will not produce a cultivar. The resulting plant will produce small, sour-tasting berries. However, it's hardly useless. The main advantages of a fruit-bearing plant include the following:
- It is considered unpretentious and does not require the creation of special conditions;
- has resistance to major diseases;
- is frost-resistant;
- not susceptible to pest attacks;
- adapted to the climatic features of the region.
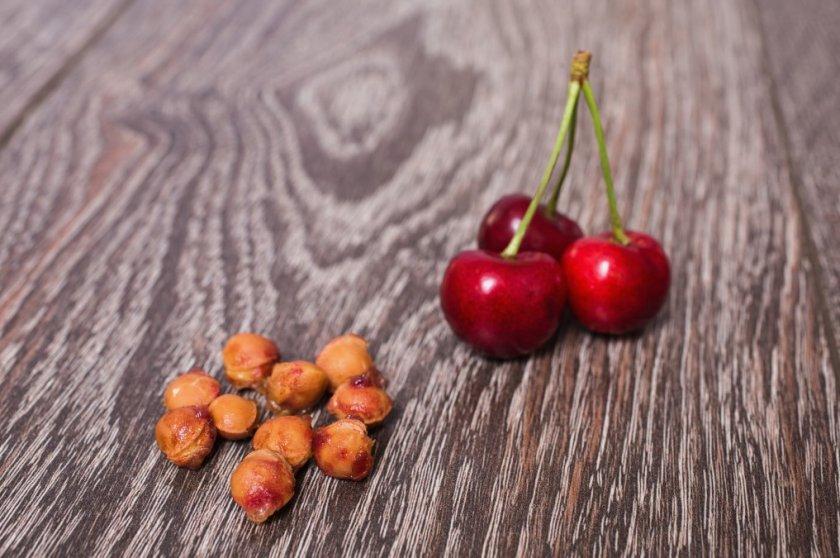
How to choose a seed for growing
Stone fruit crops typically have excellent germination rates. In 70-80% of cases, the seedlings are viable. To grow a strong tree, you need to use high-quality planting material.
It's important to use cherry pits from locally grown cherries. Imported cherries are harvested before they reach commercial maturity to avoid loss of marketability.
It's important to remember not to use dried seeds for sowing. A seedling will sprout faster from a fresh seed. However, it shouldn't be planted in May or June. Seedlings that sprout in the summer are unable to establish themselves by the time winter arrives. They become very weak and may die.
To preserve the freshness of the seed for a long period of time, it should be placed in moist sand. It is recommended to wash and calcine the sand beforehand. Seeds placed in sand undergo stratification. This will help strengthen the planting material and prepare it for germination.
Preparation and stratification
Germinating seeds is very easy. To prevent them from wilting later, hardening them off is necessary. Preparatory work varies by region. In the south, the seeds should be placed in wet sand until autumn. Then, the material is transferred to the soil. This will ensure strong sprouts in the spring.
Take a look Also

In regions with a harsher climate, the seedlings should be placed in moist soil for 5 months. Hardening off the plant should be done in late autumn. This is done outdoors. When severe frosts arrive, the pot containing the pits should be removed from the outside. Temperatures in the middle zone typically drop significantly, so hardening off the cherry tree outdoors is not possible. The pot containing the pits can be kept at temperatures between 1 and 5 degrees Celsius. After the snow melts, the plant is transferred to the ground.
To prepare planting material, you should do the following:
- Select large, whole drupes. This should be done with extra supplies. Of 10 drupes, 7-8 will sprout.
- Rinse thoroughly with water to remove any remaining pulp.
- Dry the seeds. Place them in a single layer on the fabric. It's important to ensure the seeds don't dry out too much, as this will reduce their germination rate.
- After drying, collect the seeds in a paper and plastic bag.
- Store them at a temperature of +20 degrees Celsius. Periodically inspect and air the drupes.
- The preparatory stage begins in December. During this stage, the material should be immersed in water for 3-5 days. The liquid should be changed periodically.
- Treat the planting material with any fungicide.
- Place the seeds in a prepared substrate. Sand, moss, or sawdust can serve this purpose.
- Place the container with planting material in the refrigerator for 3 months.
When performing this procedure, it is strictly forbidden to mix varieties. When spring arrives, the container should be taken outside. It is recommended to cover it with snow. Once the shells crack and sprouts appear, you can proceed with the next steps.
How to plant in autumn
To achieve good results, the plant can be planted in the fall, strictly following the procedure technique.
Deadlines
In the south, it's acceptable to plant seeds directly in open soil. This is best done in the fall. This method allows the seeds to naturally harden and adapt to the new conditions. This will result in strong, healthy plants. Planting is recommended in October. First, the bed should be cleared of weeds, dug over, and loosened. Fertilizing is also recommended. Humus and wood ash are good choices for this.
How to prepare a plot and a garden bed
To grow the crop, it's important to prepare the substrate in advance. Soil intended for growing vegetable seedlings works well here. Garden soil is also suitable. However, it should be calcined and disinfected first.
Planting diagram
Make 5-centimeter-deep holes in the soil. Place the seeds in these holes. Space the seeds 10-15 centimeters apart. Cover the planting material with a light layer of soil.
Thinning in spring
In the spring, the seedlings need to be thinned out. The strongest shoots should remain in the bed. Once they have grown, they are moved to their permanent locations.
Aftercare
These plants are virtually indistinguishable from ordinary houseplants, making them quite easy to care for.

Loosening and weeding
The soil containing the seedlings should be loosened periodically. This will provide the soil with sufficient oxygen and accelerate the plant's development. Timely weed removal is also important.
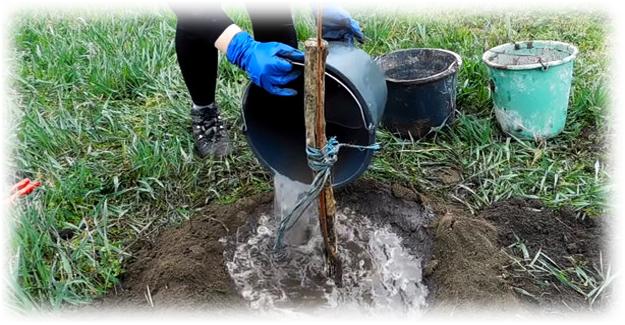
Watering
Water the soil as needed. To do this, regularly check the soil condition. If it's dry to a depth of 1 centimeter, water the substrate carefully. Apply water carefully.
Regardless of the growing area, cherries do not tolerate excess water well. Excessive water will lead to root rot. Even drainage won't help.
Watering should be done carefully. The cherry tree's root system is located on the surface and can be easily damaged, weakening the tree and even killing it. Spray the leaves with warm water every few days. When growing a seedling in a pot, cover the soil with plastic wrap.
Top dressing
Fertilizers should be added when the first full-fledged leaf appears. Organic fertilizers, such as a mullein or compost solution, can be used. Mineral fertilizers are also suitable. Fertilizers should be applied at two-week intervals. Initially, the soil should be thoroughly watered and loosened.
It is strictly forbidden to use fresh organic fertilizers, as they can cause various diseases. Excessive nutrients in such products will burn the delicate root system.
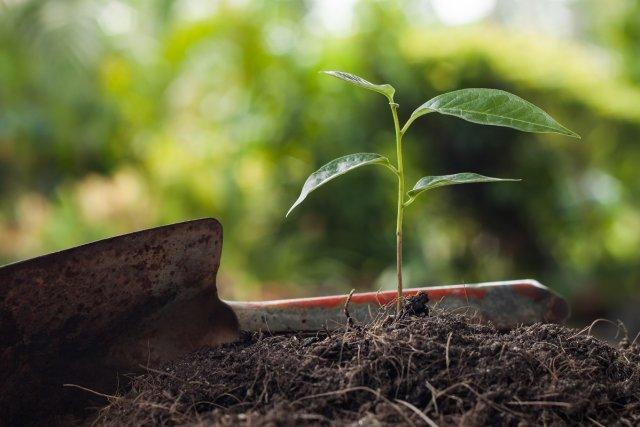
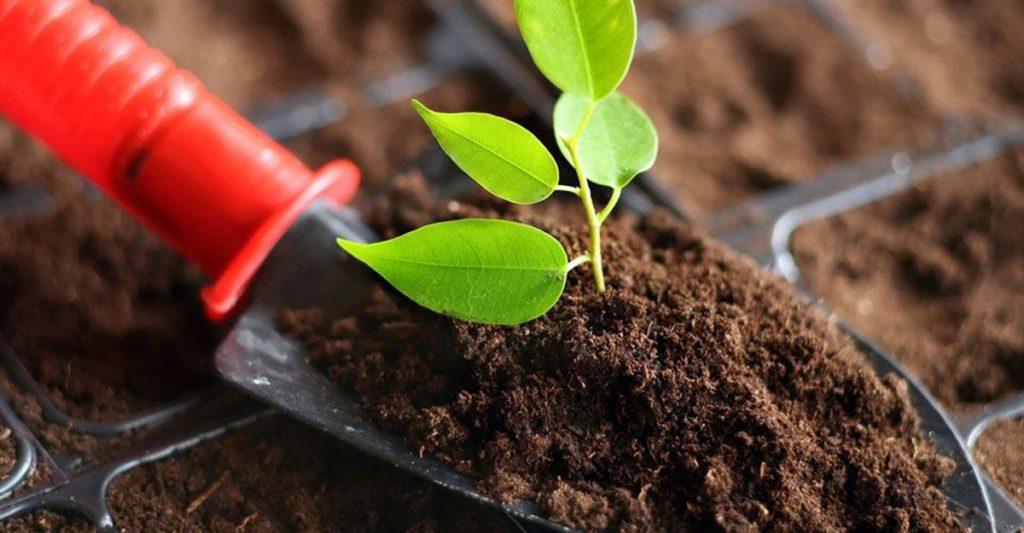
Transplantation to a new location in open ground
One-year-old seedlings can be transplanted to a new location. First, dig a hole. It should be 60 centimeters in diameter and 40 centimeters deep. It's important to ensure the root system has sufficient space in the hole. Mix the topsoil with compost, superphosphate, potassium chloride, and wood ash. Fill the hole one-third full with the resulting mixture. If the soil is dense, a drainage layer of gravel and sand can be placed at the bottom. Place the seedling in the hole and then cover it with soil. After rooting, water and firm the soil.
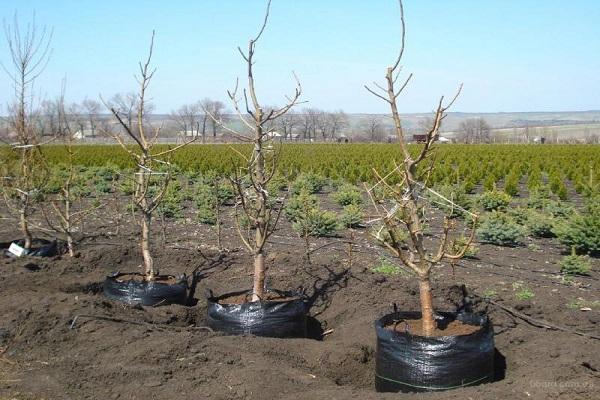
Preparing for winter
Before covering a young plant for the winter, it's worth inspecting it and removing any weakened or damaged shoots. Then, it's recommended to cover the root area with spruce branches or sawdust. The tree should be insulated with burlap or a cardboard box.
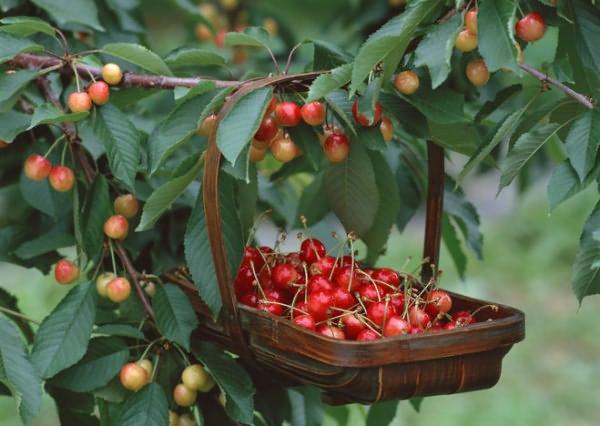
Grafting a cherry tree grown from a seed
To ensure a high-quality harvest from a cherry tree grown from a seed, it needs to be grafted. This can be done in a variety of ways.
Deadlines
Grafting is done three years after planting. It's best to do this in the spring. This will facilitate the fusion of the plants. It's also acceptable to graft in the summer, during cloudy weather, or in the fall, before severe frost sets in.
What can be grafted onto cherry rootstock?
In this situation, various grafting options are possible. It's important to choose a variety that is resistant to diseases and pests. It should also be tolerant of temperature fluctuations. Cherry rootstock can be grafted with cherry or cherry plum. Plum is also acceptable. However, this may yield less favorable results.
Methods of grafting
Today, a large number of techniques are known that allow for high-quality vaccination and excellent results.

Copulation
This technique is suitable when the rootstock and scion are of equal thickness, less than 1.5 centimeters.

Improved copulation
This is a more advanced technique that allows for achieving a sufficiently strong fusion.
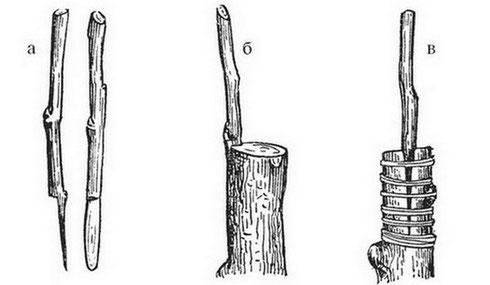
On the bark
This method is recommended to be used at the beginning of the growing season, since the bark separates easily from the wood.
Into the cleft
To perform this operation, you'll need a special hatchet. Place the hatchet in the center of the cut, and use a hammer to split the branch into 10-centimeter sections.
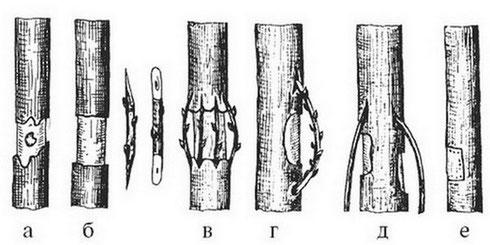
Into a half-split
This method involves minimal damage to the crop. It involves splitting a small section laterally.
Into the corner cutout
This method is suitable for branches with a diameter of 2 centimeters.
In the side cutout
The graft should be made on the side of the branch. However, it is not recommended to prune the tree until the scion has fully grown.
By bridge
This method is chosen for trees whose trunks have been damaged by hares. Grafting should be done at the initial stage of sap flow.
Aftercare
To ensure normal development of the crop, the following recommendations are followed after grafting:
- Young leaves attract pests. Therefore, they should be sprayed every 2-3 weeks using Tanrek or Biotlin.
- After 1-2 months, a splint is applied to the graft. This helps prevent damage from wind or birds.
- At the beginning of August, the upper parts of the shoots that grew on the graft should be pinched.
- The following year, with the arrival of spring, the shoots should be pruned. The height at which this procedure is performed depends on the desired crown shape.
- In the third year, annual shoots should be shortened to 50 centimeters. If they are shorter, do not prune. Branches with sharp angles and those pointing inward are removed.
Tips and recommendations
To ensure that the seedling can bear fruit fully, it is necessary to follow certain recommendations:
- The site for growing cherries should be protected from cold winds. A south- or southwest-facing slope is best.
- It is forbidden to plant cherry trees in lowlands, as there is a risk of flooding.
- The pH should be 6-6.5. The crop grows best in sandy loam or loamy soil.
- The groundwater level should be 2-3 meters. If it's higher, there's a risk of gum flow.
Growing a cherry tree from a seed isn't all that difficult. This procedure requires strict adherence to basic expert recommendations. To reap a high-quality harvest, the tree must be grafted.
Related posts:
 Methods for planting and propagating cherries at home
 The best methods for growing grapes from seeds at home
 Is it possible to grow an apricot tree from a seed in your garden? How to plant and care for it?
 Conditions for growing mandarin at home and rules for caring for the tree
 Rules for growing and caring for citrus fruits at home from seeds, fertilizers
 Rules and methods for growing cherries from seeds at home
 How to grow and care for lime trees at home
 Olive tree care, cultivation, and propagation at home