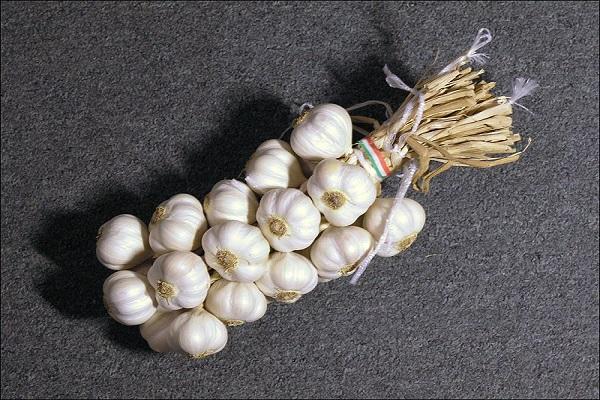
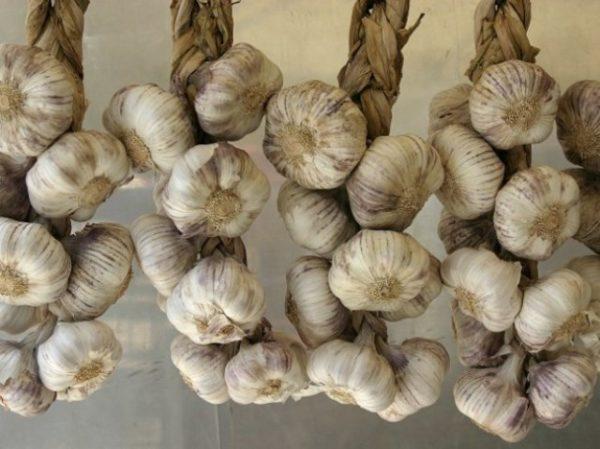
Garlic braids and bunches are popular among gardeners. Beginner gardeners often wonder how to properly tie garlic for storage in braids. This method offers several combination options. It's easy to use and adds a decorative touch to any kitchen.
When to harvest the crop to braid it?
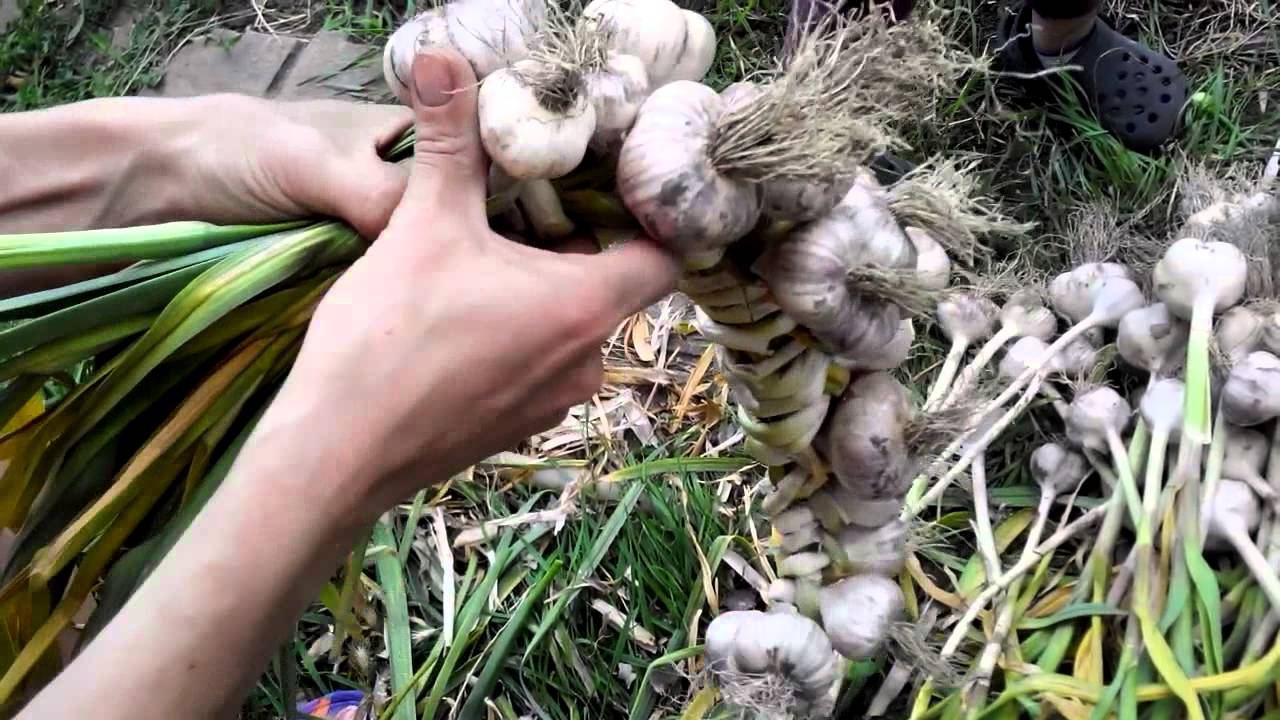
Harvesting takes place at the end of the growing season for winter or spring garlic. The garlic is dug up, and the roots are cleaned of soil. All plants are then dried. They are laid out or hung by their tops, grouped into small bunches. The plants are left to dry for 3-4 days, or for 7-10 days to preserve the integrity of the tops.
All bunches are removed and the roots are trimmed. The tops are trimmed so that 30 cm remain. They should not be damaged or broken.
Advantages and disadvantages of this storage method
Storing garlic in braids has its pros and cons. While the pros and cons are equal, the method remains popular. The advantages include:
- With this storage method, garlic heads do not rot, as they are constantly exposed to air.
- Braids don't take up much space and save space. They can be hung on a nail in the kitchen.
- Conveniently located in the kitchen, you can use a head of garlic at any time.
- The substances released by garlic indoors prevent colds.
- Braids made from onions or garlic decorate the kitchen and fit perfectly into the interior, especially in country houses.

However, this method has its disadvantages:
- Gradually, the vegetables dry out and the husks fall off, which requires frequent cleaning from the floor and shelves.
- The smell emitted is not to everyone's liking.
- In damp areas there is a risk of rotting.
- With constant exposure to sunlight, the heads begin to germinate.
- If even one bulb rots, the rot affects the others and midges breed.
How long does garlic last in braids?
The shelf life of the harvest depends on the variety and storage method. When using scythes, certain rules apply:
- The spring variety, at average humidity and a temperature of 15–17°C, can be stored for 5–6 months.
- The winter species will last for 3-4 months in a cool room with a temperature of 5-6 °C, but easily tolerates high humidity.
- Damage to the cloves during transportation or harvesting reduces storage life.
 Important! When harvesting and during weaving, it is necessary to sort the heads. Damaged ones are processed and consumed first.
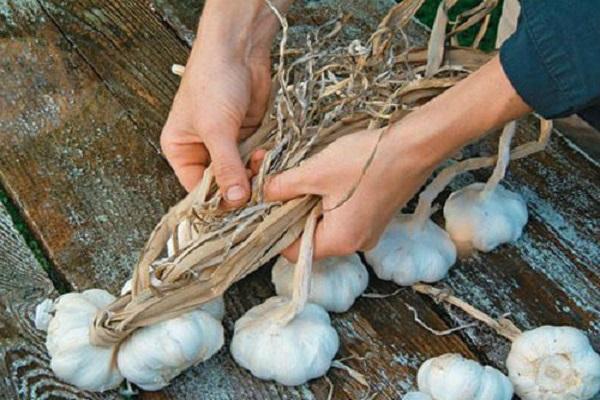
Weaving methods
This method of storing garlic has been practiced for many decades. Over this time, several variations of garlic braiding have been developed. Braiding is easy and requires no special skills. Twine, rope, or cord are used, and they can be combined with onions.
Weaving with twine
To braid a combination with twine, choose hair bulbs of the same size. This will create a more beautiful braid and prevent it from breaking where the smaller bulbs are located. The braid is woven using the following algorithm:
- Take a 150 cm long piece of twine and fold it in half.
- Place the bulb at the bend and tie it with twine.
- You get 3 ends, 2 from the twine and 1 garlic stalk.
- Next, apply the second bulb and others.
- Weaving is done according to a standard pattern.
- At the end, the ends of the twine are tied into a knot and a ring is made from which the braid can be hung.

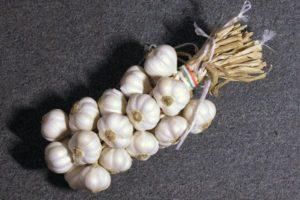
Double braid with rope
This technique gets its name from the fact that before braiding, all the bulbs are tied in pairs. This speeds up the process and tightens the braid. Follow these instructions:
- A 150 cm rope is folded in half.
- A couple of onions are placed at the bend.
- You get three ends: 2 from a rope and 1 from a garlic stalk.
- The braid is woven in the same way as in hair.
- After every 4-5 pairs of garlic, tie a knot to adjust the length of the braid and density.
- At the end, the rope is tied in a knot and a ring is formed for hanging.
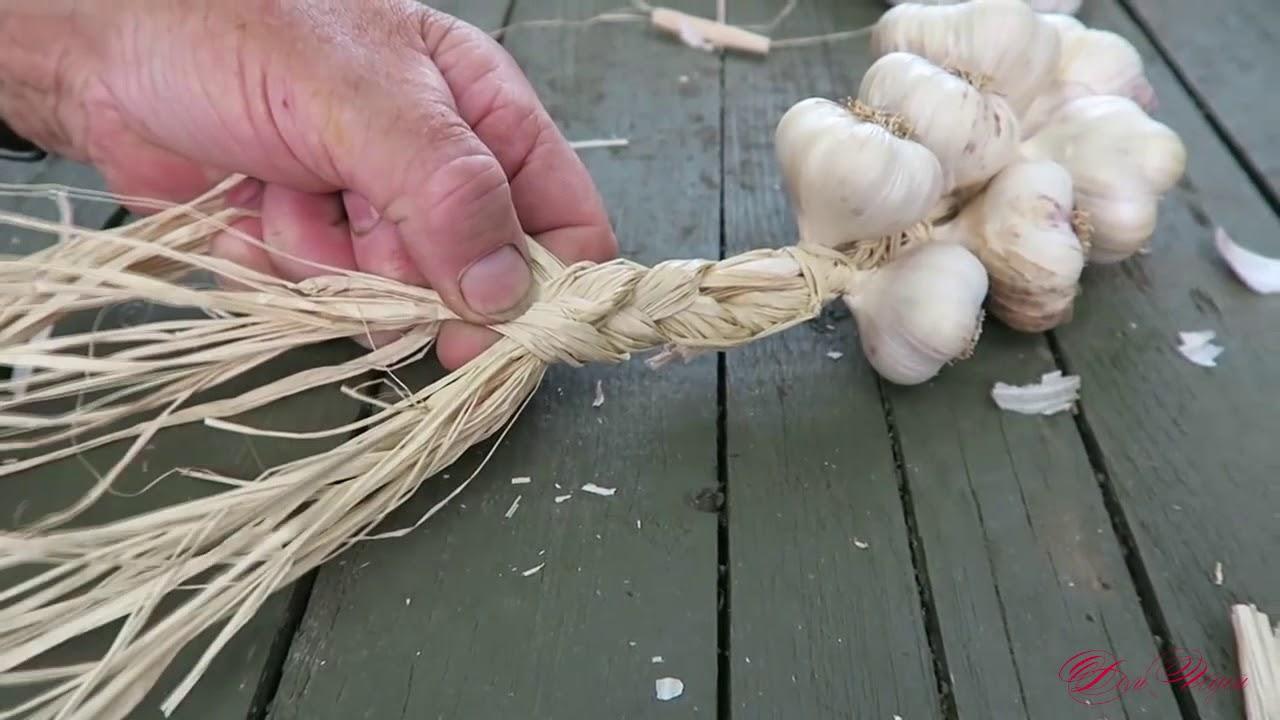
Braiding with a cord
Choose vegetables of similar size with tops up to 15 cm long. The stems should be slightly damp to ensure they adhere better to the braid. Weave according to the following algorithm:
- A 150 cm long tourniquet is folded in half and tied in a knot.
- I attach garlic tops to the knot.
- The tops are woven into the bundle in a zigzag pattern, adding new stems.
- At the end, tie a knot.
Along with onions
For this option, use heads of garlic and onion of approximately the same size. Any material can serve as the frame for the braid: rope, twine, or string.
Weaving is carried out using one of these methods, alternately alternating the heads of different crops.
Common mistakes when weaving
Braiding vegetables is a fairly easy process, but certain mistakes can detract from their quality and appearance. These include:
- The heads are placed too sparsely. When the braid dries out, the bulbs begin to fall out.
- Weaving in overly dry tops will result in a broken braid.
- Using a short rope ruins the look of the combination.
 Important! Before attempting this combination, it's recommended to practice on a simple rope.
Conditions for storing garlic braids
To ensure long-term preservation of garlic braids, certain conditions must be observed:
- The combinations are hung away from the window.
- Ventilate the room periodically.
- The braids are checked for damaged heads and removed.
- The braid should be hung and not left lying around, this will increase the shelf life of the fruit.
Take a look Also
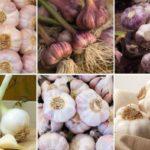
Alternative options
There are several alternative options for storing vegetables:
- The tops are tied into bundles of 5–7 pieces.
- Vegetables are collected in old stockings, no need to waste time on braiding.
- In boxes in a cool room.
- On the bottom shelf of the refrigerator.
- In cloth bags.
Related posts:
 How to properly dry winter garlic after digging and where to store it at home
 Garlic diseases and pests and their control, treatment methods and prevention
 How to properly plant garlic outdoors and prepare the soil
 Winter garlic cultivation technology, large varieties and cultivation rules
 Description and cultivation of single-clove garlic, planting and care rules
 Garlic harvesting dates in the Urals in 2025, cultivation and care
 Description and yield of the Lyubasha garlic variety, planting and care
 How to properly grow and care for spring garlic in open ground and when to tie it into knots