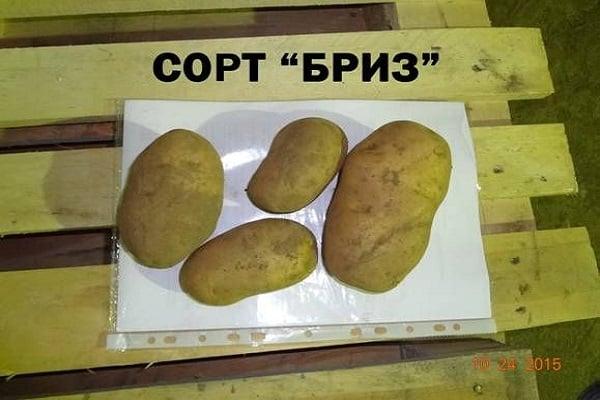
- Description of the Breeze variety
- Characteristic
- Advantages and disadvantages
- Specifics of crop cultivation
- Preparation of seed material
- Soil preparation
- Landing time
- Potato planting options
- Further care of the variety
- Watering and fertilizing
- Loosening and weeding
- Hilling
- Possible diseases and pests, control methods
- Harvesting
- Storage rules
- Gardeners' reviews of the Breeze potato variety
It's rare that a gardener doesn't grow potatoes. Breeders never stop developing new varieties every year. The Breeze potato has long been a favorite among gardeners and homesteaders. It's easy to care for, produces a bountiful harvest with proper care, and the fruits are highly flavorful. Read more about the Breeze potato below.
Description of the Breeze variety
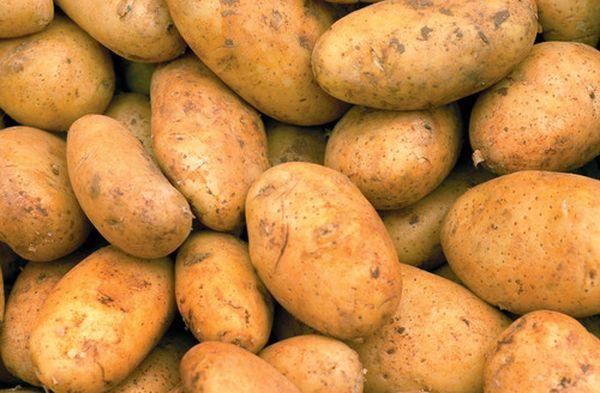
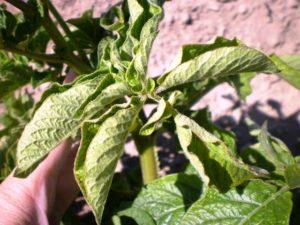
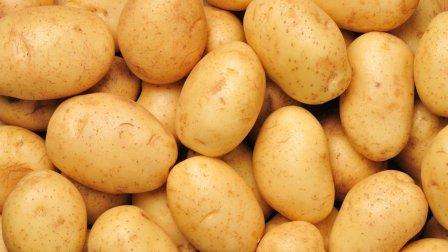
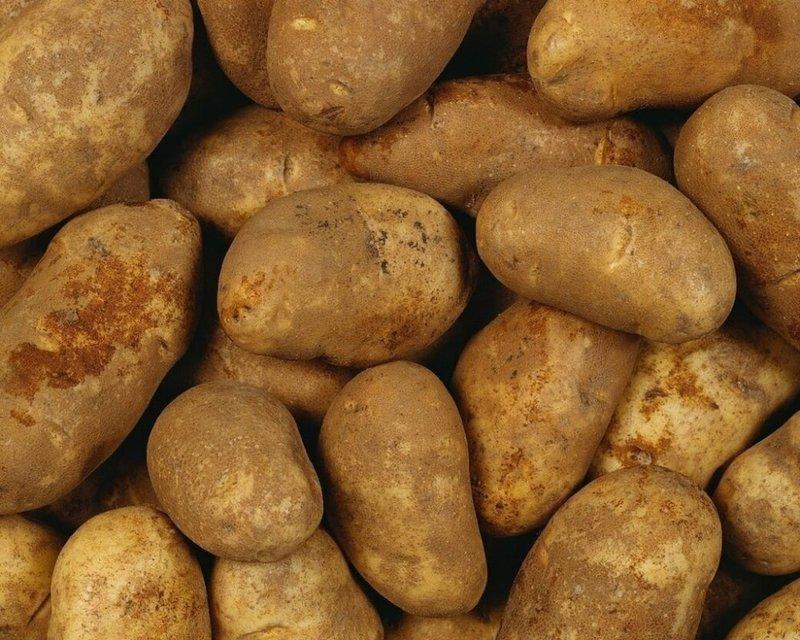
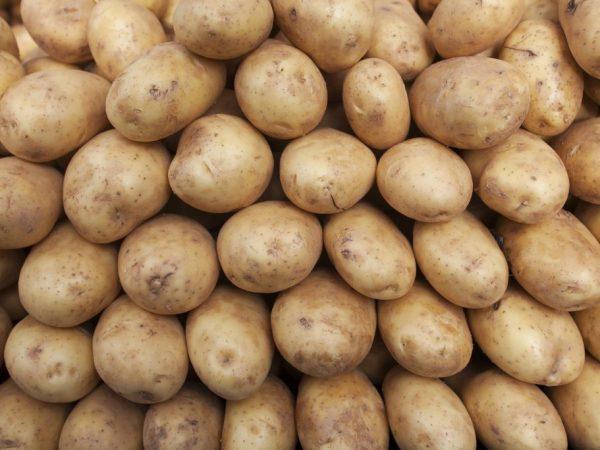
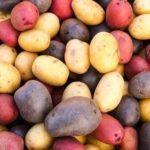
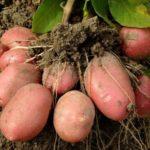
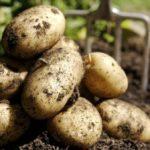
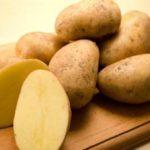
The Briz potato variety grows low, with upright stems, making it easy to care for. Large, bright green leaves are slightly rough on the upper surface. Medium-sized inflorescences are white. The oval tubers are yellow both inside and out. They weigh 120-150 grams. The entire surface of the fruit is covered with numerous shallow eyes. A single plant can yield 8-12 tubers.
Characteristic
The Briz potato is a mid-early variety bred in Belarus. The tubers ripen 60-80 days after planting. Their starch content is 12-16%, preventing them from cracking when cooked. The fruits have a good flavor and a good shelf life. The Briz variety has moderate disease resistance.
Advantages and disadvantages
The advantages of potatoes include the following qualities:
- can be stored for a long time;
- the tubers have a pleasant taste;
- potatoes are easy to peel;
- high plant resistance to many diseases;
- attractive presentation.
The disadvantages of the Breeze variety include its infestation with nematodes and late blight, which require additional spraying of the bushes to combat.
Specifics of crop cultivation
When growing the plant, it is important to ensure that its predecessors should not be crops from the related nightshade family (peppers, tomatoes, eggplants), as well as potatoes themselves.
Take a look Also
Preparation of seed material
The fruits are stored in the basement in the fall, removed a month before planting. The seeds are carefully inspected, and any wilted, rotten, or pest-damaged tubers are discarded. To disinfect, the vegetables are dipped in a weak solution of potassium permanganate for 30 minutes and then dried.
Soil preparation
Preparing the soil for planting potatoes begins in the fall. To do this, the soil is dug over, incorporating plant debris. By spring, this decays, enriching the soil with nutrients.
Landing time
Breeze potatoes are planted in the spring, after the threat of frost has passed. The tender sprouts are very sensitive to freezing temperatures and will freeze at -1°C. The tubers will not be damaged, but any new sprouts that form will be significantly weaker.
Potato planting options
There are several ways to plant potatoes:
- Using a shovel. This method involves digging holes about 10 centimeters deep, planting the tubers, and covering them with soil. The distance between the tubers is 40-50 centimeters, and between rows, 70-75 centimeters.
- Ridged planting. With this method, tubers are laid out in rows on loose soil, then covered with soil piled high in ridges. This planting method is recommended for regions with high rainfall.
- Into the trenches. Trenches are dug 70 centimeters apart, vegetables are laid out in them, and covered with soil.
 Additional information: Potatoes can be propagated by seeds, tubers, division, sprouts, tuber parts, and layering.
Further care of the variety
Potatoes require care throughout the growing season. This is essential for a healthy plant and a bountiful harvest.
If the crop does not receive enough moisture and nutrition and becomes overgrown with weeds, the tubers will grow small and will not have a marketable appearance.
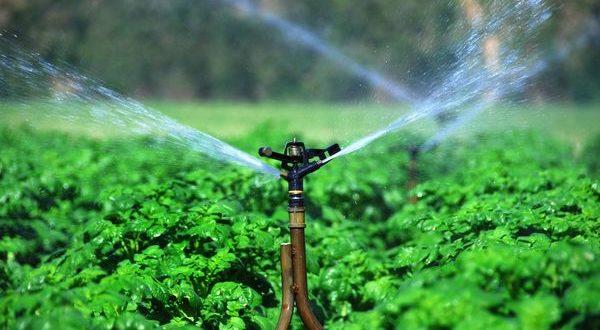
Watering and fertilizing
The plant requires ample moisture to develop tubers. The first watering occurs after the first shoots appear. Subsequent soil watering is adjusted based on weather conditions: the less rainfall, the more frequently the soil needs to be watered.

One month after planting, the first feeding is performed. For this, a solution consisting of the following components is prepared:
- 1 part chicken manure;
- 15 parts water.
The manure is mixed with water and placed in a warm place for 2-3 days. One liter of fertilizer is added under each bush. The next feeding is done during bud formation, and another after flowering. During this period, potassium-phosphorus fertilizers are used.
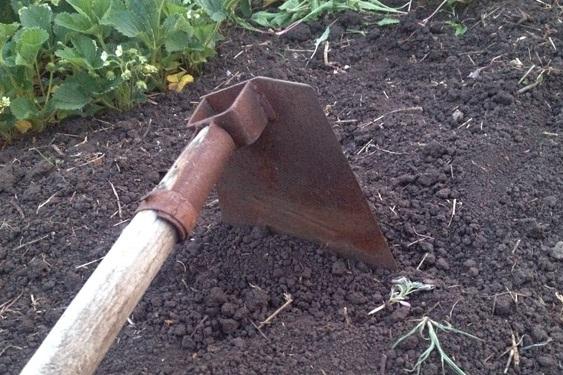
Loosening and weeding
After watering, a crust forms on the soil surface. This prevents air from reaching the roots and also promotes rapid soil drying. To prevent this, the soil should be loosened after each watering. This procedure also kills weeds that rob the potatoes of their nutrients.
Hilling
The more roots grow on the potato plant, the more abundant the harvest will be. Hilling the plants will help achieve this. This will also help retain moisture in the soil. Furthermore, hilling will help protect the sprouts from potential frost.
Possible diseases and pests, control methods
The most important pest of the above-ground portion of potatoes is the Colorado potato beetle. Initially, when the pest is scarce, it is collected by hand; later, chemical spraying will be necessary. Organic farming enthusiasts recommend folk remedies for getting rid of the Colorado potato beetle, such as:
- Mix 100 milliliters of 9% vinegar and a pack of dry mustard in a bucket of water, stir and spray the tops.
- Take 200 grams of wood ash and chopped wormwood, pour a bucket of hot water over them, let it sit for 3 hours, and spray the above-ground parts of the plants.
- Dissolve 50 grams of laundry soap in a bucket of water, add 200 grams of peeled garlic, let it sit for 4 days, and then use as directed.
Bushes can also be affected by fungal diseases such as fusarium, late blight, and verticillium wilt. To prevent these diseases, spray the plants with fungicides. Also, avoid allowing the soil in which the plant grows to remain wet for long periods.

Please note: Crop rotation can help prevent many diseases.
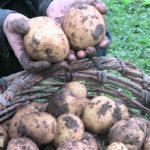
Harvesting
You can begin digging up the tubers after 2-2.5 months. The yellowing of the tops indicates ripeness. Dig the vegetables with a pitchfork or shovel in dry weather. Dry the tubers before storing.
Storage rules
To ensure that potatoes are stored well, you need to follow these rules:
- After digging, the tubers are left in the sun for several hours to dry.
- The fruits are sorted into fractions, and damaged and diseased ones are destroyed.
- The sorted tubers are dipped in an antifungal preparation and then thoroughly dried in the shade.
- During the winter, inspect the potatoes and, if necessary, remove shoots and tubers that have lost their marketable appearance.
The storage temperature must be maintained between +2°C and +4°C. The room should not be illuminated, as light causes the potatoes to produce toxic salts.
Gardeners' reviews of the Breeze potato variety
According to gardeners, the Breeze potato is easy to grow, the fruit keeps well until spring, and its use is universal.
As stated in the description, the variety was indeed mid-early. They began digging in August. The potatoes are low in starch, don't overcook, and are great for salads.
Vera, Petrovna Arkhangelsk.
I bought the Breeze potato variety online. I watered it frequently and fertilized it several times. I'm pleased with the results: the tubers have grown large and have excellent flavor. I plan to continue growing this variety.
Alexey, Volgograd region.
Related posts:
 Description of the best potato varieties of domestic and foreign selection
 Description and characteristics of the Rodrigo potato variety, cultivation and care
 Description of the best potato varieties for 2025, selection for regions
 Description and characteristics of the Jelly potato variety, planting rules and care
 Description and characteristics of the Rocco potato variety, cultivation and care
 Description and treatment of potato diseases, methods of control using folk and chemical means
 Description and characteristics of the Colette potato variety, planting and care instructions
 Description and characteristics of the Zekura potato variety, planting and care rules