- Features of the Kizima Method
- Pros and cons
- What varieties of potatoes are suitable?
- How to plant potatoes using this method
- Selecting root vegetables
- Disinfection
- Germination
- Step-by-step instructions
- Timing and technology of planting operations
- Caring for the garden bed
- Common mistakes and how to solve them
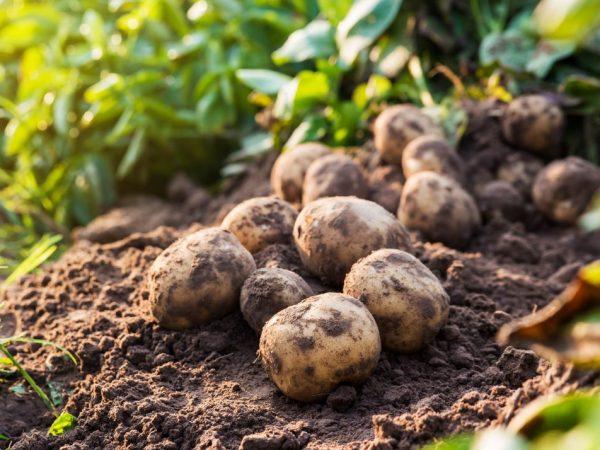
Several new methods for planting and growing potatoes in private plots have emerged. Some of them produce good yields with significantly reduced labor costs, making them attractive to gardeners. Readers will surely find the step-by-step instructions for growing potatoes using the Kizima method useful.
Features of the Kizima Method
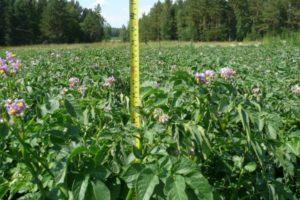
Galina Kizima, an amateur gardener and author of several books, promotes gardening without significant physical effort. Her potato planting method is ideal for retirees, as the root crop beds require no preliminary soil cultivation, weeding, watering, or spraying throughout the season. This method also yields a bountiful harvest.
Potatoes are laid out on the plot without preliminary digging of the soil, then the tubers are covered with hay, and then, throughout the season, weeds from the garden are added to them.
Pros and cons
Over the course of its use, the technique has gained loyal followers because:
- you don’t have to waste energy on digging up the area;
- plantings do not require watering;
- no fertilizers are used;
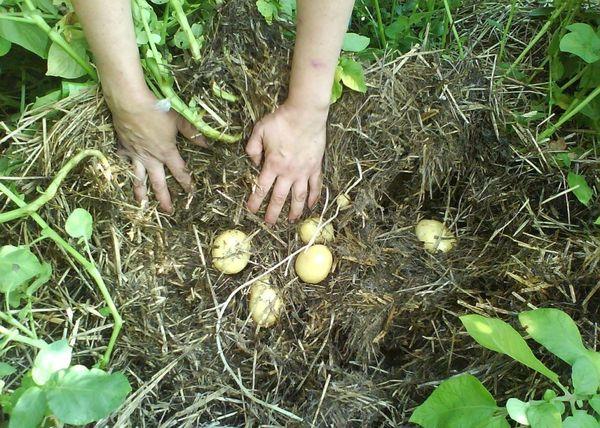
- if necessary, the covering layer can be moved and the required amount of young potatoes can be collected, while the bush will continue to grow;
- very easy to harvest.
But the method also has disadvantages that are worth mentioning:
- the garden bed looks extremely untidy;
- It is necessary to constantly add fresh grass, since the compost quickly settles and the tubers become exposed;
- not suitable for large areas - to obtain a harvest it is necessary to pick off the flowers;
- Covering material is an excellent breeding ground for the Colorado potato beetle.
To judge the effectiveness of this method, it's worth trying it on your own property; perhaps you'll join the ranks of its adherents.
What varieties of potatoes are suitable?
This method is suitable for early, mid-early, and mid-season potato varieties, and early and late varieties can be alternated in the same bed. Choose regionally grown varieties; they yield the best yield.
How to plant potatoes using this method
The method requires preliminary preparation of planting material, which takes 1-1.5 months.
Selecting root vegetables
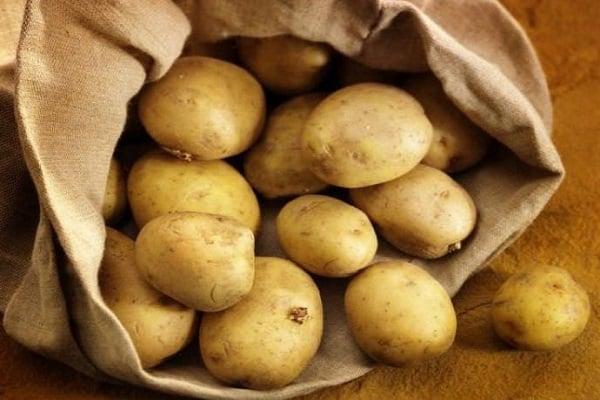
Firm, healthy potatoes, about the size of a chicken egg, are suitable for seeding. Smaller tubers can significantly reduce yield. Larger potatoes should be cut in half lengthwise to ensure an equal number of sprouts on each half.
Disinfection
The potatoes are washed thoroughly, then placed in a container and filled with clean water at 45°C. A concentrated solution of potassium permanganate is gradually added to the water until the water in the container turns a soft pink.
The tubers are left to disinfect for a quarter of an hour, then dried after preliminary rinsing with running water.
You can treat them with Fitosporin. Dissolve a small amount of the solution in water, soak the tubers in the solution for half an hour, and then dry them. Do not rinse the planting material to remove Fitosporin.

Germination
After processing, the potatoes are laid out in the sun to allow the tubers to turn green under the light. They can be laid in rows on a windowsill or placed in a glass jar. Rotate the tubers to ensure even release of chlorophyll.
Important: chlorophyll is not released under artificial lighting; sunlight is required.
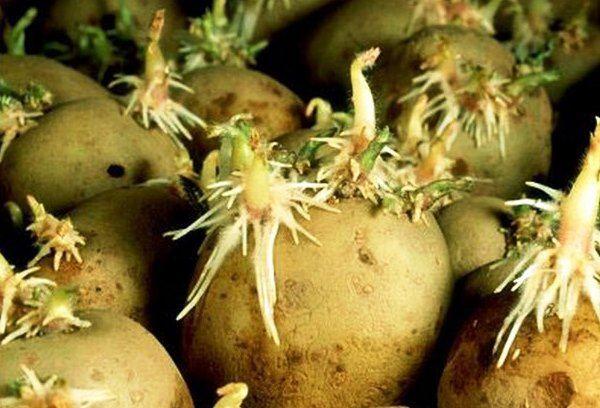
After the tubers have evenly greened, which takes three weeks, they are laid in rows in plywood boxes or wicker baskets, layered with newspaper, and placed in a dark, warm place to germinate. The tubers are ready for planting when the sprouts reach 4-5 centimeters.
Step-by-step instructions
The method is accessible and simple; the bed does not need to be fertilized, watered, or hilled.
Timing and technology of planting operations
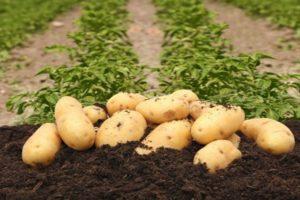
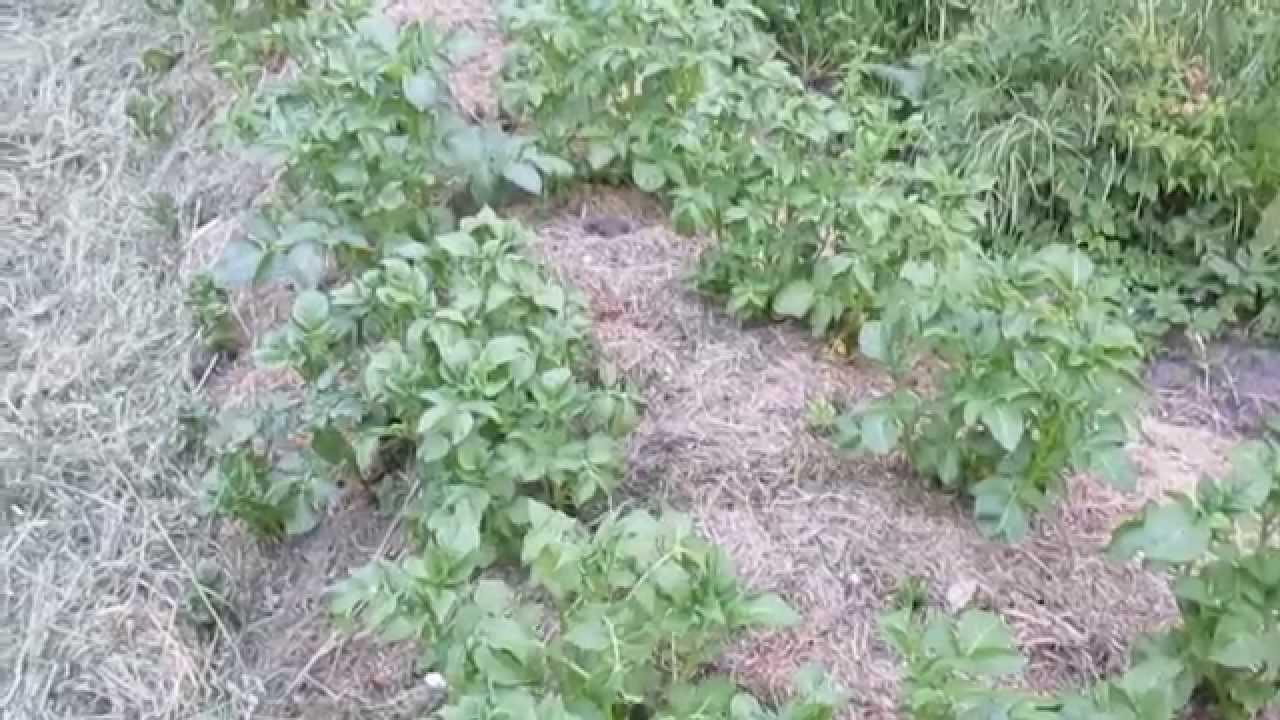
Sprouted tubers are spread across the selected virgin plot in the garden. There's no need to dig the soil or remove weeds. The potatoes are laid out in two rows, 40-50 centimeters apart. A space of 20-25 centimeters between the tubers is sufficient. This creates a bed of any length and a width of 80-100 centimeters.
Small tubers should be placed 2-3 at a time. Large potatoes are cut in half lengthwise, allowed to dry for a couple of days, and then placed in the garden beds. You can increase the number of eyes on a potato by cutting it crosswise a week before planting, or by peeling a thin layer of skin crosswise from the bottom of the potato.
Important: this operation will awaken the tuber’s reserve buds.
The bed is then covered with a layer of hay. Straw is not used, as it is too attractive to rodents, and plastic film is unsuitable, as it prevents the tubers from breathing.
If hay is unavailable, dry leaves, grass, or even paper will do. The covering material should be dry and allow air to reach the tubers. If there's a risk of recurrent frost, the bed can be additionally insulated with burlap, spunbond, or lutrasil. As the weather warms, remove the covering material.
Caring for the garden bed
Then, all the weeds collected from the plot during the season are spread out on the bed. Care must be taken to ensure that the compost layer doesn't expose the growing tubers as it settles. Kizima recommends pouring slop between the rows. The moisture released by the decomposing weeds is sufficient for the potato plants; they don't need watering or hilling.
Once the plants bloom, the inflorescences should be removed to allow the plant to devote all its energy to root formation. You can leave one inflorescence per plant to determine when the first harvest is ready. To harvest the potatoes, lift the covering layer, collect the tubers, and return the grass to its original location. The potato plant will continue to grow.
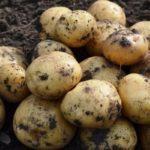
In the fall, you just need to lift the compost layer and harvest the crop, leaving the remaining grass in the beds until next season.
Common mistakes and how to solve them
It is necessary to ensure that the tubers are always covered with grass.Don't leave last year's potato tops in the garden. They contain a lot of solanine, a poison produced by nightshade plants, and Colorado potato beetle larvae like to overwinter in them. Collect the tops and discard them. Leave the grass in the garden—it will be useful for the next planting.

Of course, this growing method isn't suitable for everyone, but those who have been using it for years report high yields, so it's certainly worthwhile. After all, trying something new is very interesting and beneficial for your own experience.
Related posts:
 Why potatoes aren't growing well in the garden, and what to do to ensure a bountiful harvest
 Description and treatment of potato diseases, methods of control using folk and chemical means
 Description of the best potato varieties of domestic and foreign selection
 Description and treatment of potato pests, control measures
 Description and characteristics of the Jelly potato variety, planting rules and care
 How to properly prepare planting material and when to plant potatoes to get a rich harvest
 Description of the best potato varieties for 2025, selection for regions
 Description and characteristics of the Colette potato variety, planting and care instructions