- You need to plant potatoes correctly, then you will get the results
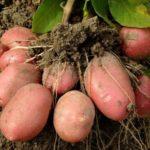
- High-quality potato seeds are the key to a good harvest
- Preparing to plant potatoes
- Soil and its preparation
- How to prepare seed potatoes for planting
- What to do if the ground hasn't warmed up
- It's time for planting
- How and when is it best to plant?
- How to properly cut tubers for planting
- Landing plan
Even for experienced gardeners, planting potatoes is a labor-intensive process. When growing potatoes, it's important to understand the many nuances, adhere to proper agricultural practices, remove weeds, and ensure regular care. Before planting, it's important to familiarize yourself with the specifics of preparing the seed and determine the best time to plant the tubers outdoors.
You need to plant potatoes correctly, then you will get the results
Regardless of where you plan to plant potatoes, whether in an industrial area or a summer cottage, you should follow the planting guidelines. There's a lot of information available about the specifics of growing potatoes, but planting them yourself allows you to understand all the intricacies of the process firsthand. Following all the nuances of winter or summer potato planting will ensure a large and healthy harvest.
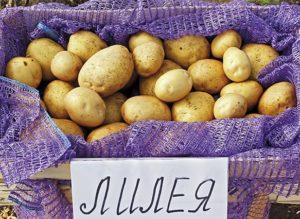
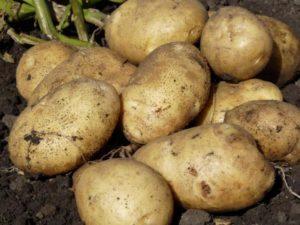
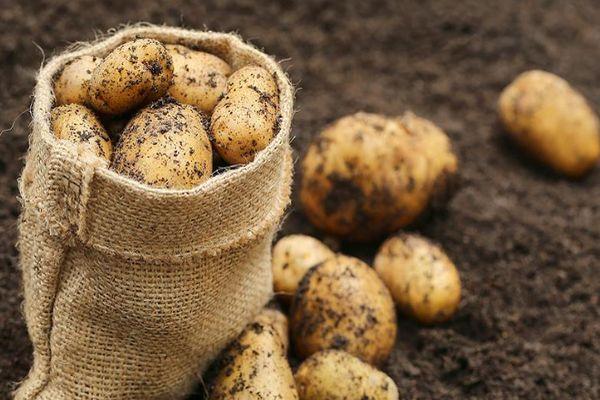
High-quality potato seeds are the key to a good harvest
One of the key factors for a good harvest is the quality of the seed. Selecting and preparing seeds for planting should begin in the fall, after the ripened crops have been harvested. The cool September climate is best for selecting seed potatoes.
When preparing seed material, it is recommended to take into account the following points:
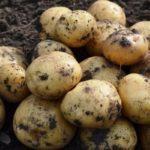
- After harvesting the previous crop, sort the tubers by size. Smaller fruits are suitable for planting next season, while larger ones should be eaten or stored. Tubers should be at least 4-5 cm in size for growing.
- Large potato varieties are suitable for commercial planting. Some varieties produce numerous small root vegetables in this setting.
- If seed is scarce, you can use potatoes cut into several pieces. Before planting, the cut potatoes should be dried outside and treated with wood ash. Some gardeners also prefer to plant potatoes using the sprouted seed buds.
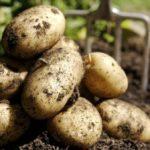
- It's best to use planting material only from bushes that have produced large, undamaged roots. This will increase the likelihood of future harvests being of high quality.
Preparing to plant potatoes
Growing potatoes requires preliminary soil and seed preparation. Despite the crop's ease of care and low maintenance, a lack of preparation leads to reduced yields, the development of infectious diseases, and the appearance of pests. When preparing for planting, it's important to clarify when potatoes can be planted and how to cultivate the soil and seed.
Soil and its preparation
The optimal soil for summer potato planting is light loamy or sandy loam, so peat and forest soils are worth considering. These types of soil contain a high concentration of nutrients, which the tubers need at all stages of development. In heavy soil, development is slower, the plants grow weak, and are susceptible to attacks from harmful insects. Similar problems occur when planting in soil with high acidity.
When choosing a suitable site for your beds, consider crop rotation rules. Potatoes should not be grown in the same spot for three years after the previous harvest.
As carrots are suitable as predecessors for the crop, beets, cabbage, and leafy vegetables. Seedling beds should be protected from drafts and provided with constant natural light.
In addition to following the above measures, the site must be prepared according to the following instructions:
- Potato beds are cleared of plant debris, weeds, and tops. To prevent the spread of pests and diseases, it's best to burn any debris immediately.
- All the soil is dug over in the fall to allow the bushes' root system to develop freely. Large clumps of soil don't need to be broken up, as precipitation and meltwater will do this on their own, preventing the soil from compacting.
- If the beds are located in a lowland, drainage must be provided to remove excess moisture, which can trigger the development of mold diseases.
- Fertilize the soil with rotted organic matter. When growing one hectare of potatoes, approximately 30-40 kg of manure is required per hectare. With the onset of spring, nitrogen, phosphorus, and potassium fertilizers should be applied.
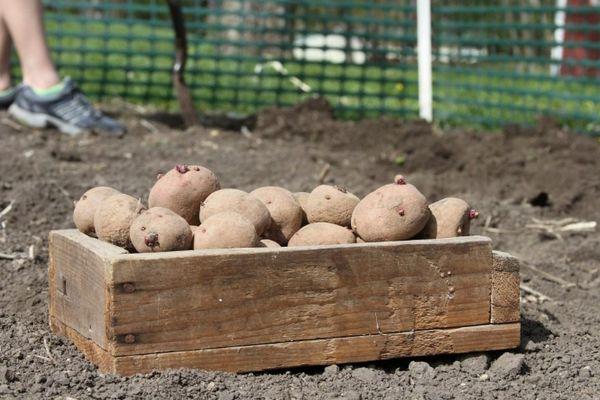
How to prepare seed potatoes for planting
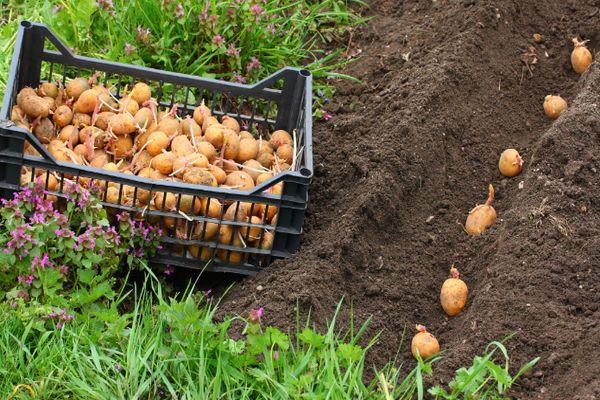
Gardeners should green up seed potato tubers sorted for planting. To do this, simply leave the seed in a sunny spot to release the salting agent inside the fruit, which ensures long-term storage. Direct exposure to ultraviolet rays should be avoided.
Sprouting potato sprouts should begin 3-4 weeks before planting. First, treat the tubers with a potassium permanganate solution and then arrange them in wooden boxes in 1-2 layers. It is recommended to store seed potato tubers in boxes at an ambient temperature of approximately 20 degrees Celsius until planting.
According to the potato planting schedule, it's best to start sprouting the tubers in a bright room so the sprouts develop dense, green stems. A couple of weeks after the sprouts emerge, you can move the containers with the seed potatoes to a cooler location to gradually acclimate the plants.
What to do if the ground hasn't warmed up
Gardeners often encounter a situation where the planting material is already prepared for planting, but the soil in the beds hasn't warmed up enough. This problem is especially acute in the central part of the country, where cold temperatures linger longer, and in early spring, the soil remains damp and cold due to melting snow. The soil dries out faster when the potato holes are treated with humus or sawdust. Compost warms the planting material and prevents stunted development.
As an additional precaution, in the spring, mark out the beds where the soil hasn't warmed up yet, then cover them with plastic sheeting or other covering material. Periodically inspect the planting site to monitor for condensation forming under the plastic sheeting.
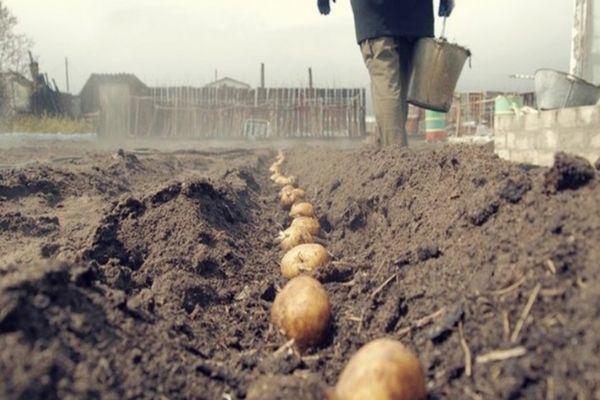
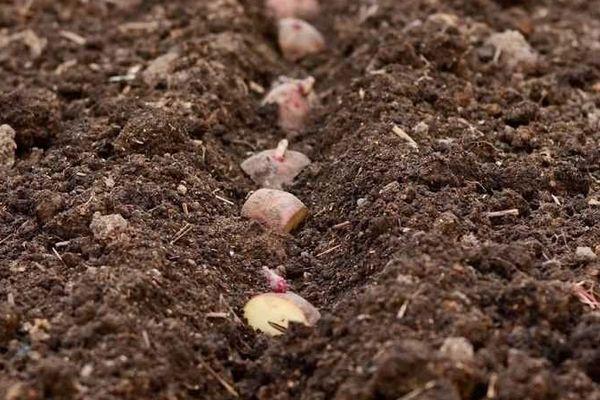
It's time for planting
Potato tubers should be planted at a depth of no more than 10 cm, with beds oriented north to south. The optimal spacing for potato tubers is 80 x 35 cm. A 60 x 60 cm spacing is also acceptable, but this can result in the sprouts' stems interfering with each other's growth, resulting in dense bushes. Closely spaced plants are not adequately ventilated, which can contribute to late blight.
When sowing potatoes, it is recommended to leave a space of at least 90 cm between rows to simplify the hilling process.
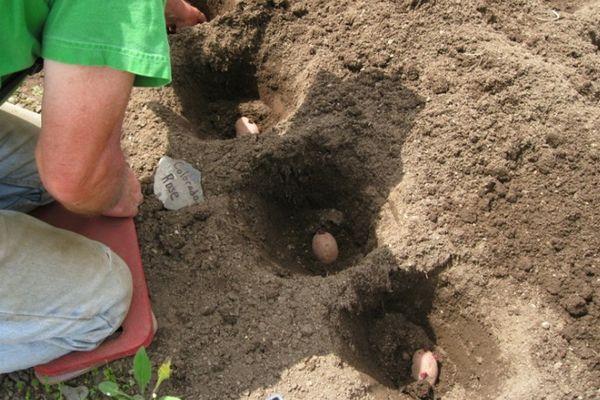
The larger the planting material, the less frequently it should be planted. Regardless of the planting pattern, the tubers should be planted at the same depth in straight rows, maintaining a layer of loosened soil underneath. These conditions promote vigorous growth and reduce the risk of root rot. If desired, during planting, you can dig a separate hole for each tuber and fill it with a fertilizer consisting of humus and ash. This additional fertilizer promotes root development, which is especially important for late-ripening varieties.
Besides the traditional planting method, there are several other options that yield a good harvest. One option is sowing. potatoes under strawTo do this, simply place the tubers prepared for sowing in dug holes and cover them with straw. Periodically, add new straw and water. Keep in mind that if the weather is consistently dry, the straw may burn and damage the fruit. The advantages of this method are as follows:
- rotting straw acts as a fertilizer, as a result of which the soil becomes self-fertilizing;
- there is no need for pre-planting and autumn digging;
- hilling and loosening procedures are replaced by adding new straw;
- There is no need to dig up the fruits to harvest, which will save time and labor;
- fruits are less susceptible to diseases and attacks by harmful insects;
- After the harvest has ripened, the area remains ready for further planting.
How and when is it best to plant?
The most suitable time for summer potato planting is when birch trees begin to actively leaf out. Experienced gardeners report that by this time, the soil at the required depth has warmed to 9-10 degrees Celsius, which is sufficient for the tubers' root system to develop.
There's a common saying that laziness is for the lazy, so failure to follow simple planting rules always results in reduced yields and poor-quality root vegetables. Avid gardeners should always experiment with different potato planting methods to find the best option based on their specific site and personal preferences.

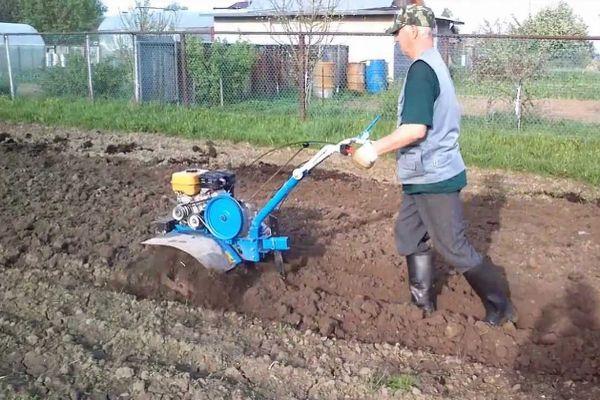
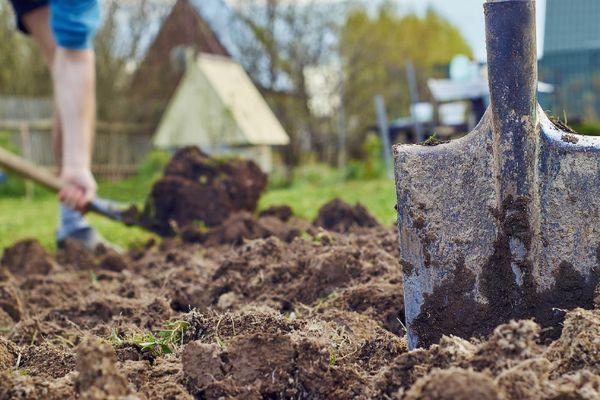
There are several ways to plant the tubers. The traditional method, using a shovel, is simple: simply dig holes, apply fertilizer, spread the seeds, and cover with soil. Planting with an automated tiller reduces planting time and eliminates manual labor. The tiller cuts furrows, after which the tubers are simply spread and buried.
How to properly cut tubers for planting
After a low-yielding season, in order to reduce seed consumption, it is necessary to cut the potatoes into several pieces before planting.This procedure requires a lot of manual labor and adherence to a number of rules, including:
- When dividing tubers, periodically rinse the knife in a low-concentration solution of manganese or copper sulfate. This is necessary to prevent infection from spreading to the others if one potato becomes infected.
- The seedling tubers should be cut lengthwise, as the best sprouts form at the top. Dividing them crosswise will result in two unequal parts, one of which will be significantly underdeveloped.
Planting divided tubers can yield potatoes no less productive than those grown in a conventional manner. To achieve this, follow standard care guidelines and ensure suitable climatic conditions.
Landing plan
When choosing one of the crop planting patterns (80 x 35 or 60 x 60), a series of sequential steps must be followed. Before planting, you should:
- determine with precision at what distance potatoes will be planted, depending on the size of the plot, the variety of crop used and the condition of the soil;
- dig holes in the beds for adding fertilizer and directly planting tubers;
- when choosing a standard scheme, spread the seed material every 30-35 cm, water with warm water and cover with soil on top;
- cover the ground after planting with a smooth film to maintain heat near the seedlings (for convenience, it is recommended to cover the trapezoid beds with film);
- Regularly inspect the condition of the planting to prevent condensation accumulation and subsequent rotting.
Planting crops according to a specific pattern allows each bush to develop freely due to spatial isolation. Root systems do not intertwine, resulting in a large harvest with minimal losses.
Related posts:
 Why potatoes aren't growing well in the garden, and what to do to ensure a bountiful harvest
 Description and treatment of potato diseases, methods of control using folk and chemical means
 Description of the best potato varieties of domestic and foreign selection
 Description and treatment of potato pests, control measures
 Description of the best potato varieties for 2025, selection for regions
 Description and characteristics of the Jelly potato variety, planting rules and care
 Description and characteristics of the Rodrigo potato variety, cultivation and care
 Description and characteristics of the Colette potato variety, planting and care instructions