- The History of the Sante Potato
- Description and characteristics of potatoes
- The intricacies of growing Sante
- Selecting a site and preparing it for planting
- Planting time
- Crop rotation
- Selection of seed material and its preparation
- Planting diagram
- Recommendations for caring for the variety
- Watering regime
- Fertilization
- Weeding and loosening the soil
- Hilling
- Diseases and pests typical for the Sante variety
- Harvesting its purpose
- Reviews from summer residents
The Sante potato variety is very popular for commercial cultivation and in private gardens. It produces a large harvest and is resistant to most common diseases. Sante is easy to care for.
The History of the Sante Potato
This potato variety was developed by Dutch scientists. In 1993, it was added to the state register of the Russian Federation. It is grown in the central part of the country and has also become widespread in Belarus and Ukraine.
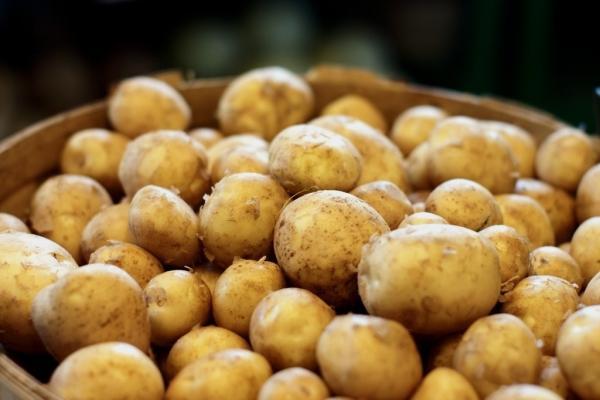
Description and characteristics of potatoes
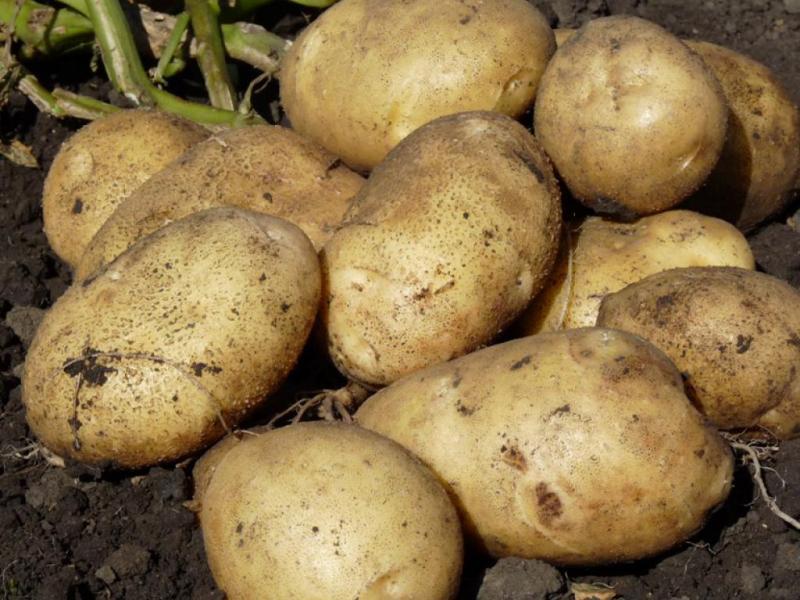
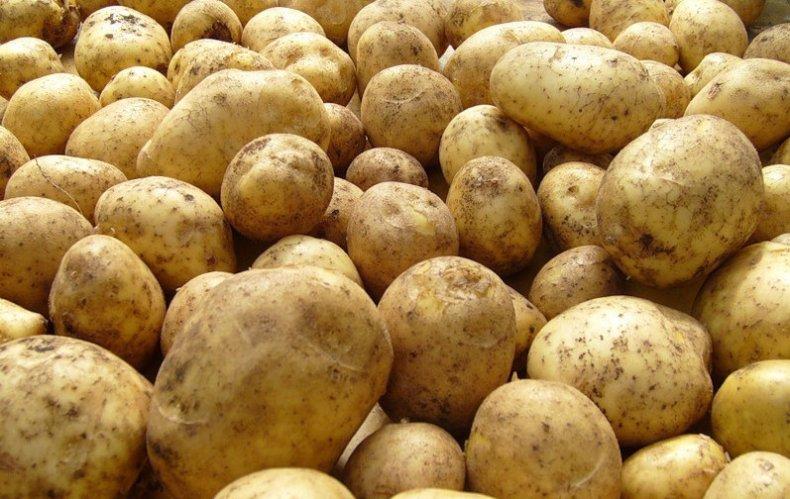
This is a mid-early potato variety. Tubers mature 80-90 days after planting. It is characterized by high yields, with approximately 500 centners of fruit harvested per hectare. Sante's key characteristics include:
- The bush is low, of medium height, with a strong base.
- The leaves are green, lanceolate, dissected.
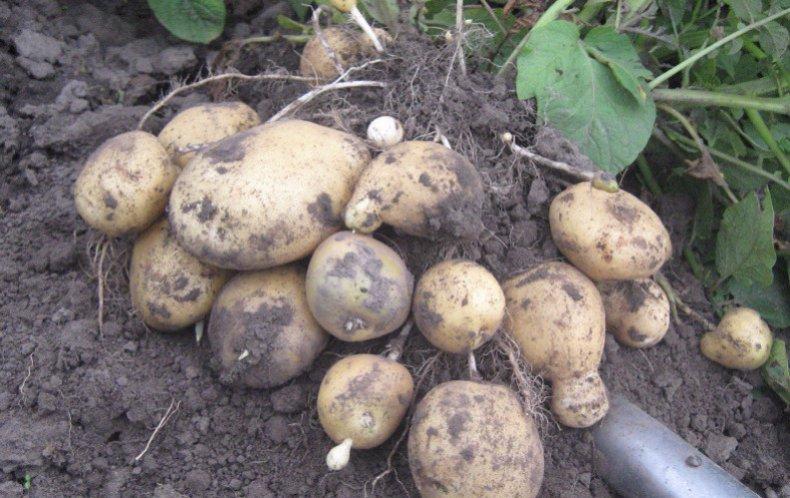
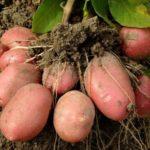
- A strong root system promotes the development of a large number of fruits.
- Up to 20 tubers are harvested from one bush.
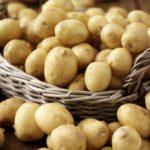
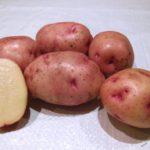
- The fruits are round and oval in shape, with an average weight of 150 grams.
- The tubers are covered with a thin, dense skin, which protects them from damage.
- Many eyes form on the fruits, but they are not deep and do not affect the quality of the harvest.
- When cut, the potato has a pleasant yellow color and releases a lot of juice.
- The main feature of the variety is its low starch content, which allows the potatoes to retain their shape during heat treatment.
The intricacies of growing Sante
To obtain a decent harvest, it's important to follow several rules for growing the Sante variety. Key points include: choosing the right site, planting timing, preparing the planting material, and planting pattern.
Selecting a site and preparing it for planting
The Sante variety prefers well-lit areas and dry, fertile, loose soil. Preparation of the plot begins in the fall. It is dug over, all weeds and stones are removed, and mineral fertilizer is applied. The plot is then left to grow over the winter. In the spring, the plot is dug again, removing any fresh weeds and stones.
Planting time
Potatoes are planted after the last chance of night frosts has passed. This period typically falls in late April or early May. The optimal time is considered to be after the May holidays. By this time, the soil has warmed up to a depth of 10 centimeters, and night frosts will not return.
Crop rotation
The optimal predecessors for Sante are:
- legumes;
- cabbage of any variety and kind;
- cucumbers;
- pumpkin;
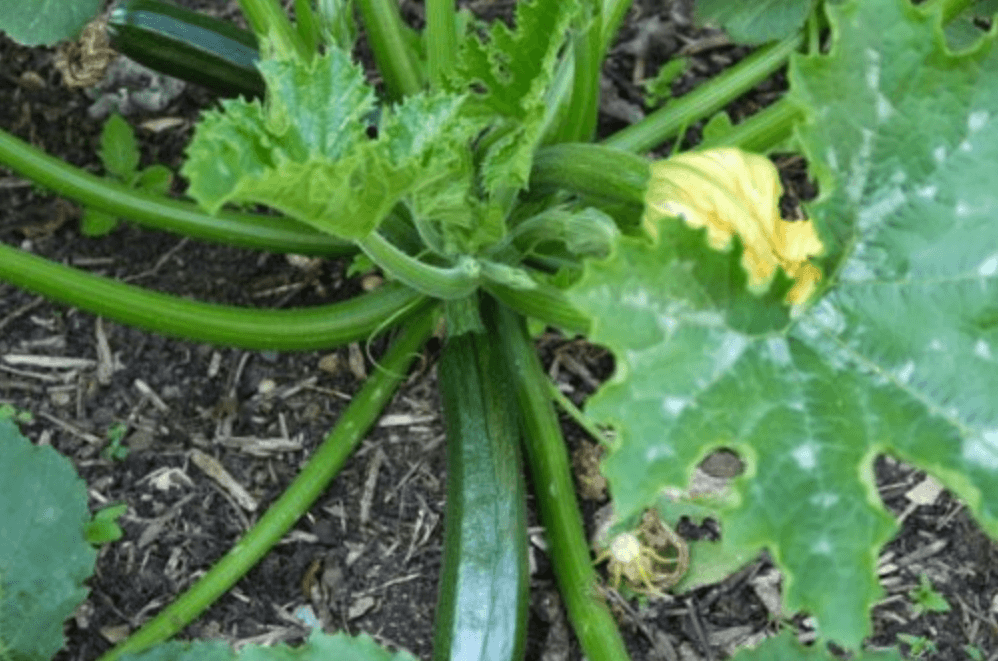
- zucchini;
- radish;
- Phacelia.
Legumes enrich the soil with nitrogen, which is beneficial for subsequent potato cultivation. The soil can be pre-seeded with oats, which cleanses the soil of harmful substances.
You shouldn't plant potatoes after:
- pepper;
- eggplant;
- tomatoes.
These crops are close relatives of potatoes, have the same diseases and attract the same harmful insects.
After growing them, the potatoes produce small fruits, become elongated, and the risk of disease increases.
Important! Potatoes cannot be grown in the same location for three years.
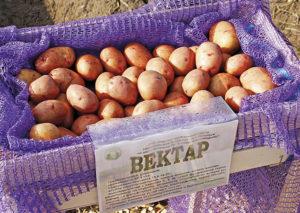
Selection of seed material and its preparation
Planting material is selected in the fall during harvest. Firm, smooth, round, medium-sized tubers are chosen. They are stored separately from the potatoes harvested for consumption. The seed material is periodically sorted to remove spoiled tubers. The potatoes are stored in a cool place until spring.
Before the start of the season, prepare the tubers for planting:
- The tubers are sorted and damaged and rotten ones are removed.
- The fruits are placed in a bowl of water to wash away any remaining soil.
- Allow time to dry.
- Spread out in an even layer in a well-lit room.
- Maintain an air temperature of 15°C.
- Every week the potatoes are turned over onto different sides.
- The room is periodically ventilated, but drafts are not allowed.
- To accelerate the formation of sprouts, the tubers are sprayed with water once a week.
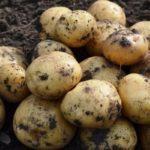
The finished seed material looks like this:
- The tubers have a thick skin.
- The color turns green.
- Sprouts 0.5-1 cm long are formed.
Avoid raising the room temperature. This will accelerate sprout growth, but weaken the tuber itself. Insufficient light will cause sprouts to stretch, which will negatively impact future harvests. Prepare the planting material two weeks before transplanting.
Planting diagram
Seeds are planted 35-40 centimeters apart. Rows should be spaced 60 cm apart. This arrangement ensures each seedling receives sufficient moisture and nutrients. Each seedling is planted 8-10 cm deep. If the soil is dense, heavy, or moist, plant it 2-3 cm deeper.
If the site is prone to frequent flooding, planting is done using a "ridge" pattern. Raised beds are formed. Seeds are planted 40 centimeters apart. The plant grows at the edge of the bed, preventing flooding and allowing excess moisture to remain in the furrows between the beds.
Take a look Also
Recommendations for caring for the variety
To successfully grow potatoes, it's essential to follow proper care. This includes watering, weeding, loosening, hilling, fertilizing, and spraying to prevent pests.
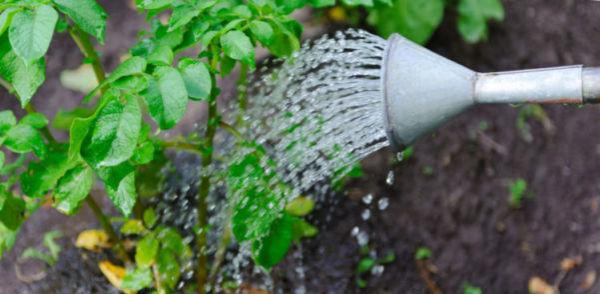
Watering regime
The first watering is done after the first shoots emerge. Apply 3 liters of water per bush. The next stage occurs during flowering. Once good roots have emerged, stop watering completely. In hot weather, add one more watering.
Fertilization
Manure is added as a top dressing. It is evenly spread over the beds between the bushes. Mineral fertilizers are applied before planting, during site preparation. Potatoes prefer nitrogen-rich fertilizers.
Important! Apply mineral fertilizers strictly according to the instructions. Excessive fertilization will result in plant death.
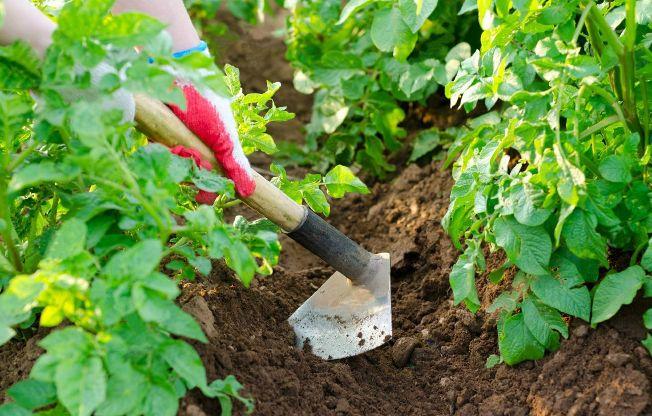
Weeding and loosening the soil
Loosening is done at least three times per season. This procedure helps enrich the soil with oxygen and prevents the development of many diseases. Weeding is carried out as weeds emerge. It's best to remove them from the beds immediately after they sprout. Regular weeding will ensure a high-quality and abundant harvest.
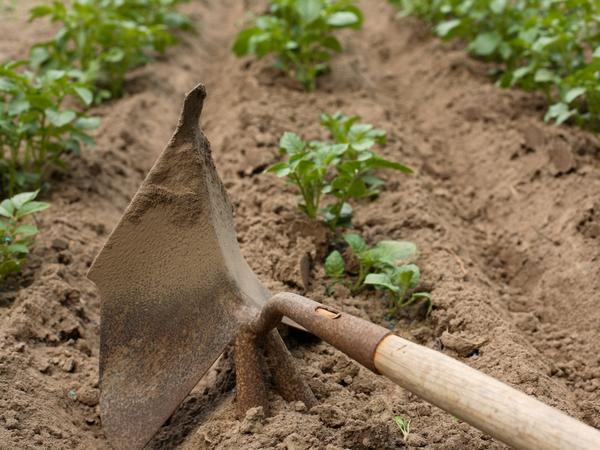
Hilling
Since Sante plants are tall, hilling is recommended to retain moisture near the roots. This procedure is performed three times per season:
- The first hilling is carried out after the plant reaches 20 cm in height.
- The second one, 2 weeks after the first one.
- The third hilling is carried out 3 weeks after the second.
The bush is covered up to the crown. A few leaves and flowers are left on top. The collected soil allows the roots to develop actively and produce more tubers.
Diseases and pests typical for the Sante variety
The Sante potato variety is resistant to the following diseases:
- potato cancer;
- nematode;
- tobacco mosaic;
- scab.
The most common insect pests are the Colorado potato beetle and aphids. To prevent their attacks, insecticide treatments are applied after the seedlings emerge. What do Colorado potato beetles and aphids look like?
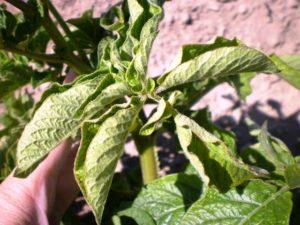
- The Colorado potato beetle is a striped insect with a black and white striped back and an orange abdomen. They lay their eggs on potato leaves. These beetles are leaf beetles, feeding on the leaves of the crop. The plant begins to grow poorly, the leaves turn yellow, and fall off. Insecticides are used to control them. They are also collected from the bushes by hand and then destroyed.
- Aphids are small, black insects. They are difficult to spot; they live on the underside of leaves, forming a black coating. Aphids gradually eat away at the leaves, reducing the quality of future fruit. Insecticides are used to control them.
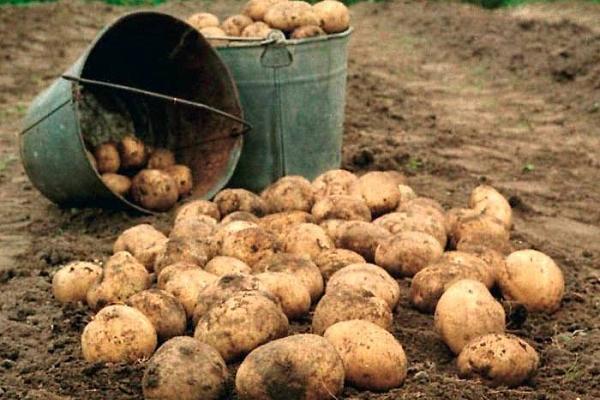
Harvesting its purpose
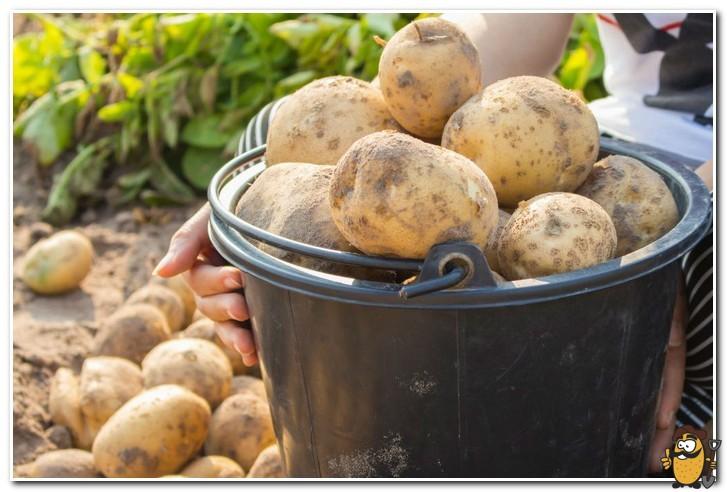
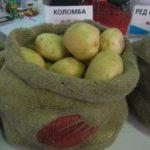
Harvesting begins 80-90 days after the sprouts emerge above the soil. It's best not to delay harvesting the potatoes, as they can be damaged by rodents. It's recommended to dig them up in dry weather. This period usually occurs in early September or late August. All harvested potatoes are left in the sun to dry slightly. Then, they are collected in cloth bags and stored in the cellar.
Sante potatoes are used in many dishes, including boiling, frying, and baking. Potato juice is used in folk medicine to treat gastritis. Because Sante potatoes store well and are easy to transport, they are grown commercially and for industrial purposes.

Reviews from summer residents
Alexey 34 years old, Moscow
This year, we bought Sante potatoes for planting. We chose a planting bed after growing pumpkins. The plants grew tall and strong. I earthed up the soil, weeded, loosened the soil, and fertilized. I harvested them at the end of summer. Each plant yielded 16-20 tubers. I set aside a couple of kilograms for next year.
Marina, 67 years old, Chekhov
I've been growing Sante potatoes for three years in a row. They're easy to care for and resistant to most diseases. I use insecticides to control Colorado potato beetles and aphids. I regularly weed, loosen the soil, and hill up the soil. I really like how this variety of potato retains its shape after cooking and doesn't fall apart.
Related posts:
 Description and characteristics of the Rodrigo potato variety, cultivation and care
 Description of the best potato varieties of domestic and foreign selection
 Why potatoes aren't growing well in the garden, and what to do to ensure a bountiful harvest
 Description and characteristics of the Gulliver potato variety, planting and care
 Description and characteristics of the Zhukovsky potato variety, planting and care
 Description and treatment of potato diseases, methods of control using folk and chemical means
 Description and characteristics of the Colombo potato variety, planting rules and care
 Description and characteristics of the Krasavchik potato variety, planting and care