To harvest a good potato crop, you need to not only protect it from pests but also care for it properly and regularly. Essential care procedures include weeding and hilling, which a hand hiller can help with. You can buy one at a specialty store or build one yourself.
Do potatoes need to be hilled?
Hilling is done to retain moisture and maintain a normal soil temperature, where the potato root system is located, where tubers form. Moisture and stable temperature are among the key factors affecting the crop's yield. Hilling also loosens the soil, which is also important because it saturates the soil with oxygen. Sufficient oxygen promotes tuber growth.
Previously, a wooden plow was used for hilling and loosening beds, but now they use more miniature options - hand hillers.
Timing of hilling
The first hilling of potatoes is done when the sprouts reach 10-15 cm in height. In northern regions, the first hilling is done as soon as the first green shoots appear. This will help protect them from possible frost.
If you plant potatoes in early May, you can begin hilling them up by the end of the month. The height of the hills during hilling should not exceed 10 cm.
The second procedure is performed 15-20 days after the first. The third hilling is performed when the potato shoots reach 25 cm. The final ridge height should not exceed 19 cm.
 The best time for these actions is morning or evening, ideally after rain or watering.

Design and purpose of a manual hiller
A hand-held hiller is a relatively simple tool that significantly simplifies gardening. Its primary purpose is to hill potatoes and other crops. It can also be used to loosen the soil and cut furrows before planting. Hillers come in two types. The choice should be based on the overall scope of work and the size of the garden bed.
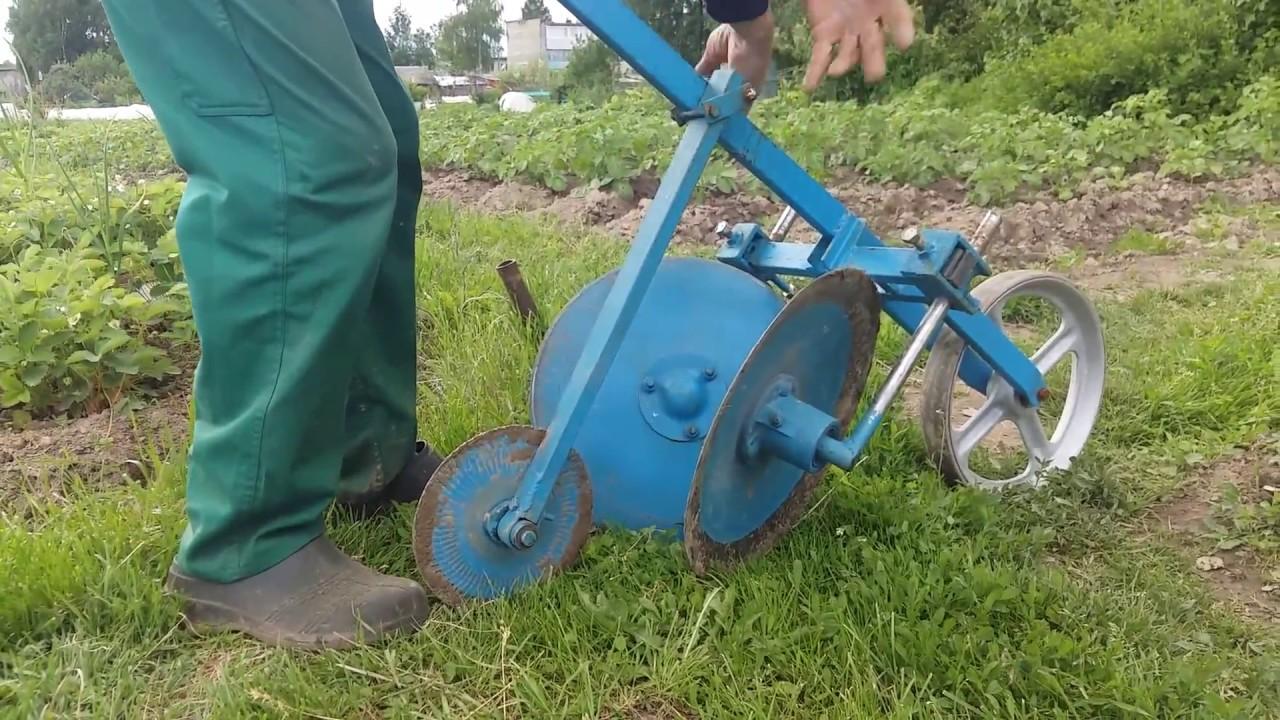
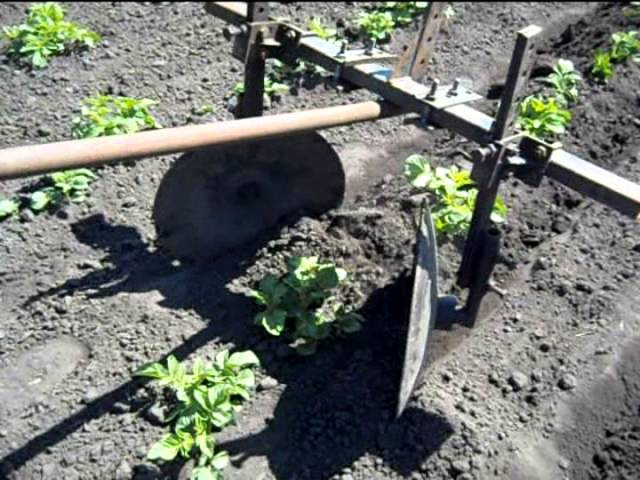
Disk
This device consists of a crossbar to which two disks, approximately 40 cm in diameter, are attached with brackets. They rotate freely because they are mounted on bearings. Two people are required to operate this unit. One operates the hiller, while the other performs the actual hilling.
The advantages of such a device are:
- high performance;
- the ability to adjust the width and depth of the grip;
- low traction force to ensure movement.
There are also disadvantages:
- complex design;
- high cost of the hiller;
- the need for two people to operate the unit.
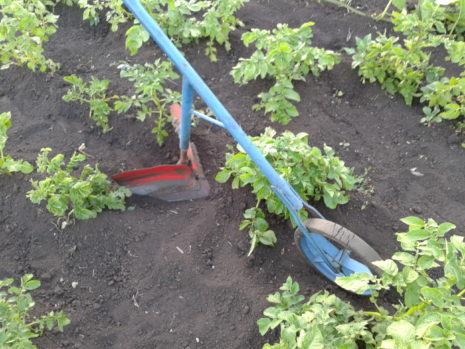
Plow type
A hiller is a great tool for gardeners and a great alternative to a hoe. The core of this machine is a swept plow. Handles are attached to the rear of the plow for control. A wheel is mounted in front, which serves two functions: it adjusts the tilling depth and serves as additional support for the hiller.
The advantages of such a hiller:
- simplicity of design;
- light weight;
- the ability for one person to work with the tool;
- affordable price.
The disadvantages include:
- the need to apply a certain amount of force to work with the hiller;
- lack of ability to adjust the width of the inter-row cuttings.
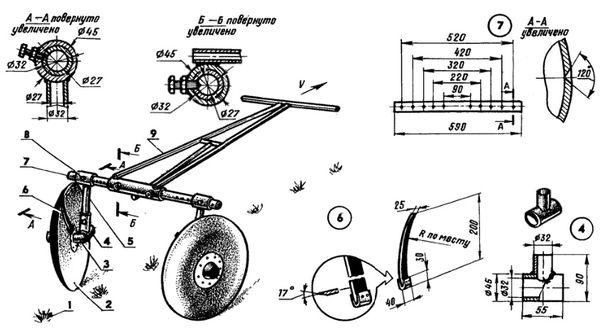
Drawings of the device
Many gardeners, deciding to build a potato hiller themselves, neglect the drawing step, believing it's a waste of time. But in reality, drawings significantly simplify the task of assembling a manual potato hiller and help avoid many mistakes during the process, saving time and materials.
What you will need for production
To prepare a manual disc-type hilling tool, the following materials may be useful:
- Two concave discs (you can use pot lids as discs).
- A pair of disc turnbuckles.
- Two pipes, 1 meter long each.
- T-shaped leash.
- Adjustable adapter for connecting discs.
- Gas lamp.
- Bolts.
- Welding for fasteners.

If you need to make a plow version of a hiller, then the list of materials will look like this:
- A pipe, preferably with a diameter of 0.37 inches (the front and rear rods are made from this).
- Water pipe, 1 inch in diameter and 1 m long (for the stand).
- Turnbuckles (for securing the rack and front link).
- Steel sheet 2 mm thick (for blades).
- Wheel.
- Blowtorch or gas burner.
- Welding.
- Bulgarian.
How to make a tool with your own hands
Once the diagram has been drawn and the necessary parts have been prepared, they begin assembling the homemade manual hiller.
Making a vertical stand
The first thing to pay attention to is the post. It's bent at a 15-degree angle, 40 cm from the end of the pipe. Steel plates are welded to the finished post; these will serve as the top of the hiller.
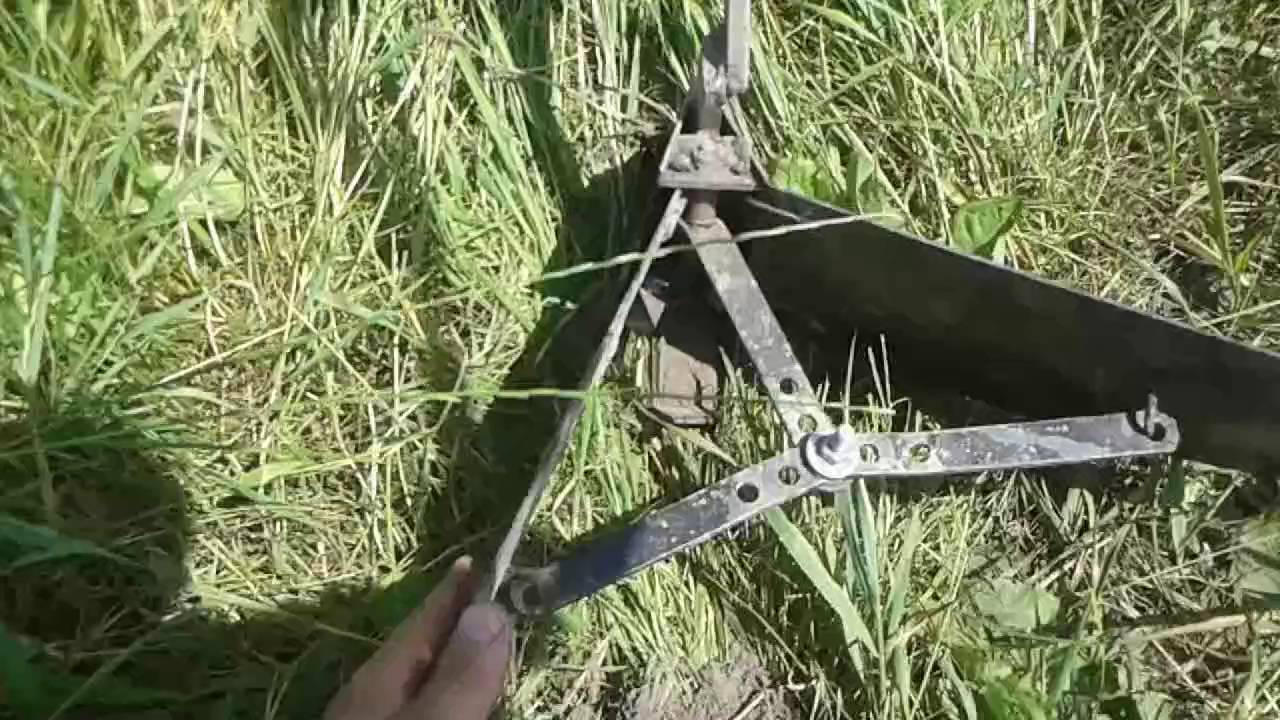
We make front and rear thrust
The front and rear links are made of tubing. The forks of each link should be the same width. On the front link, the fork handles are approximately 55-60 cm long, which is the optimal size for the average-sized person who will be tending the beds.

Some gardeners equip the front pulley with a strap that is placed over one shoulder to relieve the strain on their arms.
Tiller plow
To make a two-moldboard plow, you'll need 2mm thick plates. These plates are shaped into a semicircle. The prepared plates are welded to the pole, ensuring the seam is as smooth as possible. The plates are then ground smooth using a grinder.
Pruning knife
After welding the plates, cut a knife from the sheet metal. The finished knife should resemble an arrowhead. Sharpen the knife well at a 45-degree angle. It is the sharpening at an angle of 45 degrees that guarantees a long service life.
The next step is welding the tip to the bottom of the strut. The final step is sanding the seams.
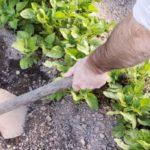
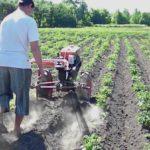
The process of hilling
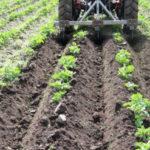
The process itself involves cultivating between potato rows, raking soil onto the stems from both sides, forming a mound. The higher the potato plant is mounded, the greater the yield. This process uses a variety of tools, from a hoe to a tractor. For small home garden beds, a hand cultivator will suffice. An electric hiller, specifically a walk-behind tractor, is also an option, but only for larger beds.
To begin the hilling procedure, the unit is placed in the center of the row spacing and work begins slowly.
Don't rush right away; first, understand how a hiller works. Once you reach the end of a row, turn the hiller and return along the new row spacing. This process applies to all the potatoes.
Take a look Also
Important! The hiller must be positioned precisely in the center of the row, otherwise there is a risk of damaging the potato stems.
Hilling is one of the most important stages in potato growing, so it should be approached responsibly and carried out according to all recommendations. After all, the quality and quantity of the harvest depend on it. Modern gardeners use manual hillers for this task, which make it easier.
Related posts:
 Why and when to hill up potatoes, the rules and timing
 How to properly hill potatoes with a walk-behind tractor: step-by-step instructions
 Why potatoes aren't growing well in the garden, and what to do to ensure a bountiful harvest
 Description and treatment of potato diseases, methods of control using folk and chemical means
 Description and treatment of potato pests, control measures
 How to properly care for potatoes to ensure a good harvest
 Description and characteristics of the Gulliver potato variety, planting and care
 Step-by-step instructions and features of fan-shaped hilling of potatoes