According to gardeners, tomato seeds have a shelf life of no more than 7 years, during which time one can "hope" for germination and a harvest. However, much depends on the storage conditions of the seedlings, as well as the germination rate. If you harvested the seeds yourself, it's important to consider the characteristics of the tomato variety, as well as other related factors.
What does germination mean?
As we know, tomato seeds that are suitable by all parameters should germinate if favorable conditions are present. Naturally, these conditions are created artificially in order to produce seedlings.
The germination rate refers to the number of seeds that sprout. So, if no more than 3 out of 10 seeds sprout, then the average germination rate is no more than 30%. It's best not to use such a "product," and discard any remaining seeds in the package or box.
Important! If the germination rate remains above 50%, meaning 5 or more out of 10 seeds have sprouted, then everything is fine. Germination is good.
Germination depends on several factors, including the quality of the seedlings and seeds used during harvesting. If they were stored improperly or collected improperly, you shouldn't expect good germination rates.
The seeds may not sprout at all, in which case they say that germination is zero, and the seedlings are not suitable for planting.
How long do tomato seeds remain viable?
Expiration dates vary and depend largely on the packaging. If the seed is packaged in a paper bag, its shelf life is 4 years; if the packaging is made of moisture-resistant material, the shelf life increases to 6 years.
It is believed that it becomes maximum if tomato seeds are stored in an airtight glass container.
The average shelf life of purchased seeds does not exceed three years, which is regulated by the legislation of our country.
It is advisable to avoid long-term storage and use the seedling material no later than 2 years from the date of collection.
How to Properly Collect and Store Tomato Seeds
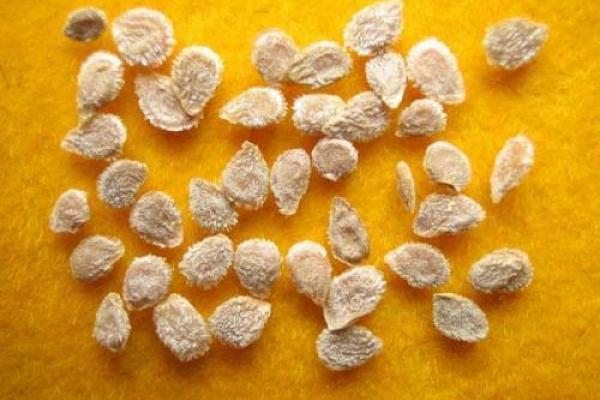
You can store the seedlings you have grown yourself in glass containers – this is the best choice.
It is worth assembling it, adhering to the following scheme:
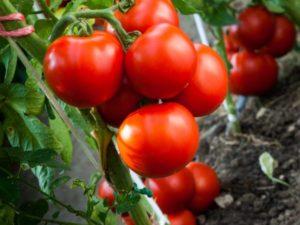
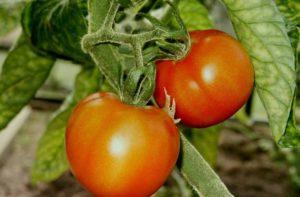
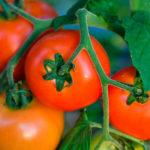
- Select suitable tomatoes. They should be large, medium-ripe, and have developed their characteristic color.
- If you're planting tomatoes outdoors, choose fruits from the first few branches—they're usually the largest. If you're planting in a greenhouse, you can choose from the first and second branches.
- Brown tomatoes will be placed in a suitable place where they will reach the required ripeness.
- Avoid overripe fruits, as the seeds in them begin to germinate quickly, meaning their shelf life is shorter, as is the germination rate.
- When the tomatoes reach the required level of ripeness, they are cut and placed in water to make it easier to separate the seeds from the pulp.
- After a few days (3-4) the pulp is removed, while the tomato itself, as they say, should “ferment”.
- Once the material is obtained, it is rinsed with water and salt, placed in a cloth bag, and rubbed by hand to remove debris.
- Then the seeds are dried on a newspaper and then placed in a glass container, where they will be stored.
- The resulting material will have to be checked periodically and spoiled, blackened seeds will have to be removed from the jar to avoid spoilage of the rest.
- It is not worth collecting and storing seeds of hybrids, since their germination rate can hardly be called high.
Optimal storage conditions
The material must be stored under the following conditions:
- preferably in a dark place, away from sunlight and direct heat sources;
- maintaining the temperature regime: from 8 to 12 degrees, with a plus sign;
- the room must be dry, excess moisture will cause harm and lead to mold or rot;
- It is advisable to sort out the seeds periodically.
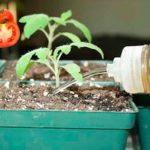
Preparing for landing
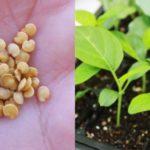
Preparing seeds for planting requires some effort. To do this, follow these steps:
- The seeds are checked and examined before they are used to produce seedlings.
- Wet a napkin in water and lay it out in several layers, or do the same with paper.
- Then seeds are placed there, which are used as material for seedlings.
- Place a napkin on the plate, put a plastic bag on it and monitor the changes that occur.
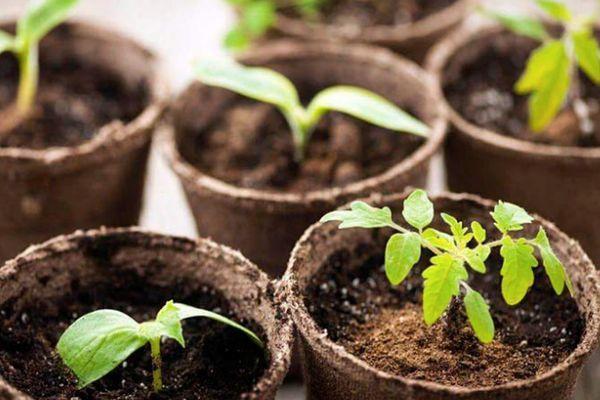
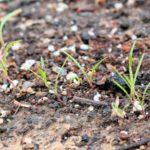
- In a few days, sprouts will appear, which will not only show the percentage of germination, but will also help to obtain seedlings, which can be used for planting in a box or pot.
Note: Before planting, ensure the seedlings are completely healthy and disease-free. Otherwise, you're unlikely to get a good harvest.
What you shouldn't do:
- planting unsprouted seeds directly into the ground will significantly affect the germination rate;
- Don't use low-quality seedlings. If you notice anything wrong with the seeds, it's safer to throw them away.
It's generally accepted that sprouts appear within 2-3 days, but often it takes a little longer. If the seedlings are old, the process may take a little longer. If there are no signs of sprouting even after 4-6 days, discard the seedlings. There's a good chance they're unusable, have expired, or were not stored properly.
The shelf life of seeds, whether harvested at home or purchased at the store, depends on many factors. Keep in mind the temperature and the airtightness of the storage container; other factors that can affect germination rates will also need to be considered.
To avoid failure, before you begin germinating seeds for seedlings, check their germination using the standard method.
Related posts:
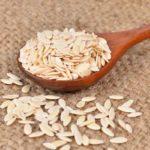
 What is the best way to feed tomato seedlings to make them plump?
 Is it possible to soak treated cucumber seeds before planting and how to do it correctly?
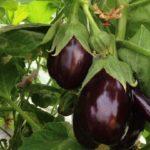 The best eggplant varieties for growing in a polycarbonate greenhouse: planting and care
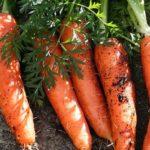 Carrot care guidelines for outdoor cultivation to ensure a good harvest
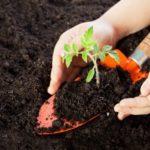 How to prepare soil for tomato seedlings yourself
 Rules for growing tomatoes in open ground, choosing a variety, planting and care
 Planting, growing, and caring for eggplant seedlings at home
 Why didn't the carrots sprout and what should I do? How to plant them so they sprout quickly?