- Why do you transplant mature clematis?
- How to understand that a plant needs repotting
- Step-by-step planting instructions
- Spring and autumn terms
- Do they replant in summer?
- Selecting a site
- Preparing the hole and organizing drainage
- Installation of the supporting structure
- Planting clematis in the ground
- The nuances of flower care after the procedure
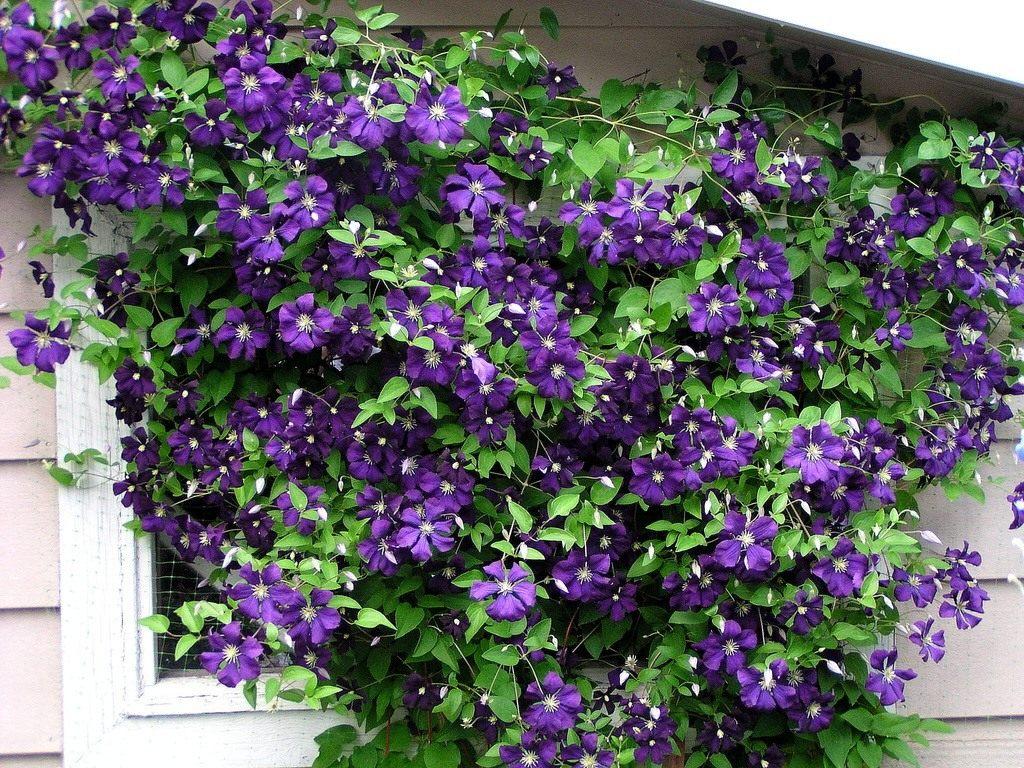
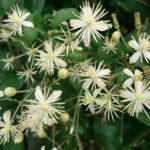
Ornamental vines known as clematis can grow in one place for many years. Sometimes, however, situations arise when a plant needs to be moved from one location to another. This procedure can be challenging for beginning gardeners. Specifically, the question arises as to when to transplant clematis.
Why do you transplant mature clematis?
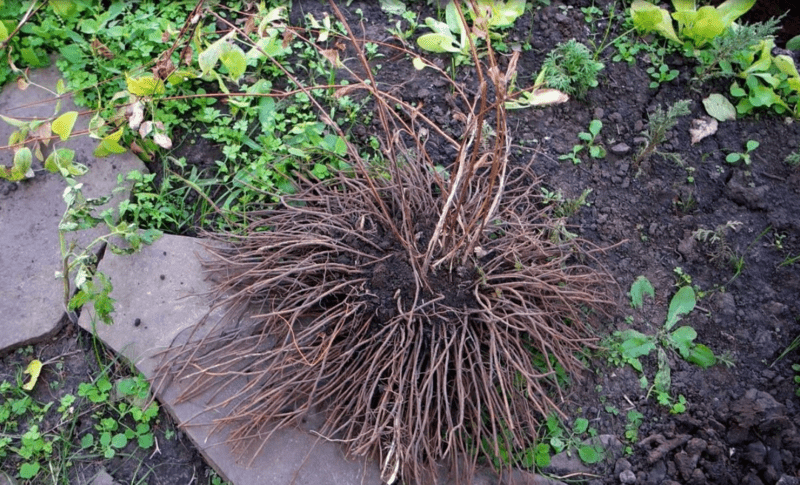
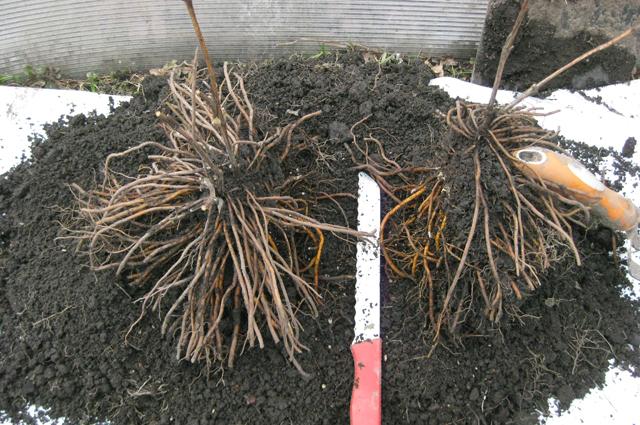
Clematis are known to have deep roots and do not tolerate transplantation well. Some hybrids have taproot systems, so any transplantation is undesirable for them. Experienced gardeners recommend carefully choosing the vine's location to avoid any painful transplantation later. However, in some cases, such manipulation is necessary.
This is required when:
- the bush has grown a lot and the flowers have become smaller;
- the soil is very depleted;
- the seedling was purchased in a pot, and there was a need to plant it in open ground;
- the plant was susceptible to disease and needs to be revived;
- neighboring plants block the sunlight from the clematis and create shade;
- The previous landing site was chosen randomly.
As a result of redevelopment of the site, changes in its design or construction work, it may also be necessary to transplant clematis to a new location.
How to understand that a plant needs repotting
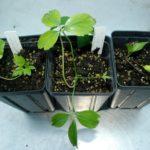
If a young seedling was purchased in a pot, it definitely needs to be transplanted to a permanent location in the garden. This should be done from spring to fall. This plant takes root easily, but it's recommended to remove all flower heads during the first year to ensure all the energy is focused on growing the root system.
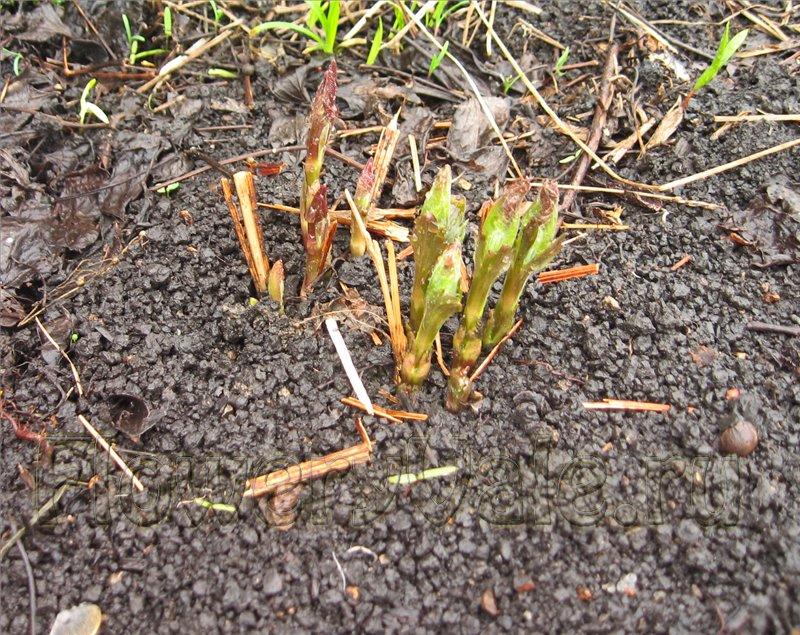
If all above-ground parts of a clematis begin to shrink, including its flowers, this is a sign that the plant lacks space to thrive or is experiencing a nutrient deficiency. In this case, look for a different location.
Step-by-step planting instructions
If you need to replant a clematis, you should approach the process responsibly. Plan all the steps in advance, determine the timing, and select a location. Only if all requirements are met will the plant successfully establish itself and delight you with long-lasting blooms.
Spring and autumn terms
Florists find it difficult to give a definitive answer to the question of when it is best to replant clematis. Spring and autumn planting each have their advantages and disadvantages, and successful establishment depends on both the climatic conditions of the region and the growing conditions at the chosen location.
Clematis is characterized by an early growing season, so it should be repotted in the spring before the buds begin to open. This is typically done in April, allowing the vine time to adapt to its new location and for its shoots to mature and survive the winter. Spring repotting is recommended for northern regions. If winters are mild in the region, clematis can be repotted in September or even October. However, the vine should have time to establish roots before the onset of persistent cold weather, so don't delay the repotting process too long. Mulch the soil around the seedlings with fallen leaves, bark, or pine needles.
Do they replant in summer?
Repotting clematis in the summer is not recommended, as this is the time when they are in full bloom. Repotting in August disrupts the vine's life cycle. This rule does not apply to pot-grown seedlings with closed root systems. Repotting them, complete with root ball, will not significantly affect their growth or development.
Selecting a site
Clematis is a sun-loving vine, so the planting site should receive full sun throughout the day. Insufficient light will prevent flowering. The chosen site should be free of standing rainwater, so avoid planting within 0.5 m of buildings and structures.

A close groundwater table is unacceptable. The planting site should also be protected from strong winds, as the vines will not be able to hold on to their supports. Furthermore, drafts can make clematis less likely to survive the winter.
Preparing the hole and organizing drainage
The area for planting clematis is cleared of debris and weeds. If the groundwater table is high, drainage ditches are dug immediately to allow excess water to drain. The planting hole for clematis is 60 x 60 cm. A drainage layer of crushed stone, broken brick, or coarse sand is placed at the bottom. Soil with high acidity is deacidified by adding a small amount of dolomite flour.
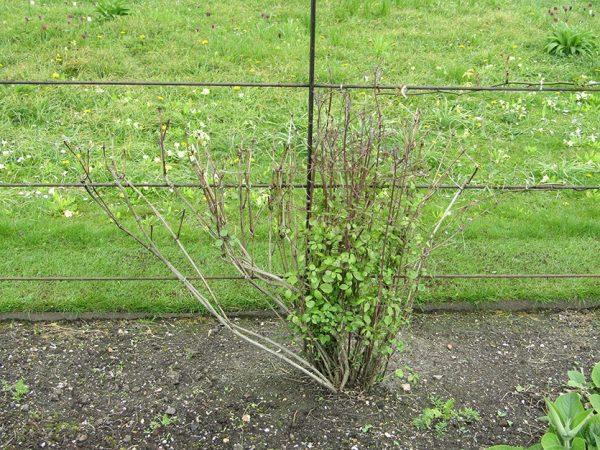
Installation of the supporting structure
Clematis supports are installed simultaneously with digging the planting hole. This will help maintain the integrity of the root system and avoid unnecessary damage to the plant. It's best to install a durable metal support structure from the start, one that will last for years. This way, the vine won't have to be disturbed for repairs or replacement. Wooden structures are practical and convenient, but over time they deteriorate and require replacement.

Planting clematis in the ground
Choosing the right planting location doesn't guarantee successful clematis cultivation. It's also important to follow all the rules and nuances of the transplanting process itself, which include the following:
- A nutritious soil mixture is poured into the prepared hole in the form of a mound.
- The clematis roots are carefully spread out over the formed mound of soil, and then the seedling is covered with the remaining soil. The older the vine, the deeper the trunk.
- The soil around the seedling is lightly compacted and watered generously, after which a layer of peat mulch is laid, which not only prevents moisture evaporation and soil drying out, but also protects the clematis from overheating or overcooling.
The roots of the vine often suffer from overheating in the summer, so it is recommended to plant some annual flowers (for example, marigolds) nearby.
The nuances of flower care after the procedure
The procedure for caring for a transplanted clematis includes the following steps:
- timely watering;
- loosening the soil;
- weed removal.
In the first year after replanting, it is recommended to remove all flower stalks to ensure the plant's energy is focused on root development and growth. Fertilizing should only be done starting in the second year after planting. If growing in a cold climate, additional cover should be provided as early as October.
Immediately after planting, it's advisable to provide the clematis with some shade. After a week, the shade can be removed, but provide protection from the wind. During this time, water generously, but never overwater the plant. The vine will only fully establish itself in its new location after three years, after which watering can be reduced to a few times a week.
To prevent the soil under clematis from drying out, mulch it using humus, sawdust, or peat. Control the flowering period by pinching and pruning the shoots. This results in more flowers, which last much longer. Clematis responds well to fertilizer; without it, its decorative qualities deteriorate. Fertilize weekly with a complex mineral fertilizer. To do this, dissolve 30 g of fertilizer in 10 liters of water and water 2 square meters of soil.
Additionally, add 1 cup of wood ash under each bush. An organic fertilizer suitable for clematis is mullein, diluted with water at a ratio of 1:10.
With the arrival of spring warmth, when the winter cover has been removed from the vines, nitrogen fertilizer is added to the soil. It is recommended to dissolve 40 g of urea in 10 liters of water. If the soil is predominantly acidic, it should be watered with lime milk. To do this, dissolve 200 g of slaked lime in 10 liters of water and water 1 square meter of the area. During growth, clematis is tied to a support 2-3 times to reduce the risk of mechanical damage and to ensure even distribution of the vines. In the first year, the vine is almost completely pruned, leaving a couple of buds above ground. This stimulates further shoot growth and root development.
Before covering clematis for the winter, remove all its leaves and clear the surrounding area to prevent rot. After this, remove the mulch layer from the base of the bush and add peat or compost. The stems are arranged in a ring around the base and stapled to the soil. A layer of mulch is placed on top of the clematis and covered with agrofibre. As soon as spring warmth arrives, the cover is removed immediately.
Depending on the variety, clematis can belong to one of three pruning groups. If the owner is unfamiliar with this information, experienced gardeners recommend first following the procedure for the second group, and then determining which group the plant belongs to. Clematis vines in the second group can form buds on both new and old shoots. Weak shoots should be removed and the bush thinned out, preventing it from becoming too dense. Main shoots are cut back to a height of 1.5 m. Some of these shoots are shortened further by half to create a lush bush. These simple care guidelines will allow gardeners to transplant clematis and achieve maximum decorative qualities in a short period of time.
Related posts:
 Description of the burning clematis, planting and care in open ground, propagation
 Description and pruning group of clematis President, cultivation and care
 Description and pruning group of clematis Rouge Cardinal, cultivation and propagation
 Description and characteristics of Manchurian clematis, cultivation techniques
 Description of clematis varieties, planting and care, propagation methods
 Description and characteristics of the clematis variety Comtesse de Bouchaud, planting and care instructions
 How to propagate clematis at home: timing, methods, and technologies
 Description and characteristics of the clematis variety Kaiser, planting and care, pruning group