- Advantages and disadvantages of growing from seeds
- What is the complexity of the procedure?
- The best varieties of clematis for planting from seeds
- Alpine
- Burning
- Grape-leaved
- Heracleum cypripedium
- Whole-leaf
- How to prepare planting material
- How and where to sow?
- Conditions for seedling germination
- Features of picking and transplanting into open ground
- Further care
- When will clematis grown from seeds bloom?
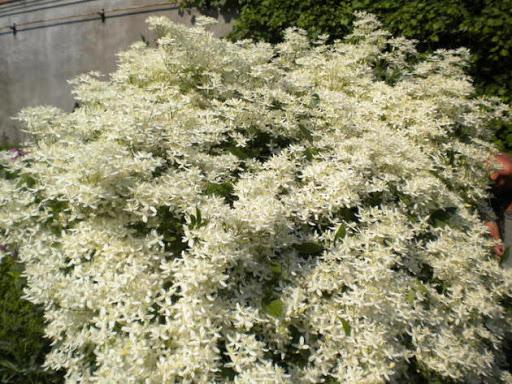
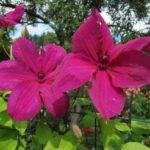
This climbing vine from the Buttercup family has long been used by gardeners for landscaping. Over the years, breeders have developed numerous varieties and hybrids of clematis, but only a few are propagated by seed. Vegetative propagation is more common, as it preserves all the plant's species characteristics. Propagating clematis by seed is generally reserved for species-specific plants.
Advantages and disadvantages of growing from seeds
Propagating clematis from seed has its advantages and disadvantages. It's worth familiarizing yourself with them before making a decision. The advantages of growing clematis from seed include:
- Planting material is available at almost every gardening store and is inexpensive. Furthermore, gardeners can collect seeds from existing flowers in their garden.
- Clematis propagated by seeds have strong immunity to diseases and high winter hardiness.
- Clematis grown in this way are used for grafting other varieties.
The disadvantages of the seed method include:
- The procedure is highly labor-intensive. It requires time and extreme attention.
- There is no guarantee that the grown flower will retain all the characteristics of the mother plant.
This method of propagation is most often used for small-flowered varieties.
What is the complexity of the procedure?
The main difficulty in growing clematis from seeds is strictly following all the steps. One mistake will result in the seeds either not sprouting at all, or the resulting seedlings being weak and failing to thrive in the open garden.
There are several varieties of clematis, and the time it takes for seeds to germinate directly depends on this.
Some emerge from the ground after just three weeks and delight with abundant blooms the following year. Others take about six months to germinate, and the first buds don't form until three years later. Before you begin, it's important to determine the species of clematis you're growing.
The best varieties of clematis for planting from seeds
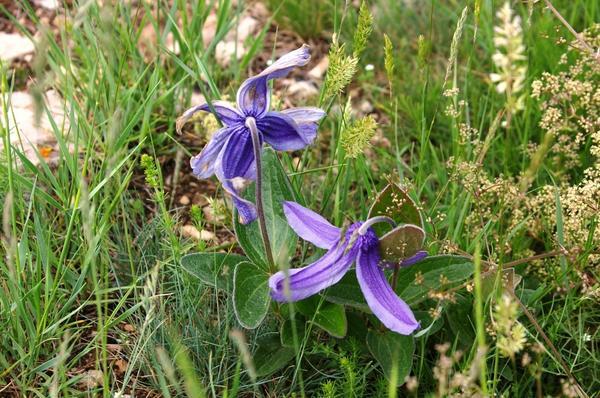
Among all the varieties of clematis, there are several that are best suited for seed propagation.
Take a look Also

Alpine
After flowering, alpine clematis produces numerous seeds, which are easy to collect and use for propagation. Germination time varies from 1.5 to 8 months, depending on the variety.
Burning
Since stinging clematis is a small-flowered plant, seed propagation preserves all the characteristics of the original plant. Before sowing, the seeds must undergo a mandatory two-stage stratification. This is done using sand or peat at a temperature of 1 to 5 degrees Celsius. Stratification takes place over a period of 2 to 6 months.
Grape-leaved
After flowering, the grape-leaved clematis produces numerous small seeds. A plant grown this way is considered mature only four years after planting. Seedlings are transplanted outdoors only one year after sowing.
Heracleum cypripedium
Germination times for small hogweed-leaved clematis seeds range from 1 to 3.5 months. The resulting plant exhibits all the same characteristics as the parent plant.
Whole-leaf
Whole-leaf clematis seeds are medium-sized and have an intermediate germination rate. If sown in the spring without stratification, the first shoots will appear in 40-70 days.
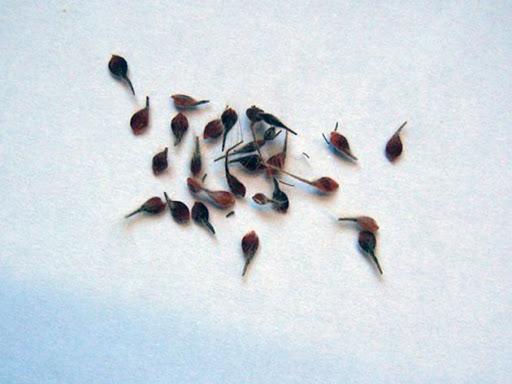
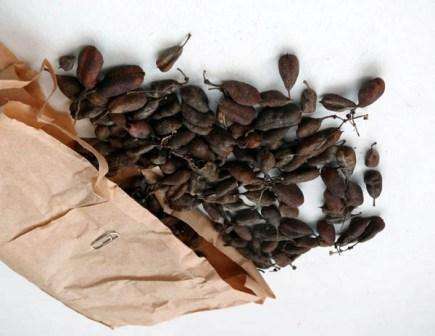
How to prepare planting material
Clematis seeds should be collected in the fall, when the head formed after the flower has bloomed has turned black. The seeds should turn brown and crumble when touched. They are sorted, discarding the smallest specimens. Store the seeds in paper bags at room temperature; they remain viable for up to three years.
Another method to speed up germination is soaking and bubbling. The seedlings are immersed in room-temperature water for several days, adding a few drops of a stimulator such as Epin or Zircon. The water is changed every 4-5 hours. After this, bubbling is performed to saturate the seeds with oxygen. An aquarium air compressor is used for this. This procedure is continued for several days.
How and where to sow?
The best solution for sowing clematis seeds is wooden boxes, which can be moved to the balcony when warmer weather arrives. Soil for growing seedlings can be purchased at a gardening store or prepared at home. Care must be taken when choosing the right mix, as it affects the germination rate and subsequent development of the clematis. To do this, take regular garden soil and mix it with river sand, humus, and wood ash. Before planting the seeds, warm the resulting soil to disinfect it.
Sow the seed to a depth twice the seed's size. Lightly sprinkle sand on top and compact gently.
Conditions for seedling germination
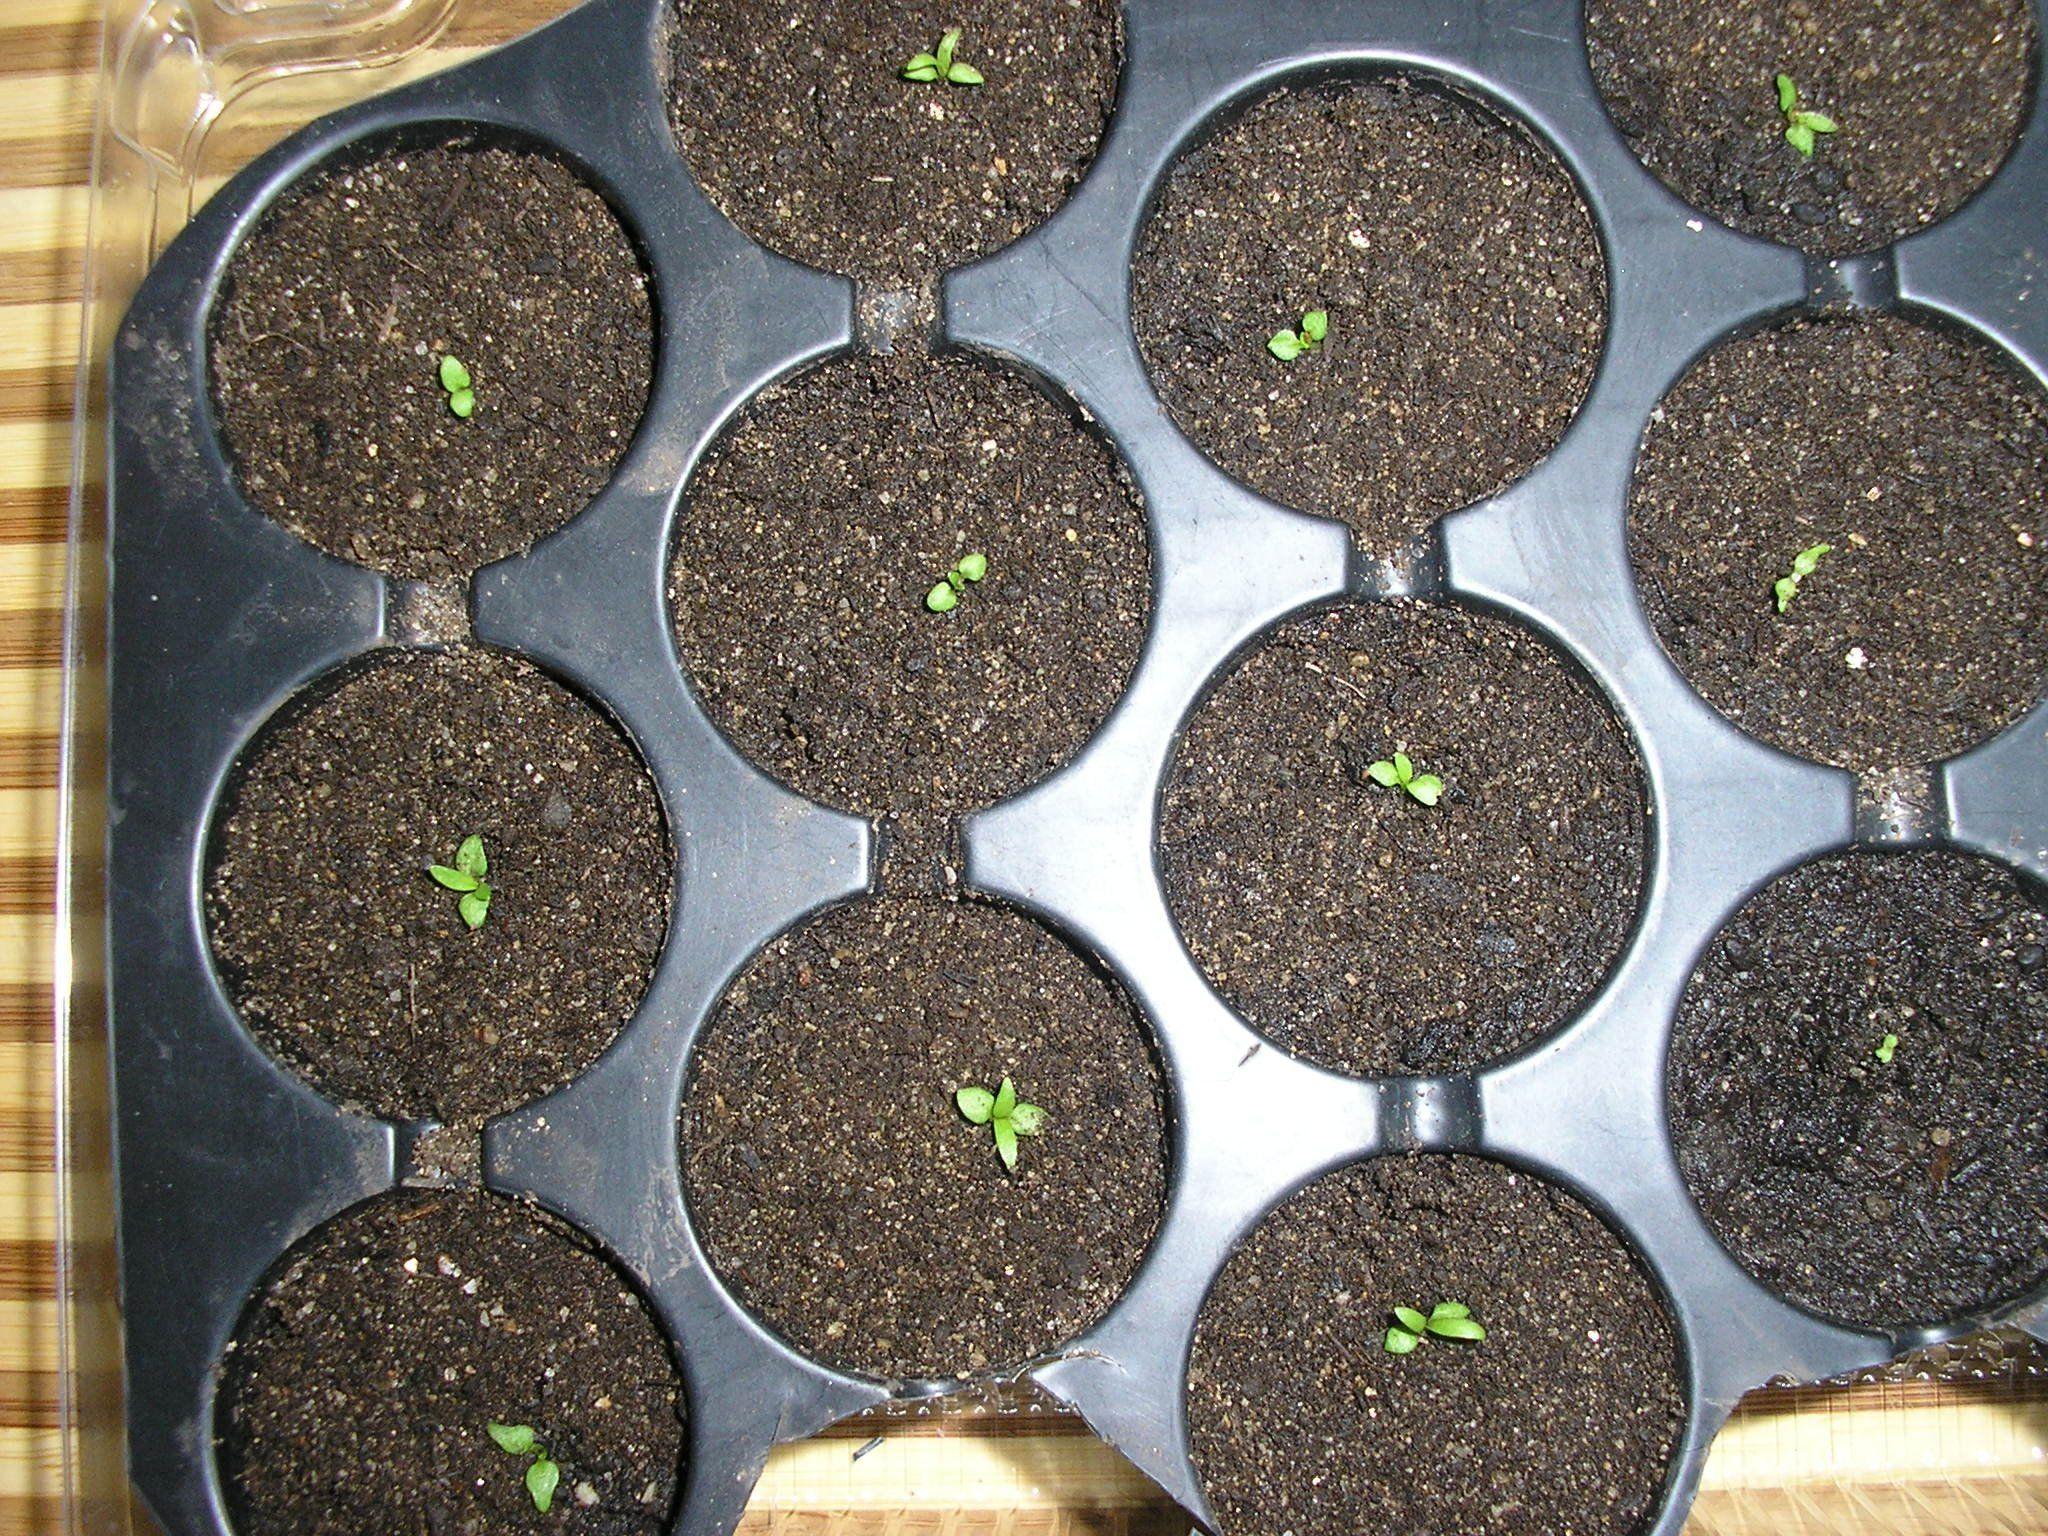
To ensure clematis seedlings germinate as quickly as possible, create the necessary conditions. The recommended temperature in the room where the seedlings are grown is between 21 and 25 degrees Celsius.
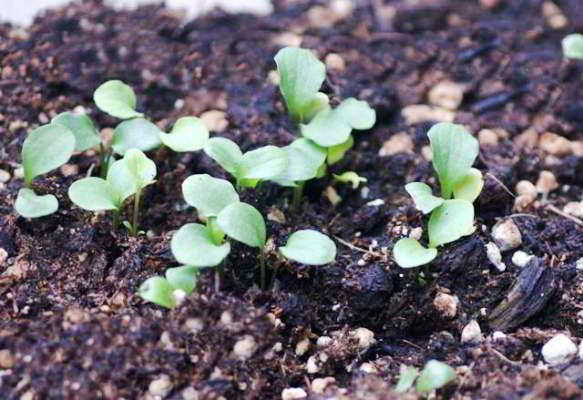
The windowsill where the seed trays are placed should be well-lit. The soil should also be kept moist to prevent it from drying out, but avoid overwatering. If all conditions are met, the first sprouts will appear within a week of sowing the seeds indoors.
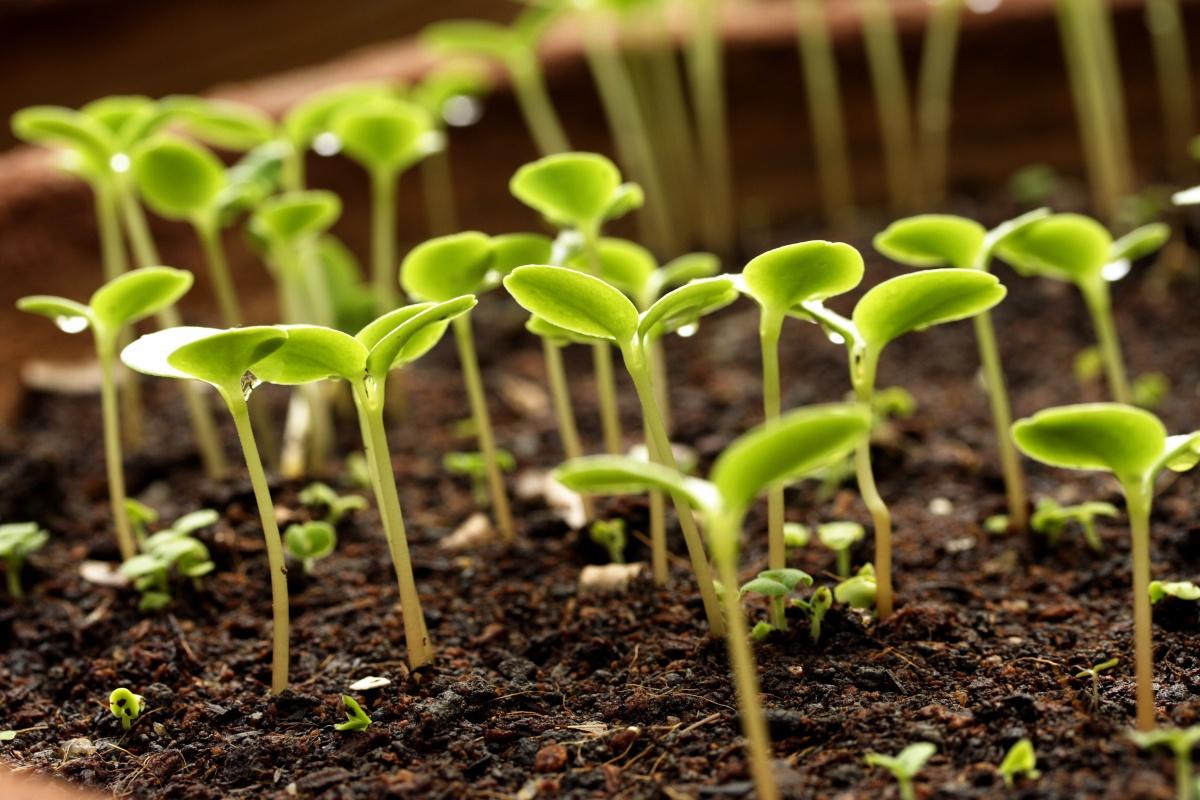
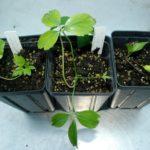
Features of picking and transplanting into open ground
Clematis seedlings are transplanted when the shoots have developed two true leaves. They are transferred to individual cups or larger containers, with a distance of 20 cm between the shoots.
Fill each cup with lightweight, well-drained soil. Remove the seedlings, along with the soil ball, and transfer them to the prepared container. This must be done with extreme care, as young seedlings have delicate root systems that are easily damaged.
After transplanting, it's important to provide balanced watering for clematis. Excessive moisture will lead to root rot and the development of fungal diseases. The best solution in this case is to water through a tray; this will allow nutrients added to the irrigation water to penetrate the plant tissues more quickly.
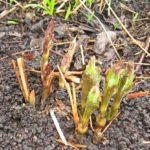
Once the weather is consistently warm and there's no risk of frost, begin planting clematis outdoors. Choose a location that receives good daytime sun and ensures the groundwater level is not too low.
In the selected area, dig 80-cm-deep holes. At the bottom of the hole, install drainage using broken brick and fine gravel. Carefully lower the seedling into the hole, spreading the roots outward. Immediately install a support at least 2 meters high nearby. Fill the hole with fertile soil, ensuring that both the root collar and the portion of the shoot up to the first internode are at a depth of 10 cm.
Water the clematis generously and apply a layer of organic mulch around it. This will protect the root system from overheating.
Further care
Further agricultural care for the seedlings consists of regular watering, fertilizing, weeding, and loosening the soil. To stimulate new growth, pinching the tips of the vines is necessary. Fertilizing clematis with urea diluted in water (a teaspoon per 20 liters of water), mullein, and mineral fertilizers are beneficial.
Before the onset of cold weather, the layer of mulch around the clematis is replaced with a fresh one and the plants are covered with burlap or any other natural material.
When will clematis grown from seeds bloom?
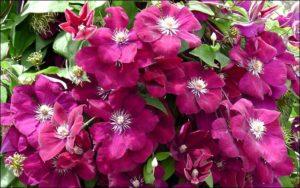
The formation of the first buds on clematis depends on the plant variety. Typically, small-flowered varieties produce flowers within the first year after planting outdoors. Other varieties will delight you with lush blooms after 2 or 3 years, depending on the cultivar.
Related posts:
 Description of clematis varieties, planting and care in open ground, and propagation methods
 The best varieties of clematis of the 3rd pruning group with descriptions and characteristics
 Description of the best varieties of Tangut clematis, planting, growing and care
 Description of Jackman's clematis varieties and pruning group, cultivation and propagation
 Description and pruning group of clematis Cardinal Wyszynski, cultivation and care
 How to propagate clematis at home: timing, methods, and technologies
 Description and characteristics of the Polish Spirit clematis variety, planting and care instructions
 When to prune and cover clematis for the winter, preparation and autumn care