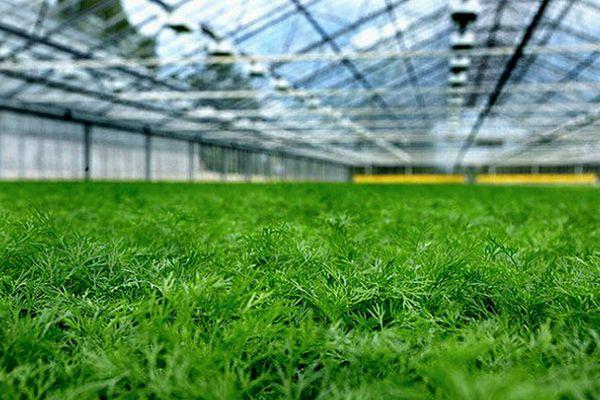
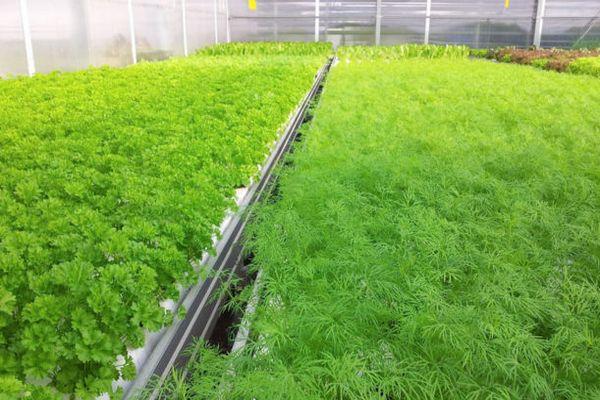
Dill is one of the most popular herbs among vegetable gardeners. It's a relatively easy-to-grow crop with a short growing season; with proper agricultural practices, it can be harvested twice a season. To ensure year-round availability, dill is grown in a greenhouse.
Features of growing dill in a greenhouse
In winter and autumn, agricultural plants especially suffer from a lack of warmth and sunlight, so supplemental lighting is essential in protected soil. To ensure not only a high-quality but also a plentiful harvest, it's important to plant varieties with a high degree of resistance to adverse environmental factors, diseases, and harmful insects.
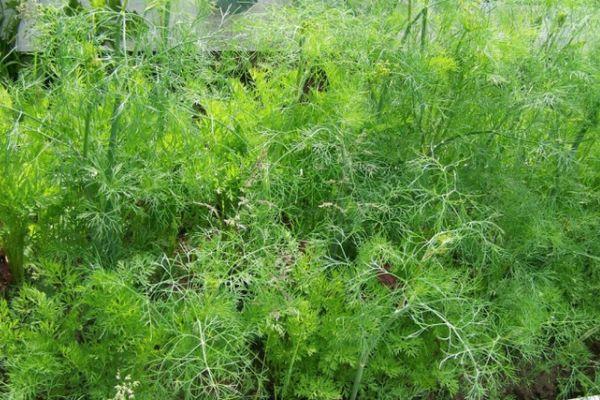
Most varieties of this herb are adapted to harsh winter conditions. It's best to plant bush varieties, which can produce more greenery in greenhouse conditions. Sow seeds in early fall and then re-sow; this approach will ensure continuous growth. Dill seeds should be sown twice a month.
When growing herbs, it's important to monitor their condition. If they turn white, it indicates a chemical deficiency. Complex mineral compounds are used to replenish the deficiency. Humus is applied before planting the dill.
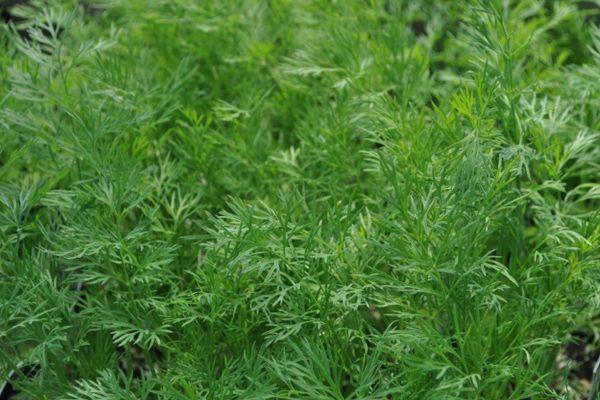
Which variety should I choose?
Productivity indicators bush dill grown The success of harvesting greens depends on the right variety. To harvest early, you need to plant seeds of early-ripening varieties that can withstand long periods of low sunlight. The main differences between plants intended for greenhouse cultivation are based on bush height, leaf shape, rosette, color, and stem formation time. The most important factor is the ability to harvest regularly.
Popular early ripening varieties include:
- Gribovsky;
- Further;
- Aurora.
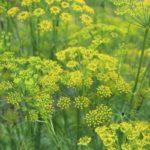
This group of plants is distinguished by its ability to produce a harvest 35 days after germination. The only drawback is the formation of fewer leaves than late-ripening varieties. Furthermore, early-ripening varieties begin flowering after 5-6 leaves have formed.
Take a look Also
In demand varieties of dill with an average ripening period are:
- Lesnogorodsky;
- Abundantly foliated;
- Bushy.
The process of stem formation in mid-early dill begins after 7-10 days, allowing the plant to produce more leaves and a richer harvest. This is why experienced gardeners recommend using these varieties for commercial greenhouse cultivation.
Of the late-ripening varieties of dill, the following have proven themselves well:
- Kibray;
- Alligator;
- Dill.
These are ideal plants, producing lush foliage from spring until late autumn. The close spacing of the internodes gives the plant category its name—bushy. When planted in specially designed and prepared spaces, these varieties produce a fresh, nutritious herb year-round.
When choosing a particular variety of dill, it is worth paying attention to both its characteristics and how long the greens will grow.
Soil preparation
Dill is marketed as an undemanding herb that grows and thrives in virtually any soil. However, for best results, fertile soil with a light, loose structure is recommended. The plant does not tolerate heavy soils or waterlogging well. Because its root system is quite extensive, the humus-rich soil should be at least 0.5 cm thick.
Using compost enriches the soil in your garden bed with a whole range of micronutrients that promote rapid growth and development of greenery. Apply 2-3 kg of organic fertilizer per square meter. In addition to compost, it's a good idea to use peat, sand, vermicompost, and other substances that can improve soil permeability.
Additionally, to enhance the effect of humus, add urea (15-20 g), superphosphate (20-30 g), potassium salt (15-20 g) per square meter. Preliminarily, the area under planting dill The soil needs to be watered generously and loosened. The distance between furrows is 15-20 cm.
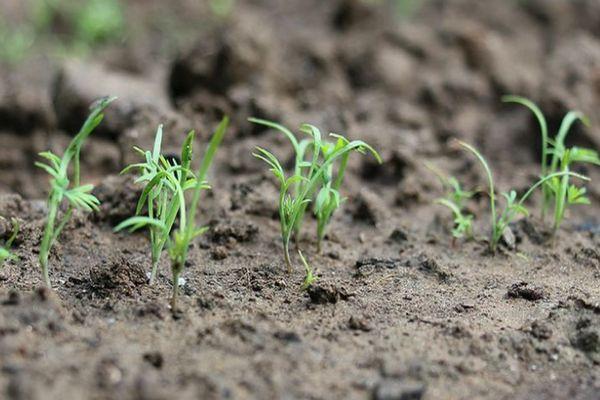
Features of sowing
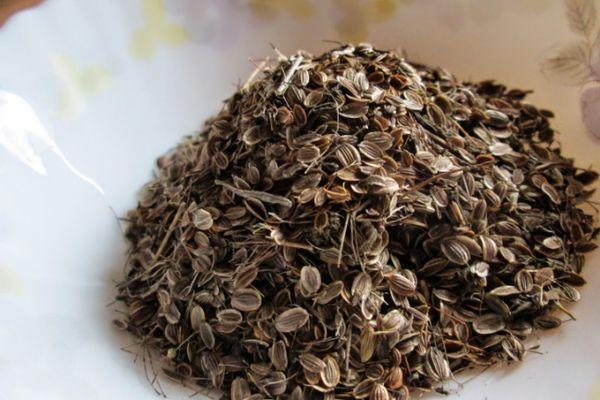
Plant this herb in fertile, rich soil. Sow dill seeds in furrows, rows, or other convenient methods. It's best not to sow deeper than 1.5-2 cm, as this will delay germination for 1-2 weeks. Plant the seeds every 10-15 days. This technique ensures fresh herbs will be ready to eat before the previous ones have finished sprouting.

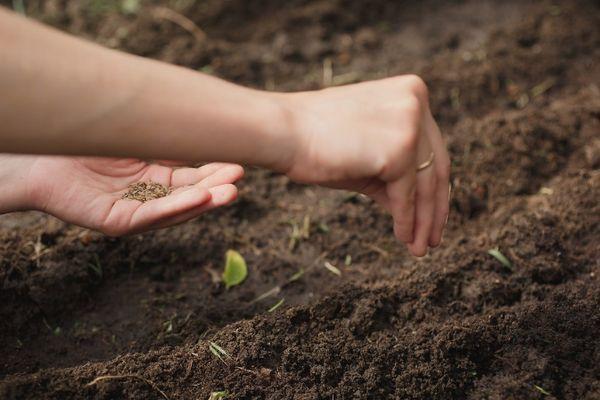
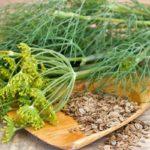
Before planting dill in the soil, it is recommended to soak it in water for 48 hours. Change the water every 8 hours to remove the essential oils. Place the dill in prepared trenches, cover with a layer of fertile soil, and gently moisten to prevent the seeds from being washed away.
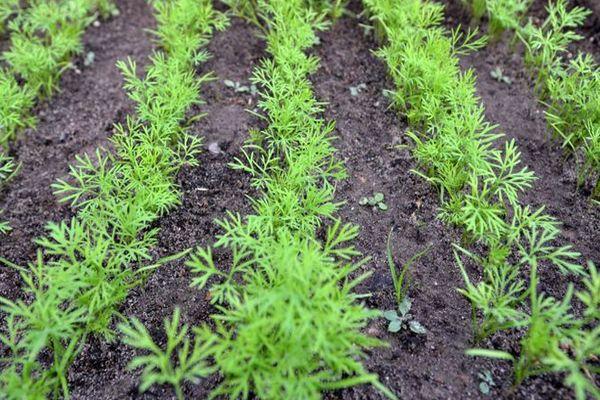
Alternatively, you can scatter the planting material, rake it, and water it. Once the seedlings emerge, thin them out. Replant the removed plants, but don't discard them.
Caring for greenhouse dill
To grow a bountiful harvest, it is necessary to create favorable growing conditions in the greenhouse and provide proper care for the crops.
Temperature conditions
Despite its cold-hardiness, dill requires sufficient warmth for normal growth and development. In protected soil, maintain a temperature of 15-18 degrees Celsius. Drafts should be strictly avoided.
Watering
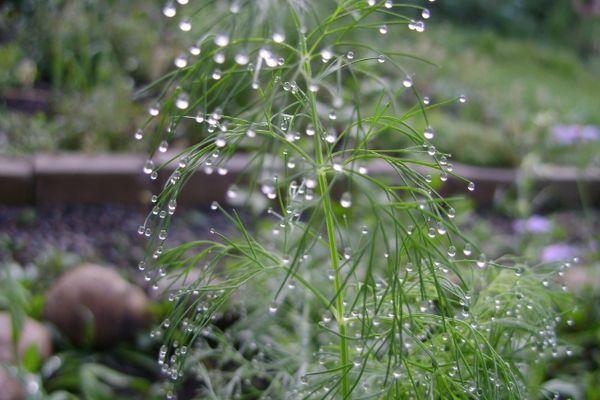
This herb responds well to irrigation, but watering should be moderate. Otherwise, excessive moisture can cause root rot. Water with a spray bottle. Repeat this procedure every 5-7 days, allowing the top layer of soil to dry slightly. The water should be warm.
Fertilizers
The first fertilizer application is done when sowing the seeds, adding organic matter, urea, and other mineral mixtures to the bed. During the growing season (1-2 times), apply the following mixture:
- urea (20-25 g);
- potassium salt (15-20 g);
- water (10 l).
Apply the working solution directly to the roots, then water with warm water. If the green color changes, add a nitrogen-containing solution to the soil at a rate of 15-20 g per 10 liters of water.
Diseases
By following proper agricultural practices when growing this most common herb, you can reduce the risk of fungal infections and other pathogens. Dill most often suffers from powdery mildew, blackleg, and fusarium wilt.
To prevent disease development in the greenhouse, maintain an optimal air temperature of 17 degrees Celsius and a humidity level of 55%. Moderate soil moisture and frequent ventilation can help prevent many diseases.
Pests
Pests damage not only the above-ground portion of the plant but also its root system. In most cases, the underground portion of dill is attacked by:
- mole cricket;
- caterpillar;
- cockchafer larvae;
- wireworm.
Take a look Also
But the above-ground part of the plantings should be protected from:
- cicadas;
- thrips;
- bedbugs;
- ticks.
To prevent the death of green plantings, it is recommended to maintain crop rotation, follow basic agricultural practices, and, if necessary, apply agrochemicals. The use of toxic agents is permitted only when growing crops for planting. In the early stages, the disease can be cured using traditional methods.
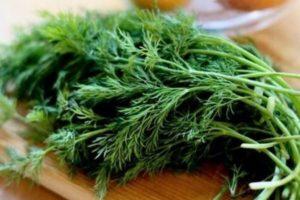
Harvesting
The leaves are cut early, just two weeks after planting the seeds. To stimulate a new, high-quality harvest, the cuttings should be made directly at the root, and the key is to prevent the bush from forming a stalk. Plants that focus their energy on seeds are unable to produce lush, green foliage.
Before harvesting, lightly moisten the leaves with a spray bottle. Then, trim them at the base. To encourage new growth, water the plantings generously. Cut young greens with a sharp knife or garden shears. Yields can reach 2.5 kg of greens per square meter.
Dill is not only a delicious and aromatic spice, but also a medicinal plant with antispasmodic, calming, sedative, and antihemorrhoidal properties. This herb can be grown year-round, planted in protected soil. The process isn't overly complicated, but it does require proper agricultural practices. Only with a comprehensive approach will you be able to grow healthy, lush greens.
Related posts:
 How to choose the best dill varieties for growing greens without umbrellas in open ground and greenhouses
 Recipes for pickling fresh dill for the winter at home in jars, proportions, and storage
 How to freeze dill in the refrigerator for the winter: the best recipes
 Basic rules for growing and caring for dill: how many days it takes for it to sprout, how it grows, and when it ripens into greens
 Why dill doesn't grow in the garden: reasons and solutions
 How to properly plant dill for the winter in the Moscow region, varieties for open ground and greenhouses
 15 simple recipes for pickling tomatoes in jars for the winter
 The best recipes for preparing and storing dill for the winter at home