- Advantages and disadvantages of growing potatoes from seeds
- How soon will the crop grow?
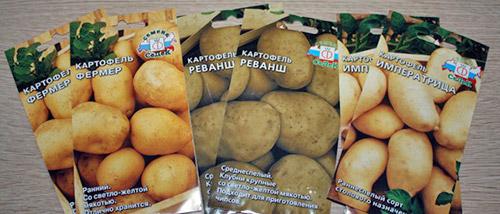
- Seed potato varieties
- Where they are, when and how they can be collected
- The specifics of growing seedlings from seeds
- Growing methods
- Seedling box
- "Snail"
- Peat cups
- Plastic cups
- Peat tablet
- When to plant
- In the Moscow region, central zone
- In the Urals and Siberia
- In the Leningrad region
- According to the lunar calendar in 2025
- Caring for seedlings
- Supplementary lighting
- Watering
- Top dressing
- Picking
- When and how to transplant into open ground
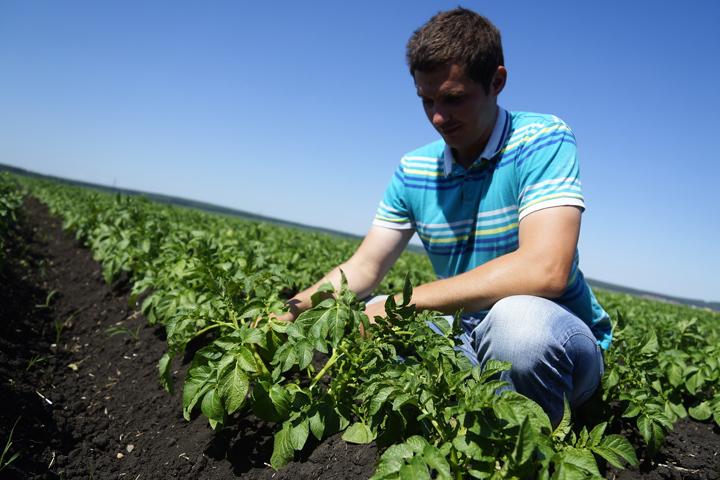
- Growing potatoes from seeds in open ground
- Selecting a site and preparing the soil
- Sowing seeds
- Further care of potatoes
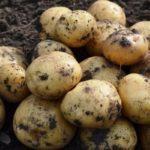
- Harvesting and storing tubers
- How to renew potato seeds
- Mistakes and problems in cultivation
- Reviews from experienced gardeners
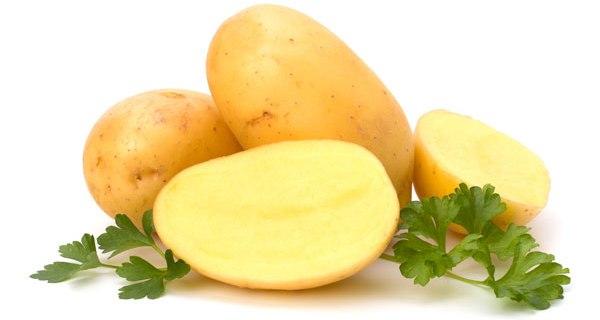
Potatoes are the most popular vegetable. It's virtually impossible to find a garden that doesn't grow them. However, sometimes the yield decreases each year, and replacing the planting stock isn't always the answer. In such cases, potato seeds can be a lifesaver.
Advantages and disadvantages of growing potatoes from seeds
Growing potatoes from seed has its advantages, but it also has its disadvantages, which are described below. These advantages include:
- the ability to get rid of various diseases that are transmitted through infected tubers;
- the cost of seeds is significantly lower than the cost of potato tubers;
- the yield from seeds is 8-23% higher than from tubers;
- the seeds have a long shelf life, 5 years or more;
- there are no special conditions for storing the material.
There are also disadvantages:
- the need to spend a lot of effort and time;
- fragility of the root system of seedlings from seeds;
- capriciousness of seedlings, which react to any unfavorable changes, including lighting;
- the ability to grow potatoes in one season only in a greenhouse;
- the need to use biological preparations, for example, "Planriz", since potato seedlings are susceptible to diseases, especially a disease called black leg.
How soon will the crop grow?
When growing any crop, gardeners want to enjoy the fruits of their labor quickly. But with potatoes, that won't happen quickly.
If seedlings are planted in hotbeds or greenhouses, the harvest can be collected in the same year.
If young plants are planted in open ground, the tubers will only grow to a size of 10 to 50 g. However, the following season, by planting these tubers in the ground, the gardener will be able to harvest the first full crop.
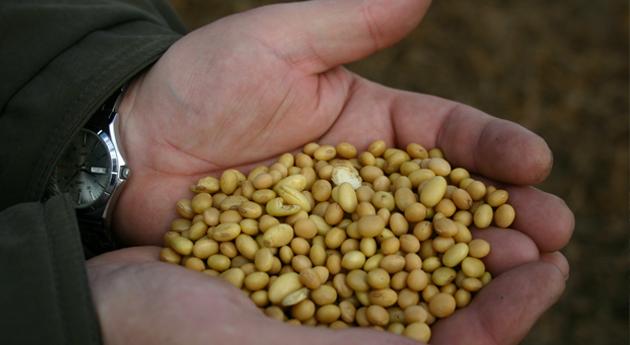
Seed potato varieties
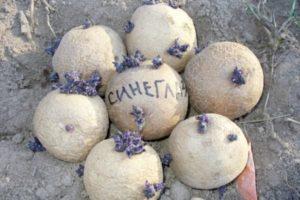
Potato tubers from seed plants are premium planting material. These specimens will provide gardeners with a high yield over the next five years, as the tubers they produce are completely healthy and disease-free.
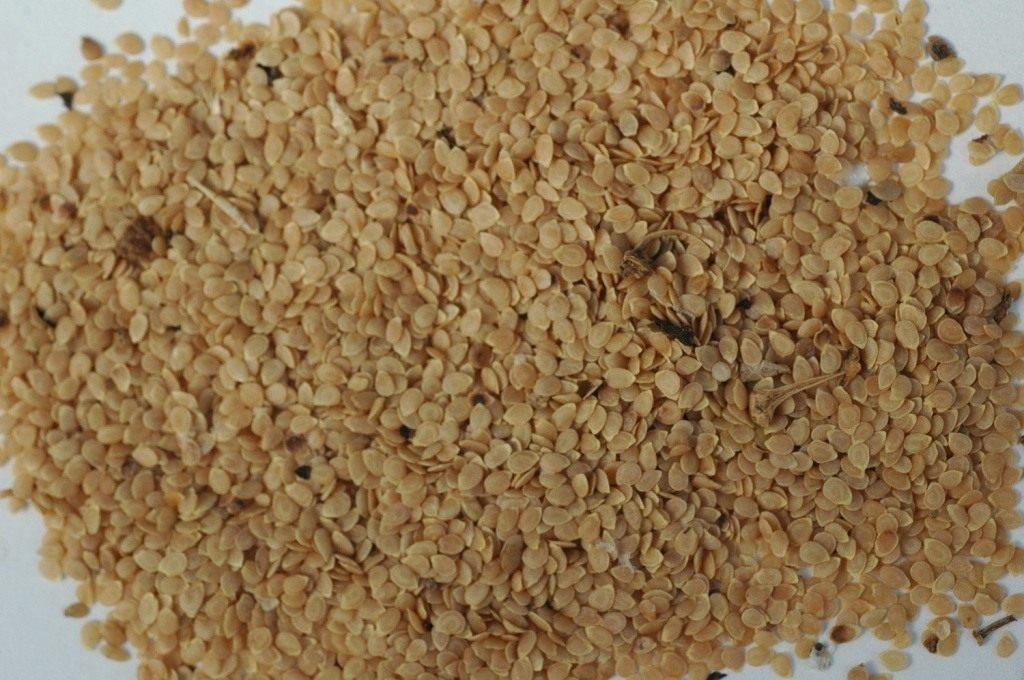
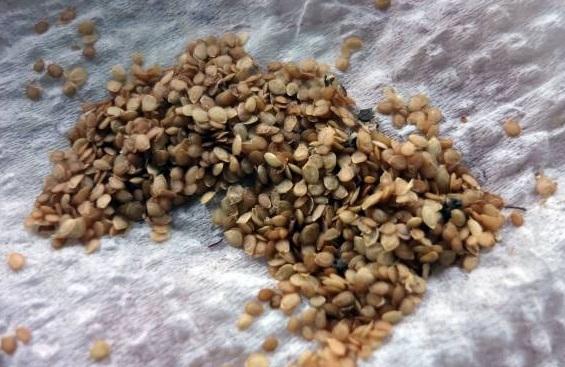
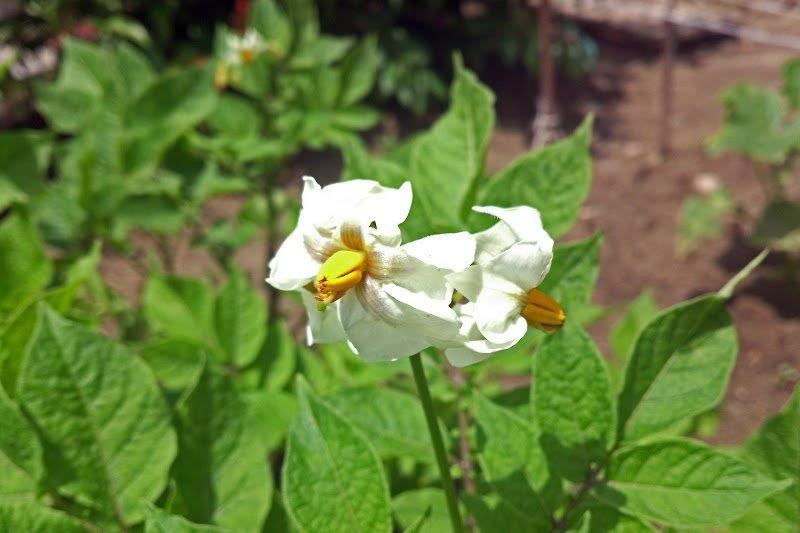
Where they are, when and how they can be collected
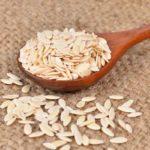
Potato seeds can be purchased at specialty stores, but you can also collect and harvest them yourself from your own harvest. To do this, you need to gather the potato berries, which are found at the ends of the stems after flowering. Harvesting takes place in the summer, usually in July. The ripest and largest berries are selected. They are placed in a cheesecloth bag and hung in a bright, warm, and dry place to ripen.
Fully ripe berries will become soft and lighter in color. These berries are placed in a small container and crushed. They are then washed to remove the pulp. This simple method extracts the seeds from the berries. They are then laid out on paper sheets in a warm place to dry.
 Potato seeds have a low germination rate, so it is better to stock up on them.
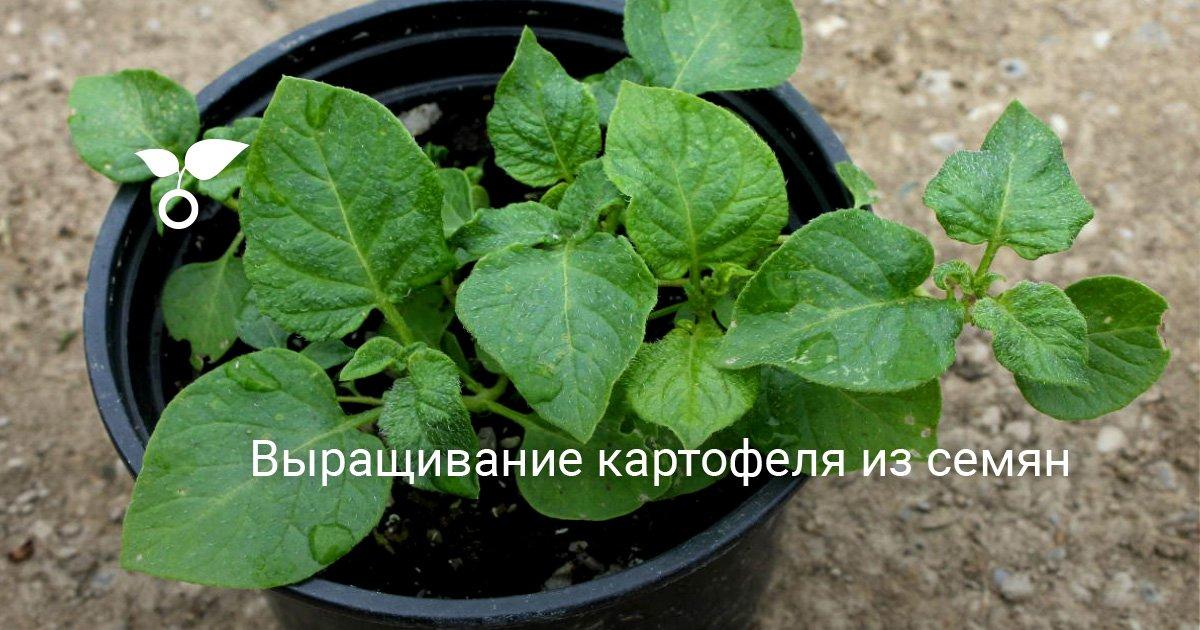
The specifics of growing seedlings from seeds
Growing potato tubers from seeds into full-grown tubers is no easy task. There's a risk of encountering certain difficulties during the cultivation process. But by following the instructions and being aware of potential problems, they can be easily avoided.
Growing methods
Before sowing, soak the seeds by placing them in a moist environment. Place them in a damp cloth or thick paper, but do not soak them in water. Then place them in a dark place for 3-5 days, moistening them periodically.
It's also helpful to harden the seeds before sowing. To do this, place them in the refrigerator overnight, where the temperature should be between -1 and +2°C. Before planting, it's permissible to treat the seeds with growth stimulants, such as Epin. This treatment will increase seed germination.
Next, the seeds are sown. There are several ways to grow potatoes from seeds at home.
Seedling box
Fill boxes no more than 10 cm deep with a fertile mixture. To prepare it, you'll need 1 part soil to 4 parts peat moss with fertilizer. This mixture can also be purchased at specialty stores. Using regular soil will significantly reduce germination. Make furrows 0.5 cm deep in the boxes, spaced 10 cm apart. Sow the seeds in these furrows, spacing them at least 5 cm apart.
Sprinkle sand on top and press it lightly to a depth of about 0.5 cm. Cover the box with plastic or a sheet of glass and place it in a warm, bright place, such as a windowsill. The first sprouts should appear within 10-14 days.
"Snail"
To create an unusual potato seed pot called a "snail," you'll need the following materials:
- a transparent vessel with low sides;
- laminate underlay 10 cm wide, 1-1.5 m long;
- tweezers;
- 2 rubber bands;
- cellophane bag;
- priming.
To make a "snail," lay a substrate on the table and place the seeds on it, followed by the soil. The soil should be 1-1.5 cm thick. Next, carefully roll the substrate into a "roll" and insert it into the prepared container. Add some sawdust first. This will help retain moisture and, if overwatered, will absorb excess water.
Secure the structure with rubber bands and cover the "roll" with a plastic bag. The finished "snail" is placed in a dark, warm place. As soon as the first shoots appear, move the unusual pot to a sunny spot and remove the plastic bag.
Peat cups
Before planting in a peat pot, the seeds are germinated. This is done in the same way as for the previous planting methods, except the moist seedbed is placed in a lidded container, where the seeds remain until germination. The container is opened periodically for ventilation.
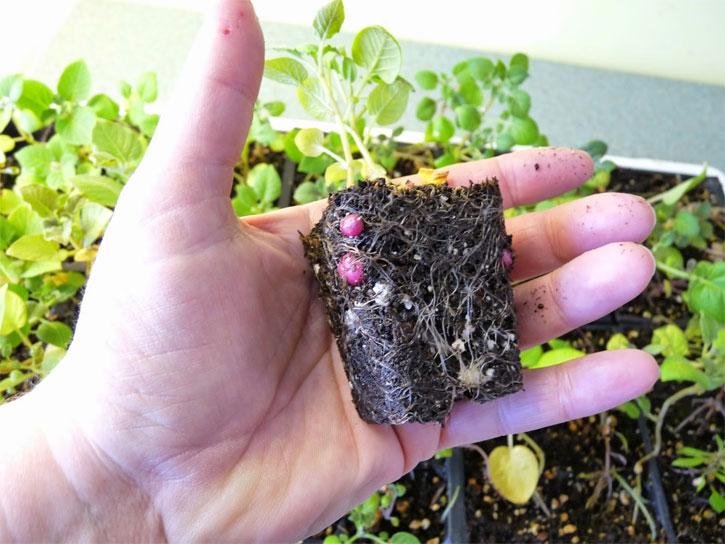
Sprouted seeds are planted individually in a peat pot. The soil is a mixture of soil, peat, and sand. The sprouts are watered and covered with plastic wrap. After 14-18 days, the sprouts are ready for transplanting.
Plastic cups
In this case, the planting process is the same as with peat pots. However, be sure to make small drainage holes in the plastic to allow air to enter.
Peat tablet
Potatoes can also be grown in a peat pellet. Before planting, soak the seeds for 5 days, as in the first growing methods. Next, prepare the pellet itself, as they are sold dried. There's a small indentation on one side of the pellet. Place the pellet facing upward and pour a little water into the hole. Once the water has soaked in, add a little more.
After the tablet has soaked, place a seed on it and gently press it into the peat. Then transfer the tablet to a bag and seal it. Open the bag several times a day and spray the tablet with a spray bottle. Leave the bag for 30 minutes to air out.
When to plant
Seeds are planted three months before the planned transplanting to open ground. Based on this, the sowing time should be calculated.
In the Moscow region, central zone
In the Moscow region and throughout the central part of the country, it's recommended to plant potato seedlings in late April or early May, provided the soil has warmed up sufficiently by then. Therefore, sowing the seeds should be done in late January or early February.
In the Urals and Siberia
Here, planting seedlings is only acceptable in late May or even early June, as the cold weather in these regions recedes much later. This means seedling cultivation should begin in February.
In the Leningrad region
Frosts also return frequently here, and the weather can change dramatically in a single day. Therefore, it's important to take this into account when planting seedlings. It's not recommended to plant them outdoors before the end of May. This means that in this region, seeds should also begin germinating in February.
According to the lunar calendar in 2025
Some gardeners use the lunar calendar as a guide when planting their beds.
| Month | Favorable days | Unfavorable days |
| January (seeds for seedlings) | 27-29 | 5, 6, 21 |
| February | 7,8, 11, 12, 14, 16-18 | 1,2,4,5,19 |
| March | 1-4, 10-14, 22-25, 27-30 | 6, 7, 21 |
| April | 6-9, 15-17, 24-26, 29, 30 | 20, 22, 23, 27 |
| May | 1-4, 8-10, 20, 23, 27, 30 | 5, 6, 19, 26 |
| June | 1, 2, 18, 24, 26-28 | 3, 10, 17, 25 |
Caring for seedlings
To grow a good harvest, you need to properly care for potato seedlings.
Supplementary lighting
Like other plants, potato seedlings requires light. In winter and spring, there isn't enough light because daylight hours are too short. In these cases, supplemental lighting is used.
To do this, simply illuminate the seedlings from above and from the side with reflector lamps. You can also use reflectors and place them between the seedlings and the room. Mirrors, foil, and foil-lined insulation also work well as reflectors.
Watering
Water regularly but carefully. Use only a spray bottle. Watering with a watering can or any other method is difficult to control and can wash away sand and seeds from the soil.
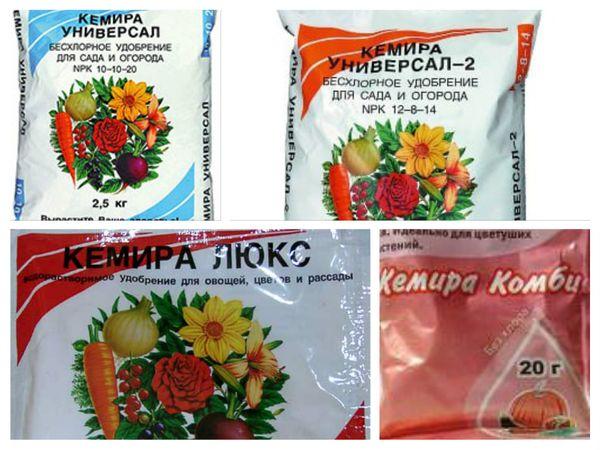
Top dressing
After transplanting, seedlings can be fed with urea or ammonium nitrate to accelerate leaf growth. After 25-30 days, they can be fertilized with a combination fertilizer of your choice:
- Kemira Lux;
- "Agricola";
- "Baikal EM-1"
- "Uniflor Rost".
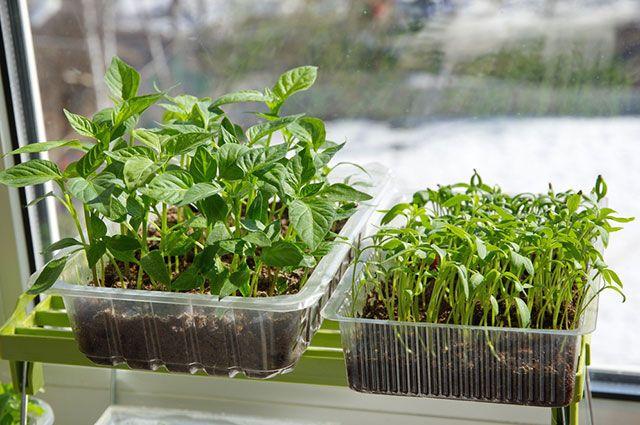
Picking
When the seedlings develop two true leaves, they are pricked out. This procedure is carried out very carefully, as potato seedling stems are very delicate. The sprouts should be removed with a spoon; do not pull the plants out. When transplanting the seedlings into a separate container, they are planted deep enough to reach the level of the cotyledon leaves.
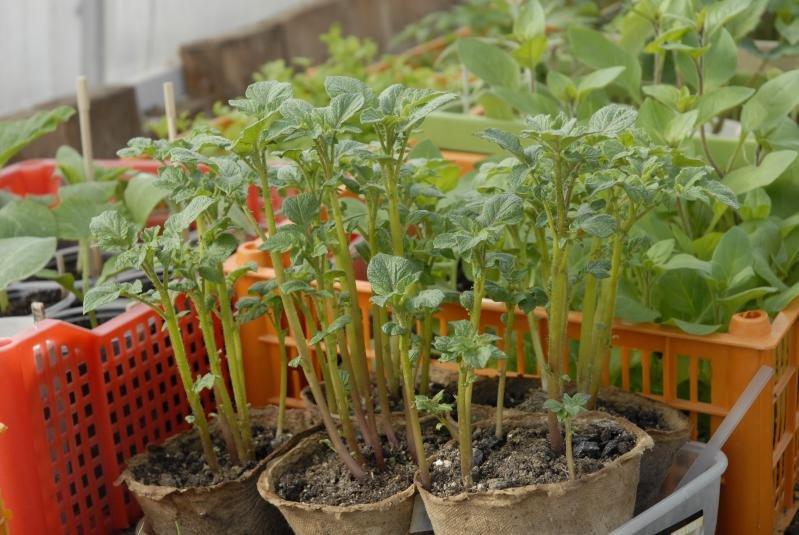
When and how to transplant into open ground
The seedlings are transplanted when they have at least four leaves. To do this, dig 10-cm-deep holes in the beds. Add 300 g of compost to each hole. Add half a liter of water to each hole. Once the soil has softened and becomes the consistency of thick sour cream, plant the seedlings deep in it. The root ball of soil from the container where the seedlings were is not removed.
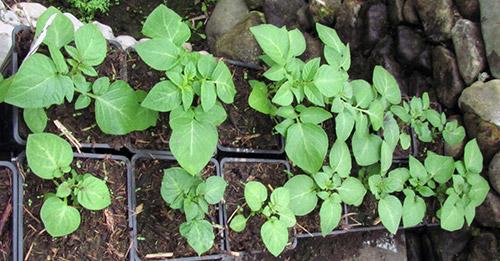 Good to know! Cover potato sprouts with soil almost before the foliage begins to grow.
The hole is filled with dry soil and compacted slightly.
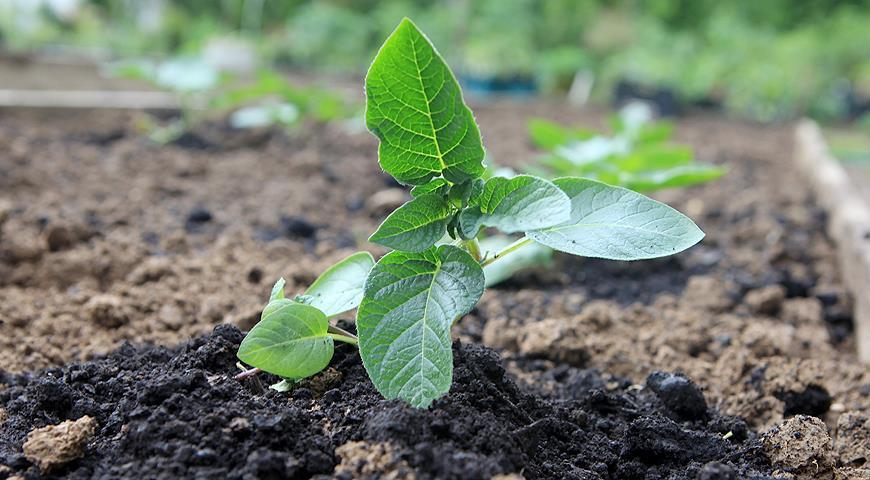
Growing potatoes from seeds in open ground
This method is used less frequently, as it's impossible to get a large harvest in a single season. The sowing technique is simple and straightforward.
Selecting a site and preparing the soil
The location should be sunny and windless. Ideally, the following crops should be grown in the chosen spot: pumpkin, corn, legumes, beets, carrots, or cruciferous vegetables.
First, add fertilizer to the soil, such as compost or nitrophoska. You can also sow the area with green manure 5-6 weeks before planting potatoes. Before these plants bloom, dig the area.
Sowing seeds
Immediately before sowing the seeds, water the beds. Once the water has soaked in, sow the potato seeds in shallow furrows 65 cm apart. Leave about 5 cm between seeds to allow for the removal of weak seedlings.
The top of the bed can be mulched using dry grass or other materials.
Further care of potatoes
Post-sowing care is also important. The key points are:
- moderate watering;
- light loosening after watering;
- weeding;
- nitrogen-containing fertilizers;
- insect control, particularly against the Colorado potato beetle.
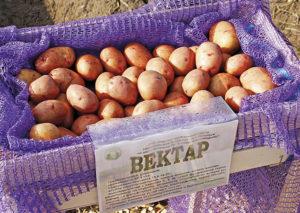
Harvesting and storing tubers
After sowing the seeds, the small tubers are harvested in the same way as traditionally grown tubers. The entire harvest is first dried in the shade and then stored until the following year, like other potatoes.
How to renew potato seeds
Potatoes grown from seed are considered elite for the first five years. During this time, their quality will decline with each passing year. Therefore, it's advisable to renew potato seeds every five to six years. To do this, collect or purchase the seeds and repeat the sowing process.
Mistakes and problems in cultivation
Growing potatoes from seeds is a rather complex and labor-intensive process, so mistakes and problems often arise:
- The seedlings are stretching. This error can be easily corrected by adding more light.
- The leaves are turning yellow. The problem could be a lack of moisture or nutrients. It could also be a sign of disease.
- Poor germination. The seeds may not have been properly moistened before planting.
Reviews from experienced gardeners
Daria: "I grew potatoes this way for the first time last year. We got a good harvest, but they're a lot of work. The sprouts are finicky, and if something goes wrong, they wilt and die. Only half the seedlings survived until they were planted in the garden."
Nikolai: "I grow seedlings the same way I grow tomatoes. I sow them at the same time. I feed them along with the other seedlings. The harvest was impressive, and all that effort was well worth it. I recommend this to every gardener."
Related posts:
 Why potatoes aren't growing well in the garden, and what to do to ensure a bountiful harvest
 Carrot care guidelines for outdoor cultivation to ensure a good harvest
 Is it possible to soak treated cucumber seeds before planting and how to do it correctly?
 How to prepare tomato seeds for planting seedlings
 Description of the best potato varieties of domestic and foreign selection
 How to soak cucumber seeds before planting and is it necessary?
 Description and treatment of potato diseases, methods of control using folk and chemical means
 How to properly prepare cucumber seeds for sowing in open ground