- Specifics of Dutch technology
- Advantages and disadvantages of the method
- Suitable varieties
- Potato growing technology
- Preparatory work
- Choosing the best site
- Preparing the soil and beds
- Preparing planting material
- Timing of planting operations
- Step-by-step landing instructions
- Methods of care and harvesting
- Gardeners' reviews of the Dutch method
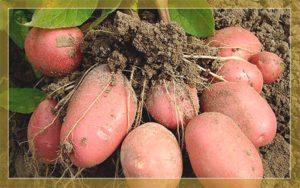
Growing table potatoes using the Dutch method allows for high yields with minimal maintenance. Unlike the traditional method, the Dutch method requires creating favorable conditions for the growth of tubers and roots, resulting in a bountiful harvest of tubers. Initially, this method was used by professional farmers, but gradually, ordinary gardeners also adopted it for their own plots.
Specifics of Dutch technology
A distinctive feature of Dutch potato cultivation is that planting is not done in traditional pits or beds. These are replaced by long rows (furrows), into which the seed tubers are planted. Forming high mounds ensures a good supply of oxygen and protects the roots from rotting. The potatoes are planted on ridges, in direct sunlight.
When using the Dutch method, no independent action is allowed; each step must have a specific sequence and be completed on time. If you follow the requirements and recommendations, you can harvest about 300 kg of high-quality tubers from each hundred square meters.
Advantages and disadvantages of the method
The Dutch technology of potato cultivation has the following advantages:
- When growing mid-early varieties, it is possible to quickly obtain a harvest;
- each bush forms tubers with maximum intensity;
- potatoes grow to a regular shape and have high commercial qualities;
- The taste of the vegetable does not change during storage.
Along with its positive aspects, the Dutch planting method also has its drawbacks, which gardeners who want to try it on their own plots must definitely consider:
- To harvest an excellent potato crop, you will need to put in a lot of effort, including preparatory work on the plot;
- It is difficult to meet crop rotation requirements in a small area;
- dense plantings due to space saving reduce the effectiveness of the method's implementation;
- Elite potato varieties are required for cultivation;
- Summer residents do not always have the opportunity to precisely adhere to the timing of all necessary manipulations.
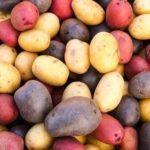
Suitable varieties
For cultivation using this method, it's best to choose elite Dutch potato varieties of the first or second generation. These varieties are distinguished by their ideal tuber shape, high productivity, and good disease resistance. The following varieties are recommended:
- Condor;
- Sante;
- Prior;
- Romano;
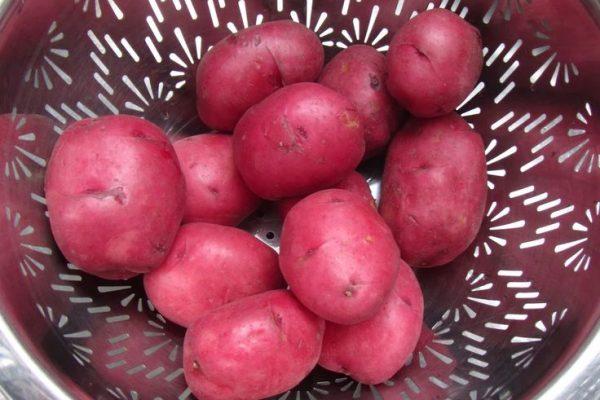
- Red Scarlett;
- Cleopatra;
- Eba;
- Mona Lisa.

Potato growing technology
Dutch potato cultivation technology requires precise adherence to the sequence and timing of all necessary operations.Deviations from them are unacceptable.
Preparatory work
Preparation is of great importance in achieving success when growing potatoes using the Dutch method.
You need to choose a good location, prepare the soil properly and stock up on high-quality seed material.
Choosing the best site
The bed should be placed on level ground. It should not have any slopes. The chosen site should not be in a low-lying area, as rain and meltwater accumulate in such areas. The potato plants should be exposed to sunlight all day long. The beds should be protected from winds, which can quickly dry out the soil.
It is desirable that the soil has good moisture and air permeability and has a sufficient supply of nutrients. The best predecessors for nightshade crops, in particular for potatoes, are considered to be cereals, peas and beans.
Preparing the soil and beds
Potato beds for planting using the Dutch method are prepared in advance. They are marked and dug to a depth of 25 cm, simultaneously adding organic fertilizers, superphosphate, and potassium sulfate. This work is done in the fall to allow the fertilizers to dissolve over the winter and enrich the soil with nutrients. In the spring, only urea is applied and the plot is cultivated using a rotary tiller. If the garden plot is small, loosening the soil with a pitchfork to a depth of 15 cm is sufficient.

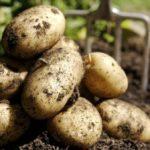
Preparing planting material
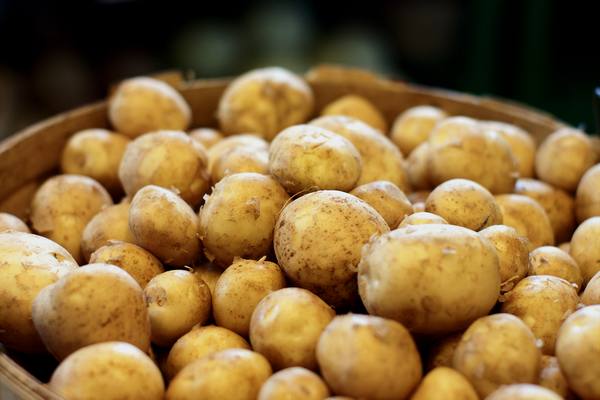
Planting potatoes using the Dutch method involves selecting tubers with a diameter of approximately 4 cm and a weight of 55-60 g. Using small seedlings results in weak shoots.
Each potato must contain at least 5 eyes.
A month before the expected planting, the seedlings should be germinated. This is done in a dark room where the temperature is maintained at +15 to +17°C. Spread a cloth or newspaper on the floor and pour the potatoes onto it in a single layer. When the sprouts reach 7 mm in length, they can be transplanted into the garden bed. For mechanical planting, the length of the sprouts should not exceed 1-2 cm, otherwise they will simply break off. In a summer cottage, such tubers can be planted by hand without any problems.
Timing of planting operations
Planting too early can result in damage to the seedlings from recurrent spring frosts. By the time the tubers are planted, the soil should be warmed to 8-10°C. S. In the past, gardeners would rely on the start of dandelion and bird cherry blossom blooms, and would also take a handful of soil, squeeze it, and throw it on the ground. If the lump crumbled, it was time to plant. Modern gardeners prefer to use lunar and sowing calendars. In temperate climates, potatoes are typically planted in early May.
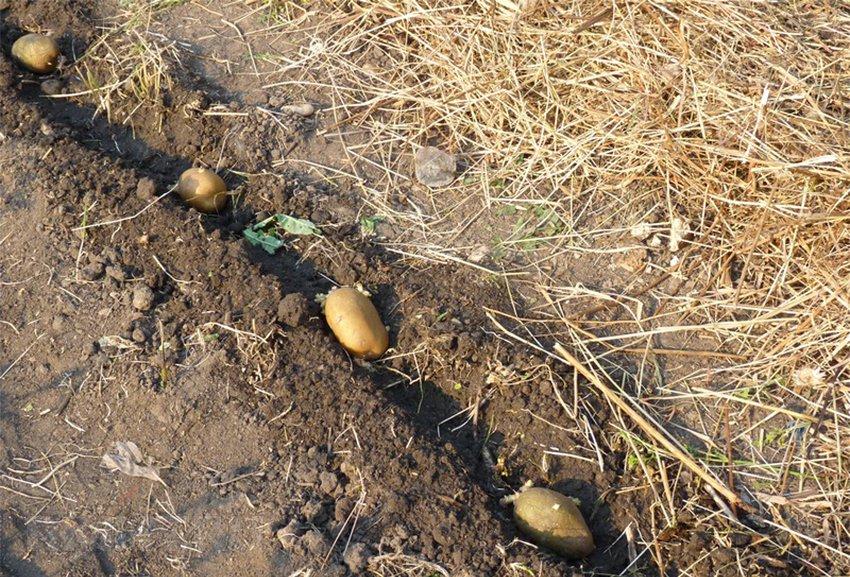
Step-by-step landing instructions
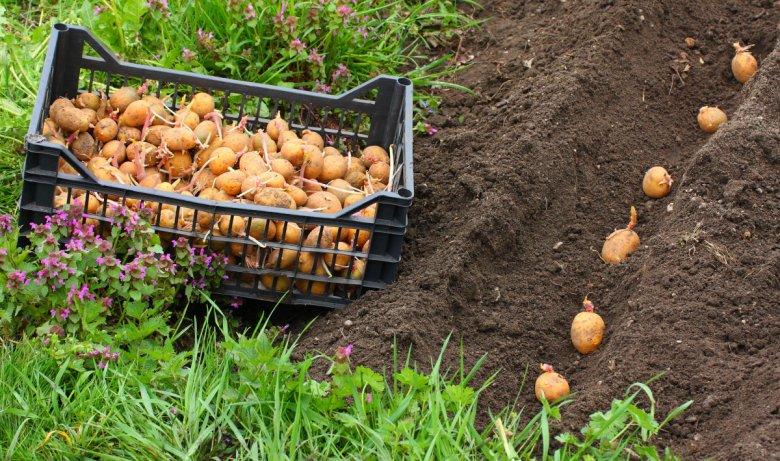
It's important to note that when cultivating potatoes using the Dutch method, only 6-8 tubers are planted per square meter. They are planted 12-15 cm deep, and after seedlings emerge, they are hilled several times. This results in the same planting depth as with the traditional method. The distance between rows is 0.75 m, and between adjacent plants, 0.3 m. The process is as follows:
- Dig a hole of the required depth.
- Add rotted manure or high-quality humus, and, if possible, wood ash and eggshells.
- The tubers are laid out with the sprouts facing up and covered with soil.
Methods of care and harvesting
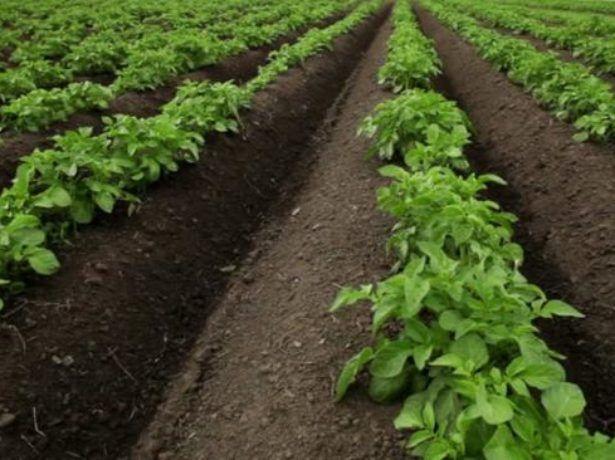
Once the potato seedlings emerge, the first hilling is performed, raising the ridges to a height of 12 cm and a width of 35 cm. All weeds should be removed beforehand. A month later, the soil is loosened, all weeds are removed again, and another hilling is performed.
This time, the height of the rollers is raised to 30 cm, and their width at the base should be 75 cm.
Hilling up potatoes will no longer be necessary. Weeds are controlled with herbicides (such as Centurion or Lazurit). Watering should be done no more than three times during the growing season. The first watering should be done before flowering, then 10 days after flowering, and the third time after flowering, when new tubers begin to form. Ideally, Dutch technology involves the organization of drip irrigation.
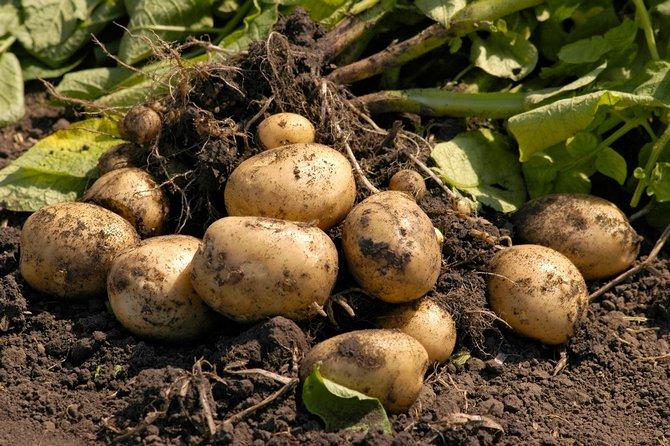
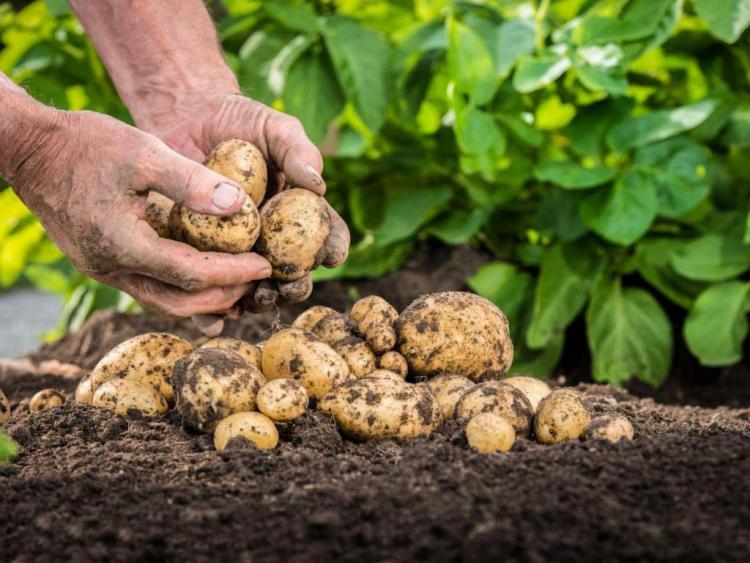
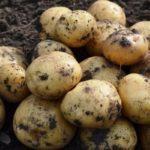
Harvesting begins after the tops turn yellow and begin to dry out. After 10-15 days, the tops are removed, leaving only the stumps, and the tubers are allowed to mature. Mechanical harvesting can be used. On a small garden plot, everything is done by hand.
Gardeners' reviews of the Dutch method
Some gardeners have experienced firsthand the advantages and disadvantages of the Dutch method of growing potatoes and are willing to share their feedback and impressions.
Marina Ilyinichna, a seasoned gardener: "My son told me about the Dutch method of growing potatoes. After reading the literature, I decided to try it in my small garden, choosing a variety for the experiment." Red Scarlett"The harvest was excellent, but it was a lot of work, and the material costs exceeded the usual expenses. This method may be profitable for large farms, but it's not suitable for ordinary retirees."
Andrey Sergeevich, gardener: "After reading rave reviews about the Dutch potato growing method, I decided to implement it on my plot. I experimented with the Mona Lisa variety. Perhaps my lack of experience and mistakes played a role, but the harvest was as usual. The expense and hassle proved worth it; in the future, I'll be growing domestic potato varieties using the traditional method."
Viktor Valentinovich, farmer: "I plant potatoes on an industrial scale. The Dutch method is convenient because it allows for easy plant care and any type of cultivation, even mechanical ones. Wide row spacing also allows for mechanized harvesting. The varieties yield high results, and their marketable quality is also top-notch. In the future, I plan to grow potatoes exclusively using the Dutch method."
Related posts:
 Why potatoes aren't growing well in the garden, and what to do to ensure a bountiful harvest
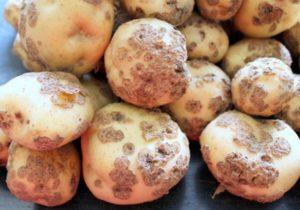
 Description and treatment of potato diseases, methods of control using folk and chemical means
 Description and treatment of potato pests, control measures
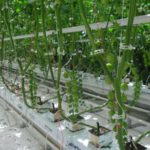 Step-by-step instructions for growing tomatoes using Dutch technology
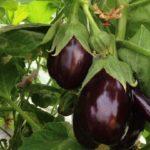 The best eggplant varieties for growing in a polycarbonate greenhouse: planting and care
 Description of the best potato varieties of domestic and foreign selection
 How to properly prepare planting material and when to plant potatoes to get a rich harvest
 Description of the best potato varieties for 2025, selection for regions