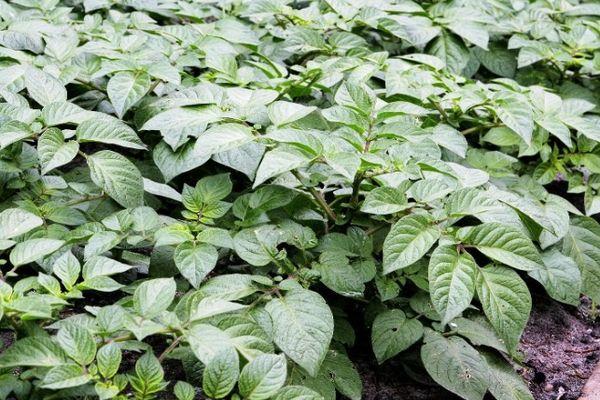
Growing potatoes isn't the easiest task; it requires a lot of time and physical effort. In the fall, the satisfaction of a good harvest makes it all worthwhile, but to grow them, it's not enough to fertilize the soil and buy a good potato variety—you need to master modern methods of increasing yields and explore current disease prevention and control techniques.
Preparing the land
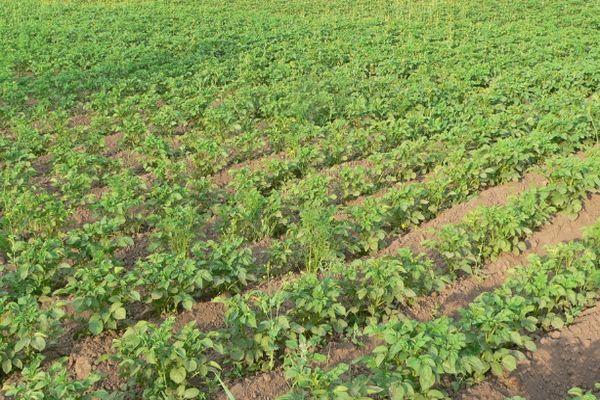
When growing potatoes in Transbaikalia, soil preparation begins in late August or early September. Fertilization increases yield. Fertilization is essential due to the specific soil conditions in this region. Potatoes always respond well to organic fertilizers, which improve soil fertility and physical properties.
In Transbaikalia, semi-rotted cattle manure is added to the soil during autumn plowing. Using it fresh is not recommended, as after being incorporated into the soil before winter, it will only begin to act as fertilizer in late summer. This leads to increased top growth, inhibits tuber formation, and increases the potato's susceptibility to infection.
The optimal dose of organic matter is 5 kilograms per square meter, more apply organic fertilizers to potatoes it is not advisable:
- root vegetables do not store well;
- their resistance to diseases decreases;
- the quality of tubers decreases.
To obtain good potato yields, mineral fertilizers containing the essential nutrients required by this vegetable crop are added to the soil along with organic matter:
- N - nitrogen (35 grams per square meter);
- P₂O₅ - phosphorus (30 grams per square meter);
- K₂O − potassium (20 grams per square meter).
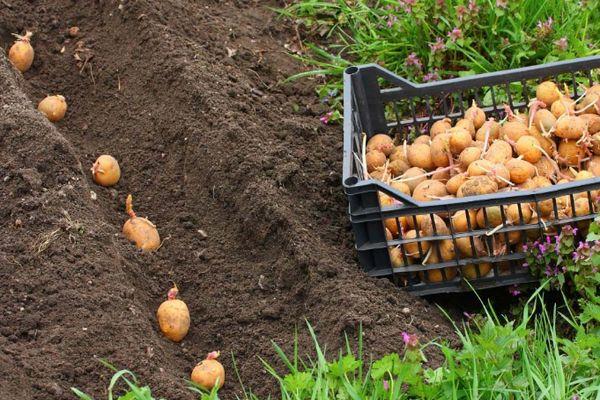
Potatoes can be planted when the soil warms up to 8° in springCIn Transbaikalia, potatoes are planted using the smooth method from May 5 to 15. In April (15-25) planting potatoes into ridges or form a raised bed.
The yield from April plantings is no lower than that from May. The soil is tilled to a depth of at least 25 centimeters. It should remain loose throughout the growing season. Autumn soil preparation allows for more moisture to accumulate over the winter, reducing the amount of spring work.
Selection and preparation of seeds
Those who have grown potatoes in their gardens know the importance of having good planting material. They select it based on appearance, ripening time, and the variety's resistance to diseases and pests. Preference should be given to potatoes grown in a specific region, as they ripen better in a given area, meaning they retain their nutritional and commercial value longer.
When selecting seed potatoes, pay attention to their appearance and size:
- tuber diameter – about 5 centimeters;
- the more eyes there are, the better;
- the peel should not have more than 5% mechanical damage, stains, mold, or signs of rot;
- The tubers should be firm and dry.
Select your own seeds in the fall. Only take tubers from healthy plants containing at least 4-5 large specimens. If all the potatoes are small, discard them; a single small specimen in a hole is a sign of disease or degeneration of the variety. Crop rotation should use planting material with clearly defined varietal characteristics.
A month before planting, remove the seed potatoes from the cellar, sort them, treat them with a disinfectant solution, and place them in a cool (15-18°C) room with diffused light to germinate. Pre-planting treatment prevents diseases and pests, accelerates germination, and increases yield.
| Type of processing | Ingredients | Processing method |
| disinfection | garlic (1 kilogram), water (10 liters) | soak for 3 hours |
| food + disinfection | boric acid (15 grams), copper sulfate (5 grams), potassium permanganate (0.5 grams), water (10 liters) | spraying |
| food + disinfection | superphosphate (60 grams), urea (40 grams), copper sulfate (1 gram), boric acid (10 grams) | soaking for 2 hours or spraying |
The main thing is to plant it correctly
Adhering to proper potato growing practices guarantees a high yield. If mineral and organic fertilizers were not applied during plowing, they are added during planting. Fertica offers a special complex fertilizer for this vegetable crop; the granules are applied directly to the planting hole. Its balanced NPK composition promotes active tuber development.
Planting dates
Potatoes are a vegetable crop that prefers early planting. The planting time is determined by soil temperature. It should warm up to 8°C at a depth of 10-20 centimeters. In most regions, this temperature is reached by May 10th.
To grow early potatoes, they plant them in raised beds, where the soil warms up as early as the second half of April. Many gardeners know the correct temperature for planting potatoes without a thermometer; they observe their birch trees.
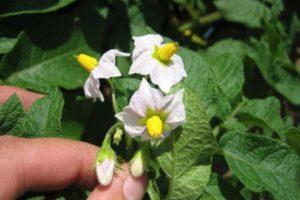
Planting begins when the leaves on the trees have unfurled and are the size of a five-ruble coin. Planting sprouted potatoes in warm soil promotes rapid germination. Active tuber formation occurs when the soil temperature is between 16 and 20°C, and the air temperature is no higher than 25°C.
Planting under mulch
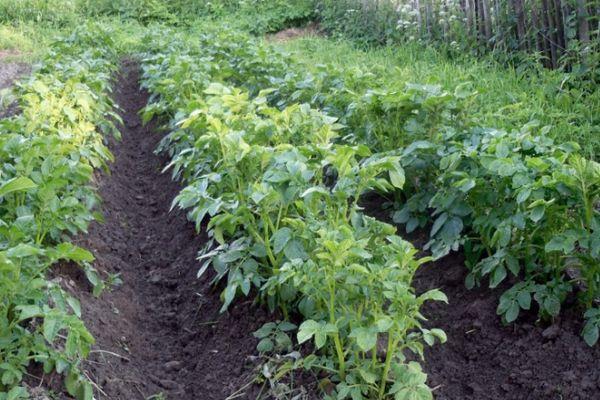
Summer residents use different technologies for growing potatoes. In small plots, they grow potatoes under mulchThis method makes sense to use on clay and loamy soils, which are difficult to maintain in a loose state.
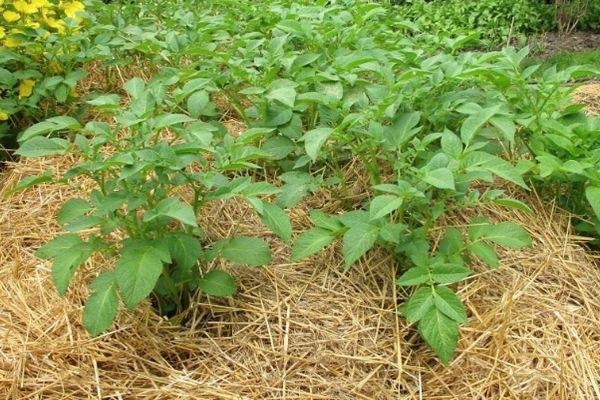
The soil is not plowed, but the top layer is lightly loosened. The tubers are spread, shoot-side up, across the entire plantation area. They are laid in rows, following a standard 0.3 x 0.7 meter pattern. Straw or hay is used as mulch. There should be enough covering material; in mid-summer the mulch layer should be at least 40 centimetersIf the layer of hay (straw) is thinner, the tubers will turn green.
When planting, cover potato rows with a 20-centimeter layer of mulch. When the tops reach 6-10 centimeters, add a new layer of straw (hay), and continue until the recommended mulch thickness (40-50 centimeters) is reached.
Advantages of the method:
- it is easier to maintain an optimal humidity level;
- tubers do not suffer from overheating and hypothermia;
- there is no oxygen starvation;
- the amount of weeds decreases;
- easy to dig;
- no need to hill up.
The method is a surefire success: by planting disease-resistant varieties, gardeners can get impressive potato yields from small 2x2 meter beds.
Planting in circular ridges
The Dutch invented the technology of growing potatoes in raised beds. It has become a popular choice among our gardeners, and its advantages include:
- less water is used for irrigation;
- The yield increases due to good nutrition and illumination of the bushes.
When planting, maintain the required row spacing (70 centimeters) and spacing between adjacent tubers (30 centimeters). Additionally, rows are formed in a north-south direction. A key feature of planting is the way the tubers are backfilled. Soil is raked onto them from both sides, creating an initial ridge. This ridge increases in height over the summer to 30 centimeters thanks to regular hilling.
Care and treatment
Key points potato care After planting: weeding, watering, and hilling. It's important to maintain the required soil moisture level during the flowering period. During this period, intensive tuber formation and development occurs.
To grow large potatoes, you need to know how to plant them and be able to determine when the tubers need moisture. If rainfall is regular, watering is unnecessary; if it's absent, watering is mandatory during the budding period.
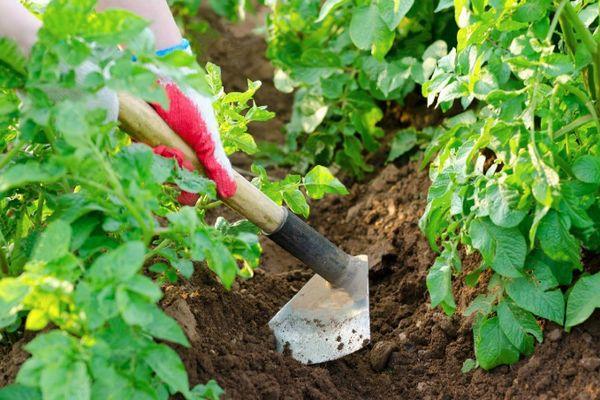
Alternative hilling
Hilling is a key element in potato growing. This procedure is performed 2-3 times over the summer. The first hilling is done when the seedlings reach 10 centimeters, the second – when they reach 25 centimeters. The third hilling is done 2-3 weeks after the second.
In some regions, instead of hilling, the spaces between rows are loosened. This is done on moist soil using the following tools:
- flat cutters;
- hoes;
- hoes.
Top dressing
The first feeding of potatoes can be done two weeks after planting. The gardener decides how to care for them and what fertilizer to use based on the type of plant foliage. The following types of fertilizer are traditionally used:
- infusion of mullein, bird droppings;
- aqueous solution of urea;
- herbal infusion.
Foliar feeding is carried out when the first signs of delayed bush growth appear, using: boric acid (6 grams), urea (100 grams), potassium monophosphate (150 grams), water (5 liters).
Pest and disease control
Potatoes, like any vegetable crop, have their own diseases and pests that gardeners must combat. Proper care, preventative measures, and planting disease-resistant varieties reduce the likelihood of problems.
Late blight is the most common disease affecting foliage and tubers. Hot, humid weather promotes the growth of the fungus. It is carried by air currents, making it impossible to protect plantings from it. Diseased plants are easily identified by their brown leaves and foliage. Diseased parts of the plant must be destroyed.
Scab (common, black) is the second most common potato disease; it affects tubers, causing growths to appear on them. Factors influencing the development of the disease include:
- calcium deficiency in the soil;
- cold soil during planting;
- deep planting.
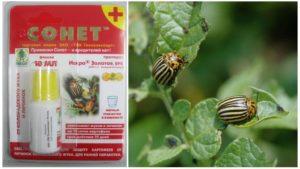
Of the insects, the Colorado potato beetle and wireworm are dangerous. Both pests cause significant damage, reducing the quality of tubers and their shelf life. Bait is very effective and safe. method of controlling click beetle larvae.
Various root vegetables (beets, potatoes, carrots) are used; they are chopped and placed in holes around the perimeter of the potato field. The contents, along with the larvae, are periodically scooped out and destroyed.
The Colorado potato beetle is controlled using biological preparations (Fitoverm, Bicol, Agravertin), insecticides (Aktara, Karate, Iskra), and folk remedies (ash, laundry soap, wormwood).
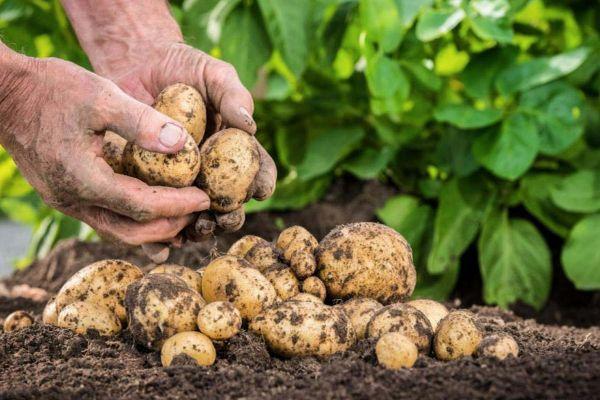
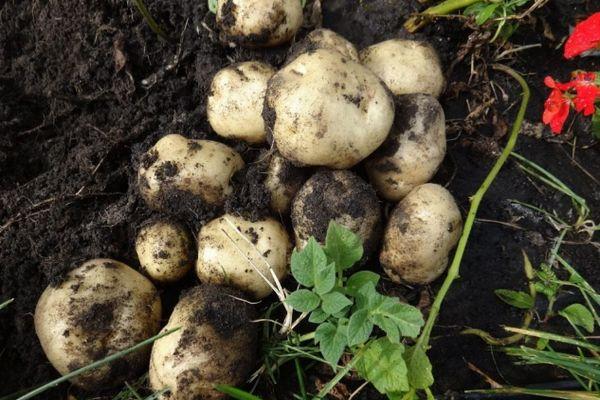
Harvesting
It's important to dig up and store potatoes grown in the garden in a timely manner. The tubers stop growing a week before the leaves begin to turn yellow. During this short period, the skin becomes firm and the flesh becomes starchy.
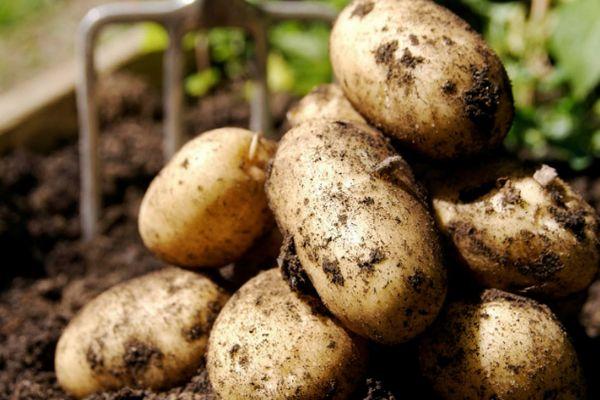
The weather during harvesting should be dry and sunny, with soil temperatures not falling below 8°C. A key aspect of harvesting is preparing for storage and selecting suitable seed potatoes. The following tasks are performed during this period:
- removal of diseased and damaged specimens during digging;
- calibration;
- drying;
- treating seed potatoes with fungicide;
- bookmark for storage.
An excellent potato harvest is guaranteed if all planting and care guidelines are followed. Homegrown potatoes are much tastier and healthier than store-bought ones.
Related posts:
 Description of the best pepper varieties for greenhouses and open ground in 2025
 Why potatoes aren't growing well in the garden, and what to do to ensure a bountiful harvest
 The best eggplant varieties for growing in a polycarbonate greenhouse: planting and care
 Description and properties of the 50 best varieties of asparagus beans, benefits and harms
 Growing cucumbers in open ground and greenhouses in the Leningrad region and varieties
 30 Best Dutch Cucumber Varieties with Descriptions and Characteristics
 Description and treatment of potato diseases, methods of control using folk and chemical means
 Description of the best varieties of bee-pollinated cucumbers, rules for their formation and care